
Results 11 to 20 of 25
 2Likes
 LinkBack URL
 About LinkBacks
-
05-28-2012, 04:35 PM #11Senior Member


- Join Date
- Mar 2012
- Location
- Thunder Bay, Ontario, Canada
- Posts
- 17,311
Thanked: 3228
Have you tried using the two macro modes your camera has? If not, try the two different macro settings to see if they will work for you. Digital cameras usually are very good for doing quick macro shots. IIRC most need the lens set to wide angle not tele for macro. Ok, you did get to the macro mode before I posted so now you can focus close. To get more depth of field you need to use an f stop that is a high number. the closer you shoot the less depth of field you will have for any given f stop. Try aperture priority and set the f stop to say 16 and try that.
BobLast edited by BobH; 05-28-2012 at 04:41 PM.
-
The Following User Says Thank You to BobH For This Useful Post:
DFriedl (05-28-2012)
-
05-28-2012, 04:48 PM #12Member
- Join Date
- Sep 2011
- Posts
- 57
Thanked: 6
Like above I would try more light and aperture priority with an aperture anywhere between f8 and f16. These middle of the road apertures will give you a wider depth of field so it should help give you a little more sharpness over the entire image. More light cant hurt ever! You'll get it as you play around some more!
-
The Following User Says Thank You to nalbonen4 For This Useful Post:
DFriedl (05-28-2012)
-
05-28-2012, 04:52 PM #13Senior Member
- Join Date
- Mar 2012
- Location
- Thunder Bay, Ontario, Canada
- Posts
- 17,311
Thanked: 3228
I hope you don't mind but I took the liberty of doing a quick and dirty in Photo Shop Elements on your last photo. Is the result more of what you had in mind?
Bob
-
The Following User Says Thank You to BobH For This Useful Post:
DFriedl (05-28-2012)
-
05-28-2012, 05:01 PM #14Señor Member (the name is Dave)

- Join Date
- Feb 2012
- Location
- Sarver, Pennsylvania, United States
- Posts
- 683
Thanked: 88
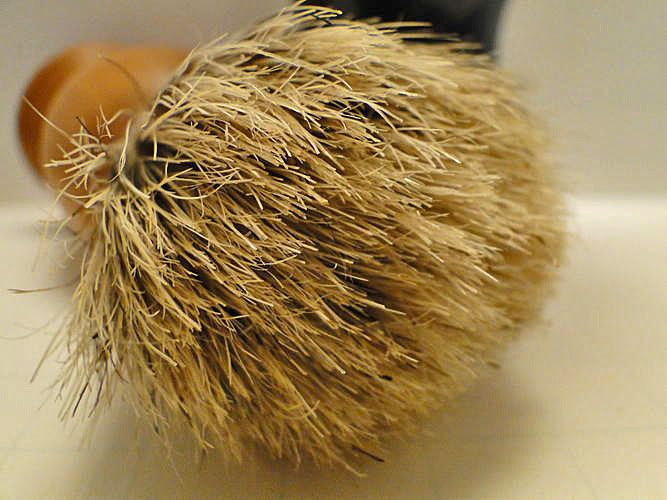
Here is the latest test:
Old:
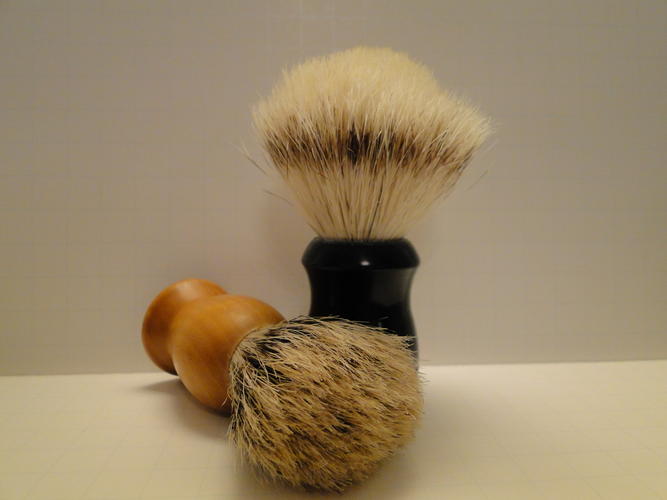
New:
Better. This is using portrait mode. Macro seems to have to kick in automatically, and these manual modes don't allow that to happen.
Bob, thanks. Yes, I tend to use a combination of Gimp and Irfanview, but same difference. I hadn't been retouching these, just to get your opinions of the raw images.Last edited by DFriedl; 05-28-2012 at 05:03 PM.
-
05-28-2012, 05:02 PM #15Senior Member
- Join Date
- Jun 2011
- Location
- Calgary, Alberta, Canada
- Posts
- 218
Thanked: 43
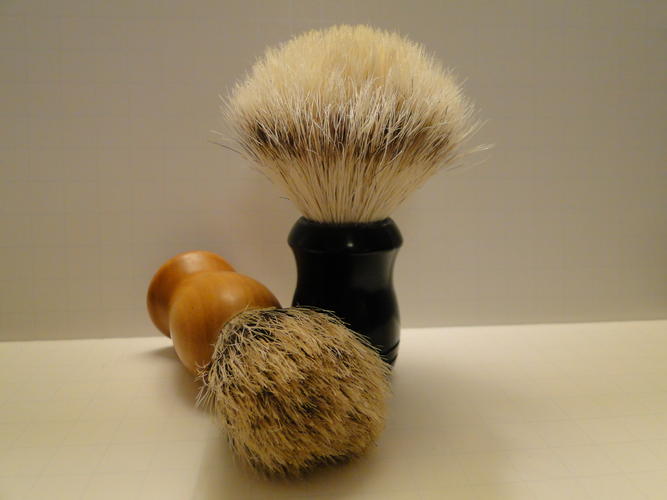
I agree with an aperture priority mode. most likely the reason you are not getting the definition you want in the two brush picture is because the front brush is the focus point and the depth of field is too shallow. Also more light would help with a more crisp image because it will increase your shutter speed. You might try and use a tripod to eliminate any chance of camera shake.
TwistedOak likes this.
-
The Following User Says Thank You to rmalak For This Useful Post:
DFriedl (05-28-2012)
-
05-28-2012, 05:12 PM #16Señor Member (the name is Dave)
- Join Date
- Feb 2012
- Location
- Sarver, Pennsylvania, United States
- Posts
- 683
Thanked: 88
This has been a very helpful thread. Thanks to everybody for the tips, and I will continue to explore the options with this camera. BTW, if this had been an SOTD, I would have done the image like this:
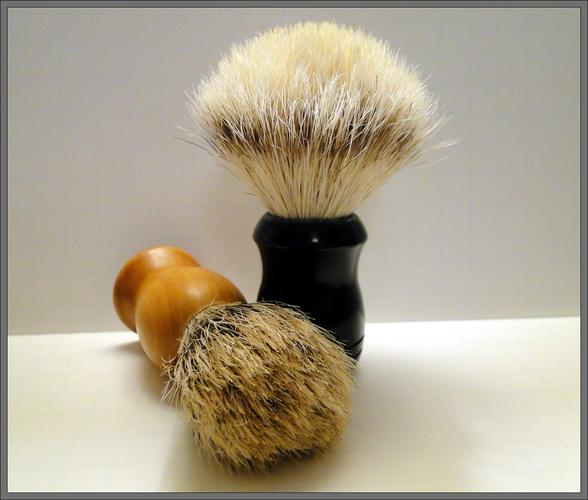
which is a significant improvement. Thanks again!
-
05-28-2012, 06:06 PM #17Senior Member
- Join Date
- Mar 2012
- Location
- Thunder Bay, Ontario, Canada
- Posts
- 17,311
Thanked: 3228
Yea, it is looking better but the trouble with portrait mode is that it does bias the camera to a more open f stop and medium telephoto lens setting. Both of these decrease depth of field and not what you want when close in. By forcing the camera to use f16 in aperture mode and setting the lens to a wide angle view you will gain depth of field when shooting close in.
Only that point on which the camera is actually focused will be in sharp focus, but for a small distance in front of and behind that point of focus there will be a zone of acceptable focus which is the depth of field. Here is a DOF chart that may help you visualize that Depth of Field Table . Just try and make sure your subjects are set up in such a way that what you want of them in focus falls in the DOF that you have available to you. It is a fussy thing and takes a bit of playing with. Forgot to add you select your camera model in the drop down in the chart and set 5mm for the lens at wide angle view.
BobLast edited by BobH; 05-28-2012 at 06:09 PM.
-
The Following User Says Thank You to BobH For This Useful Post:
DFriedl (05-28-2012)
-
05-28-2012, 07:12 PM #18I used Nakayamas for my house


- Join Date
- Aug 2009
- Location
- Des Moines
- Posts
- 8,664
- Blog Entries
- 1
Thanked: 2591
First you need to make sure you have the correct white balance.
Your camera has custom white balance setting which you can use for set up. The user manual should tell you how to use that feature.
I get my best results(not using a light box) on manual setting @ ISO 400, and adjusting the aperture as needed depending on the light conditions.
-
05-28-2012, 07:34 PM #19This is not my actual head.


- Join Date
- Nov 2009
- Location
- Middle of nowhere, Minnesota
- Posts
- 4,624
- Blog Entries
- 2
Thanked: 1371
If you want more definition in the bristles, try using more direct lighting at about the same height as the camera, and about 30 degrees to one side or the other.
Looking at the shadow in your images the primary lighting is above and to the rear of the brush. If you want the bristles to "pop" - try lighting them more harshly.TwistedOak likes this.
-
05-28-2012, 07:37 PM #20the deepest roots


- Join Date
- Feb 2011
- Location
- Seattle
- Posts
- 1,221
Thanked: 169
I was under the impression that white balance and ISO are different. Originally Posted by mainaman


 Reply With Quote