
Results 1 to 10 of 24
 16Likes
Thread: My First Forge
 LinkBack URL
 About LinkBacks
-
08-29-2013, 03:37 AM #1The First Cut is the Deepest!


- Join Date
- Feb 2010
- Location
- Upper Middle Slobovia NY
- Posts
- 2,736
Thanked: 480 My First Forge
I know, it sounds (and sort of looks) like a kids toy, but it DOES work!
It all starts with being really hungry for beans
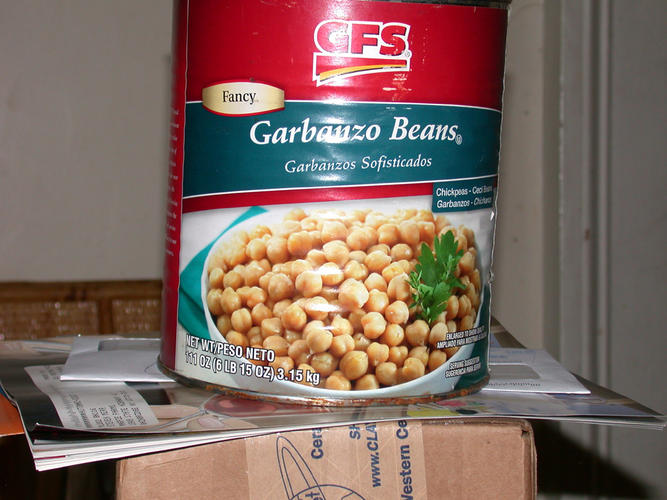
After you have eaten all the beans, take the empty can and remove the lid.
Drill a hole in the side to accept a steel nipple of a size that will fit a torch tube. Drill more holes for legs to attach to.
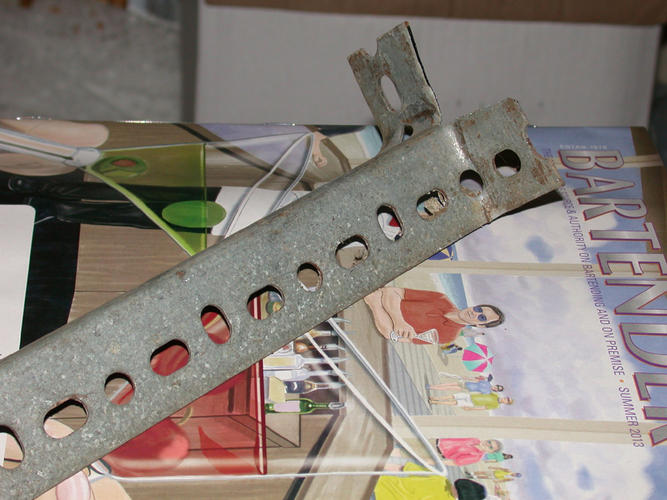
Legs were made from left over scraps of angle iron. Normally you would keep galvanized metal FAR AWAY from a forge, but since its just legs, and not (supposedly) going to get to burning temps, they should be alright. I cut a line down the vertex of the angle iron just far enough that I could bend back flaps for bolting to a table top or board of wood.
I then mocked up the assembly to determine the best height to set the can for ease of torch placement.

Perhaps I should have went with a 4th leg, I just didnt want it in the way of placing the fuel.
Using the lid that was cut off the can as a template, I cut out a circle of koawool (2inch thick) and inserted it into the can against the bottom. Originally, I was going to put the 2" around the entire interior, but it was really difficult to force into shape, and left precious little room on the interior for work pieces. So, instead, I seperated the sheet into 2 pieces 1" thick. The 1 inch installed much easier. Since I have no intention of attempting to forge weld with this, I think I can live with the lesser insulation. I cut the sheet a little longer than needed, and trimmed the ends where they will butt together at angles 9sorry for the lack of pictures of this) Sort of so they would "keystone"
I made a small slit in the insulation to fit over the nipple, ran the sheet and then coated the inside with ITC100
I then took the remaining pieces of wool, and closed down the opening a little. I may have to open it up a little later, as it may be making too much of a restriction for the torch to burn properly. But burn it DOES!
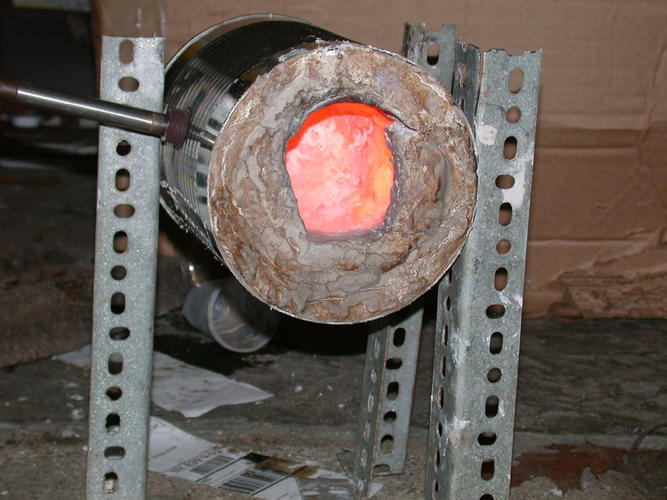
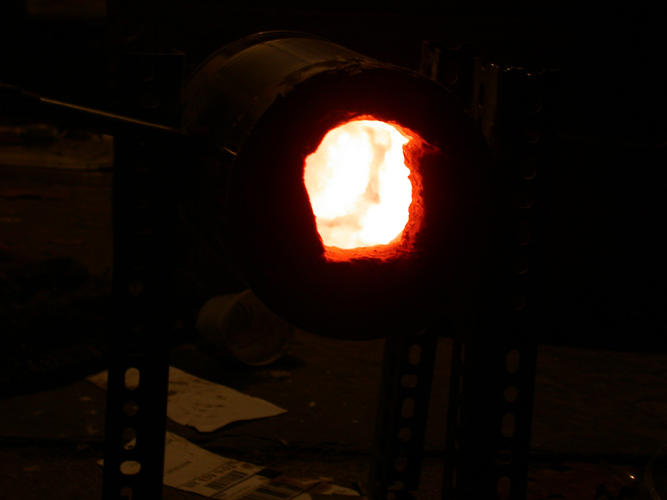
I DID let it set for a few hours, and then I set a low slow flame and let it run warm for another 2 hours before turning it up a little for another 20 minutes. At this point I was satisfied, and turned the torch up, and was able to get 1" 3 inch long bolt to bright red in 5 minutes. I am sure once I tweak it, it will be hotter and more efficient. It only has a capacity of 2 inch by 4 inch, but for a starter forge, I believe it will do just fine for now. Just look at it glow!
I haz a happy face on now!
-
The Following User Says Thank You to Magpie For This Useful Post:
spazola (08-29-2013)
-
08-29-2013, 03:43 AM #2Senior Member

- Join Date
- Sep 2012
- Location
- Washington state
- Posts
- 584
Thanked: 58
I wonder how something like this would work but modified with an Oxy/Acet heating tip. Maybe a bigger can with more insulation.
 I choose death before dishonorI'd rather die than live down on my knees
-
08-29-2013, 03:46 AM #3Senior Member

- Join Date
- Jan 2011
- Location
- Roseville,Kali
- Posts
- 10,432
Thanked: 2027
Try map gas,same cylinders. looks great
 Geezer likes this.
-
08-29-2013, 03:50 AM #4The First Cut is the Deepest!
- Join Date
- Feb 2010
- Location
- Upper Middle Slobovia NY
- Posts
- 2,736
Thanked: 480
For most of the work, I am sure the nice, CHEAP propane will get the job done. (I DO have 2 cans of map, in case of needing more heat) Chug, If you used Ox/Ace it would certainly work, but the cost would be a bit high. I'm making do with what I have, and a torch kit is not one of them. Besides, I would be worried that instead of heating for a forging, I would be melting for a smelting!
 Adam G. likes this.
-
08-29-2013, 03:51 AM #5The First Cut is the Deepest!
- Join Date
- Feb 2010
- Location
- Upper Middle Slobovia NY
- Posts
- 2,736
Thanked: 480
Remember guys, this is just temporary, so I can get some forge time in. I have a much much nicer forge planned out, that I will be putting together in the not too distant future.
-
08-29-2013, 03:52 AM #6Senior Member


- Join Date
- Nov 2012
- Location
- Across the street from Mickey Mouse in Calif.
- Posts
- 5,320
Thanked: 1184
Looks like your on your way to making something. Nice quick forge.
Good judgment comes from experience, and experience....well that comes from poor judgment.
-
08-29-2013, 09:06 AM #7
I think with oxyacetylene, you'd run a real risk of burning way too hot.
And personally, I don't really like the idea of having an acetylene tank indoors.Til shade is gone, til water is gone, Into the shadow with teeth bared, screaming defiance with the last breath.
To spit in Sightblinder’s eye on the Last Day
-
08-29-2013, 05:24 PM #8Senior Member


- Join Date
- Dec 2006
- Location
- Burkburnett TX
- Posts
- 3,100
Thanked: 2392
It looks good to me. Maybe try angling the burner so it is tangent to the interior wall. A flame that spins around heats more evenly than a flame that hits 90 into the far wall. I like your forge I have had one like at one time, looks like fun.
CharlieGeezer likes this.
-
08-29-2013, 05:40 PM #9Member

- Join Date
- Jul 2013
- Location
- Central Texas
- Posts
- 39
Thanked: 9
Cool setup, what are you planning on making with it? There has been some discussion about eye safety and exposure to IR over on IFI. Here's a link to the thread Radiation from the forge - Personal Protection Equipment - I Forge Iron
-
-
08-29-2013, 06:35 PM #10The First Cut is the Deepest!
- Join Date
- Feb 2010
- Location
- Upper Middle Slobovia NY
- Posts
- 2,736
Thanked: 480
"What are you planning on making with it?" Razor Shaped Objects
The simplest way to keep your eyes safe is to not look at the sun!
Now, what I dont understand is, I set this up perfectly... A gas forge, and the giant can of beans, and NOBODY made the joke.
C'mon guys, I dont know if I can exist in a world to mature for a good fart joke!


 Reply With Quote
