Results 21 to 30 of 43
Thread: Forge insulation question
-
07-19-2015, 12:59 AM #21

Is that enough air on your burner? I have no experience with a side vent burner, but it looks restricted to me. My burner is like Michael Porter's designs.
-
07-19-2015, 01:08 AM #22
 Forge insulation question
The first fire was last night. It might be a bit restricted but it seems to get enough air to run neutral-lean. It huffs a bit though (slightly unstable). I can get it to run yellow if I block the air tube, but it runs clean two-tone blue. I don't think the Venturi pulls that quickly though. This might be something I swap out later.
-
07-19-2015, 08:51 AM #23

Going by how mine runs, I think you may also be restricted with the size of the lump your tip is in compared to the inside tube diameter, it may also be too long past the side vent pipe, also what pressure are you running at?
I found little adjustments can make fair difference to my burners performance, this is why I made mine adjustable with a sliding jet holder using a cable gland mountSaved,
to shave another day.
-
08-07-2015, 05:37 PM #24

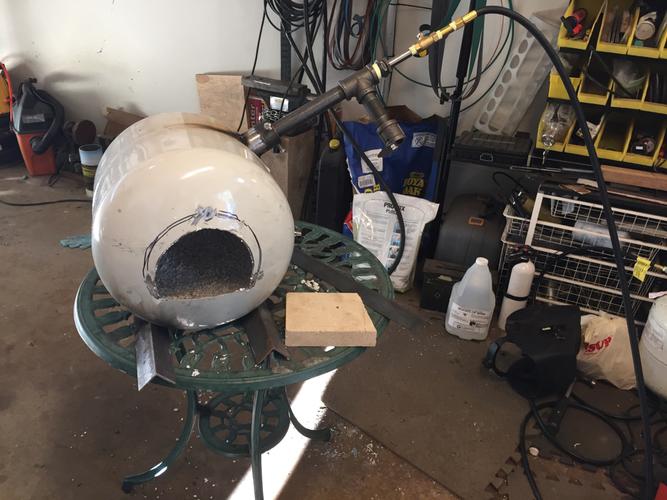
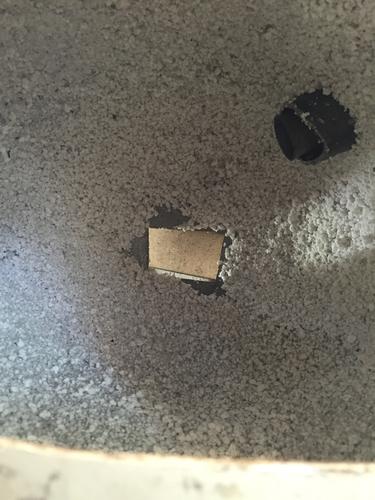
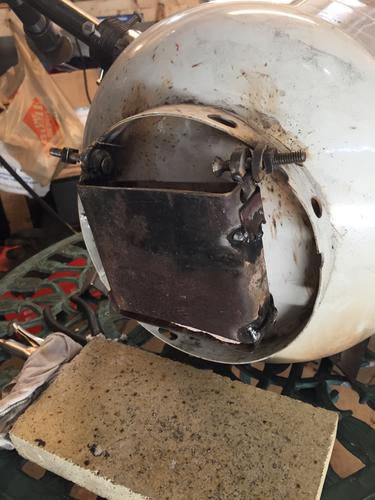
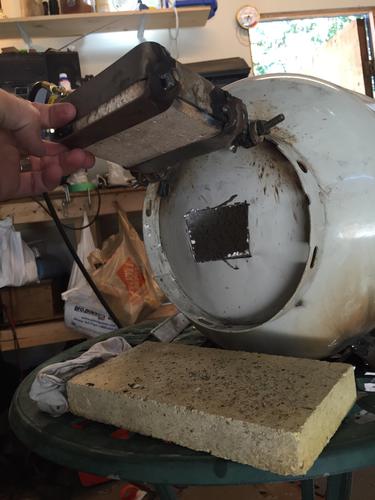
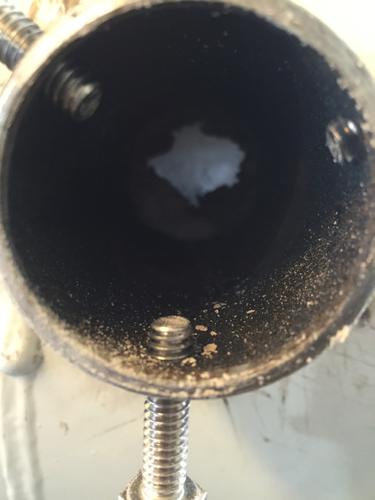
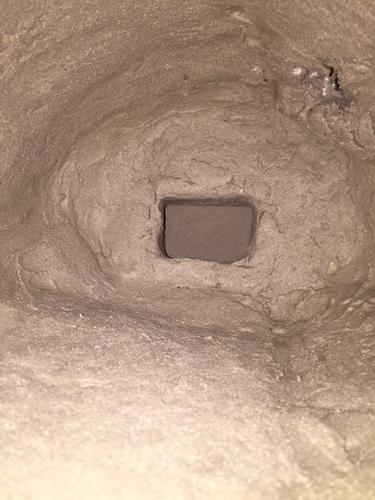
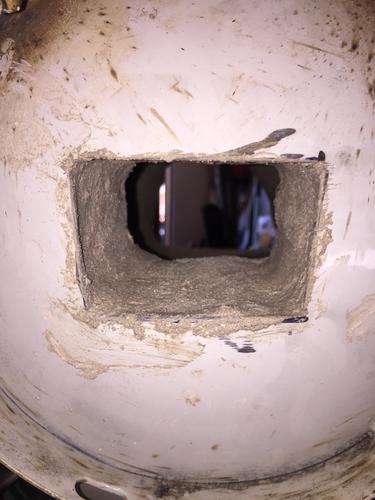
Ok, time for an update. Got it all done this morning. Now just waiting for everything to dry and cure.
-
08-07-2015, 05:43 PM #25

That's perlite and sodium silicate (not sure that does anything good) and one inch of fibrefax ceramic insulation (2" on the floor), coated with Super Titebond Mortar. The mortar was recommended by a local ceramic supplier. I may use a 4x9 hard firebrick inside, depending on how efficient the whole setup is.
My burner has a choke and outside the forge can be adjusted for what seems like rich to lean. Inside the forge it may perform differently.
-
08-07-2015, 08:06 PM #26

Looks great. I love DIY forge fires.
Til shade is gone, til water is gone, Into the shadow with teeth bared, screaming defiance with the last breath.
To spit in Sightblinder’s eye on the Last Day
-
08-08-2015, 07:37 AM #27

I also liked the looks wonderful.
-
08-09-2015, 03:00 AM #28

Interesting mortar. It seemed to cure only when heated, and changed from beige to grey.
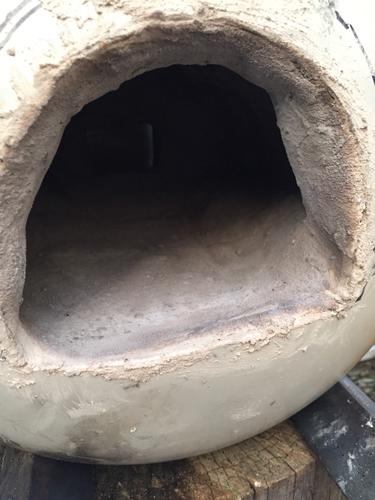
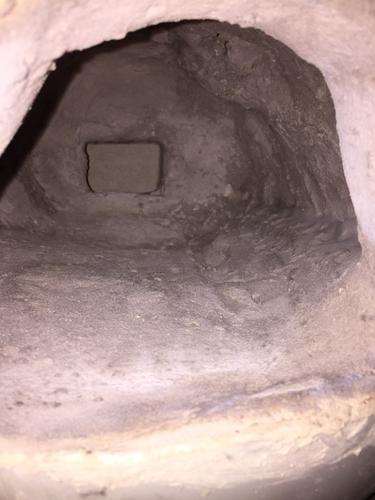
I have gently heated it several times now with the Bernzomatic. Next time will be the forge burner.
Oh, one other thing. I was paranoid about making the inside too small, but now by my napkin math, it's over 600 cubic inches. I worry that my burner won't get it hot enough, but to be honest, if it gets hot enough to forge weld I'll be ecstatic. I seem to like building these tools; I bought some steel yesterday to make a pneumatic hammer. Maybe that's for another thread.
-
08-09-2015, 03:12 AM #29

Also, auto-ignition hadn't occurred to me. I shut off the propane and then purged the hose and it leapt to life for a second.
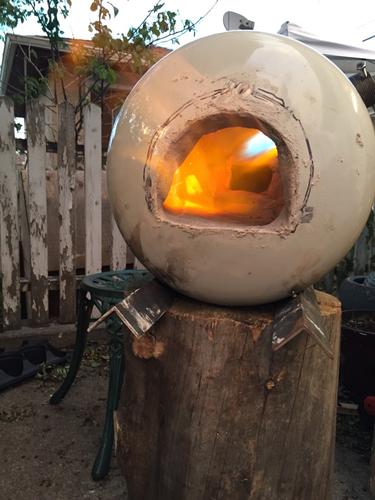
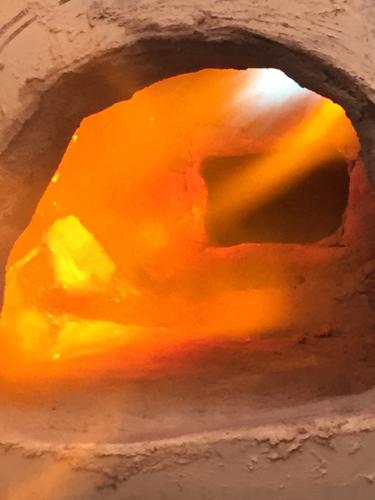
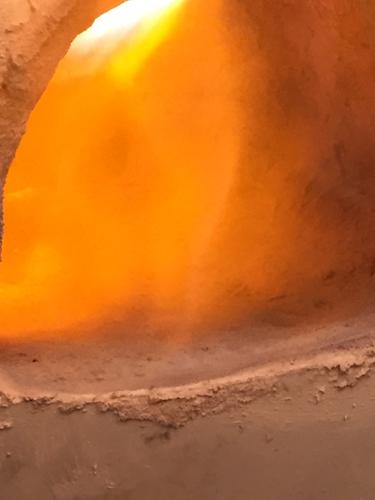
It's not very even, but I only had it on for a few minutes. I'll tweak it a bit. I also suspect I need more air. Full open I had some combustion outside the door and a lick of yellow along with the two-tone blue cone.
-
08-10-2015, 04:26 PM #30"My words are of iron..."


- Join Date
- Oct 2006
- Posts
- 1,898
Thanked: 995
The next step is to find some good high temperature firebricks and use them to restrict the "exhaust" at one or both doors. It will increase the time of the burn, increasing that efficiency and delay losing useful heat into the environment. Good forge operation really amounts to controlling heat, keeping it contained, and directed into useful work.
Most refractories require a two step heat to cure. You'll probably be okay with your mixture. As with most home-made items, you will always be adjusting things. By the time you retire it will just begin to work well enough. LOL


 33Likes
 LinkBack URL
 About LinkBacks


 Reply With Quote
