
Results 1 to 3 of 3
 12Likes
 LinkBack URL
 About LinkBacks
-
01-26-2016, 12:53 AM #1Senior Member


- Join Date
- Jul 2015
- Location
- Colorado
- Posts
- 540
Thanked: 79 My 2x72 grinder build and other adventures
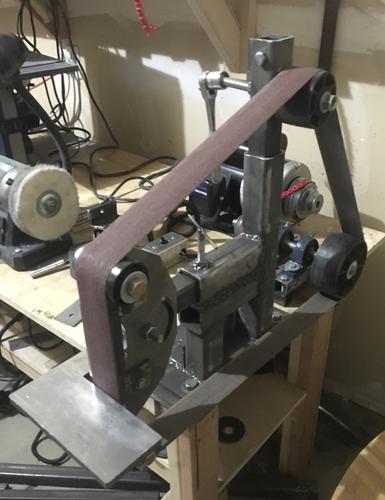
Took a small "vacation" and have been a busy busy guy! Built myself a couple things, one of the things I'm most proud of is a 2x72 grinder! I was on the brink of buying one from Pheer just because people were telling me that building a grinder is hard... Which honestly turned out not to be all that bad! Now if I can build this machine I promise anyone can!
now in total I paid $600 for and I actually have all the fixings!
2 2" idler 5" drive and 4" tracking $67
harbor freight 1.5 3,500 rpm motor $139
contact wheels: 4" 6" 8" $200
6 small wheel holder and small wheels $100
pulley system, belt $40
scrap metal... 2" square hollow steel for frame 1.5" steel for tool arm and tracking arm $60
what I did was watch videos on YouTube for about a month until I figured out a good plan of attack...
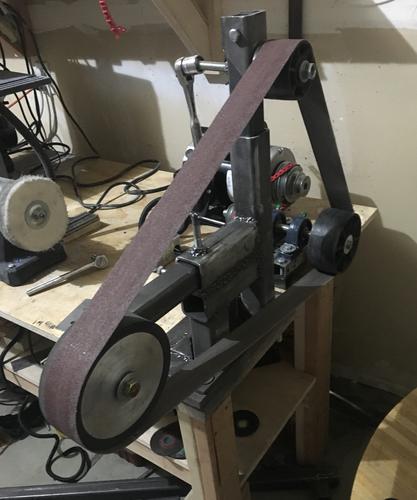
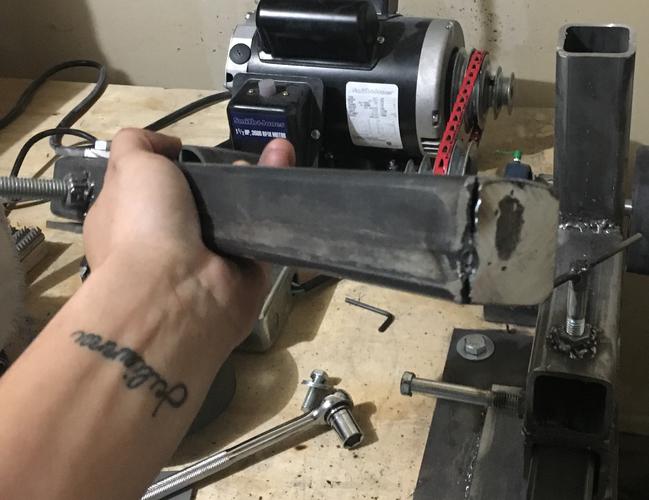
My tensioning arm was done with a 1.5" square steel with a piece welded so that it would close off the bottom:.. Then a piece of the steel was cut with a 1/2 tap where the tracking wheel was going to be... The machine does run and tracks properly but I am certain there is a more efficient way of doing this and I'm sure it's with the more common arm... But for simplifity I tried this way and succeeded but on the next grinder I'm building (soon) will be changed..:
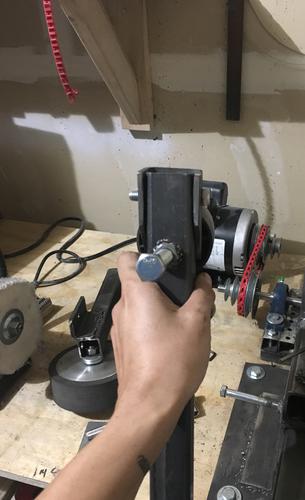
the drive wheel and motor both have pulley systems so that I could have a lot of speeds since I didn't have a VFD so far it works lol... Two pillow blocks mounted onto that hollow steel then mounted onto my workbench...
motor or is on a slide so that the belt speed can be changed that is also mounted to the work bench...
the he frame of the grinder is mounted onto a piece of steel and then mounted onto the table... The reason for the two ports for tool arms is so that I could upgrade or use different tool rests if needed (at least that's what I tell people lol) But the actual reason I did it was because the flat platen attachment was hitting the table because the wheel on the flat platen was below the drive wheel hahaha
ii wired the motor and the switch (something else I surprised myself and my wife with)
all in in all the machine works great! I am going to be making another machine after I stack up some more money... I just sprung on my heat treat oven so I need some time to catch back up...
as as I mentioned the changes I will make will be my tensioning arm, also I will have a VFD on the next machine... Another thing I was going to do was make an entire table for the grinder and make it so it can be vertical and horizontal!
I flipped that switch and when it powered up, tracked and was making quick work of steel there was an overwhelming feeling! I am teuly proud of myself on this one... But I did have to learn how to weld with this and honestly it was fairly easy... Granted the welds are not pretty but everything is held tight.... Well here she is gents!
Fonz
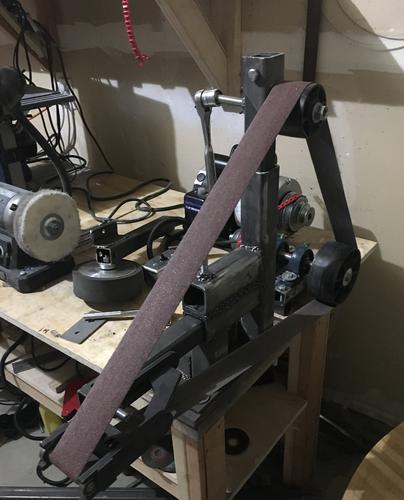
The grinder and attachments
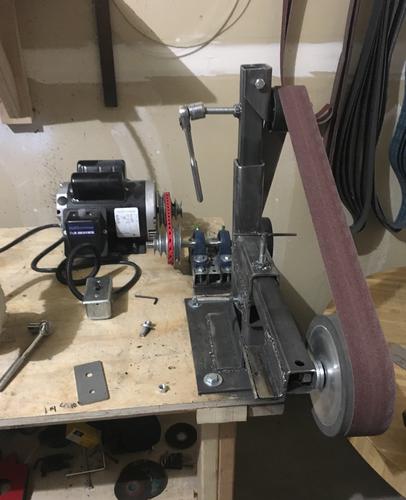
Motor pulley system and pillow blocks

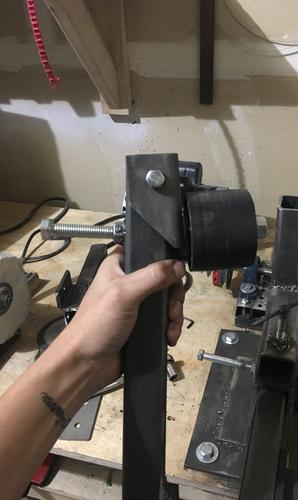
Tensioning arm
-
-
01-26-2016, 01:50 PM #2Senior Member

- Join Date
- Aug 2014
- Location
- East Central Illinois
- Posts
- 782
Thanked: 101
Looks like a good one! The only thing I might change is to move that buffer away from the belt sander. You wouldn't want to get grit or metal shavings in those buff's. Grinding & polishing should be done as far away from each other as you can. Good job! One thing I just thought of,. Is there a spring under your belt tensioner? many belt grinders have a spring or something to keep the belt tight to give it some added flex. I think that might give you longer belt life.
Dave HuffmanLast edited by Slawman; 01-26-2016 at 02:02 PM.
skipnord likes this.
-
01-26-2016, 02:17 PM #3Senior Member
- Join Date
- Jul 2015
- Location
- Colorado
- Posts
- 540
Thanked: 79
Thanks! That's w great suggestion, your right! I'm actually thinking about building a whole other table... More of a work station, were I'll be sharpening, pinning things of that nature... Maybe I'll bring my buffer with me lol it actually would be nice to have that near me on the finishing station... Originally Posted by Slawman
 Slawman likes this.


 Reply With Quote