
Results 11 to 12 of 12
 8Likes
 LinkBack URL
 About LinkBacks
Threaded View
-
07-11-2011, 08:21 PM #1
 Bladesmithing course and my first two custom made blades
Hey folks,
Some of you may know that my amazing fiance got me a bladesmithing course for my birthday which I did a couple of weeks ago at Owen Bush's forge in Welling.
It was a really enjoyable couple of days, hugely educational and I really cant recommend one of Owens courses to anyone who is interested in blade making. Thanks again Owen, it was a great course!
So I thought I'd post about what we covered over the two days and show you the results of my work. I definitely would do certain things differently if I did the course again but I'm pleased with the results. All I need to do now is build a workshop so I can get more practice... Wonder how SWMBO will go with me sticking a power hammer at the end of the garden!
So here we go, two days bladesmithing in pictures!
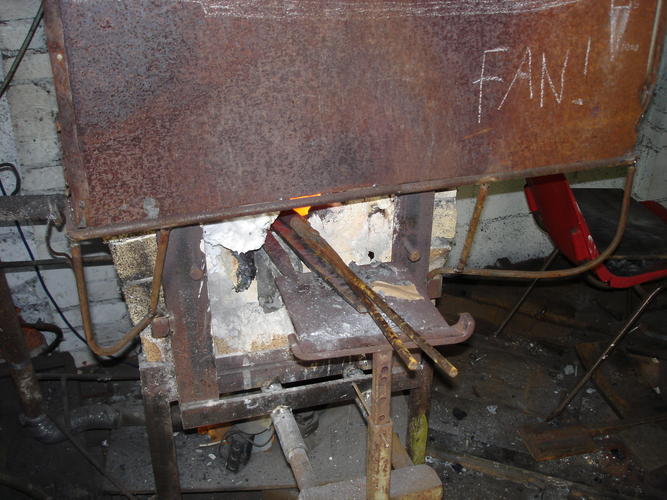
Heating the raw steel:
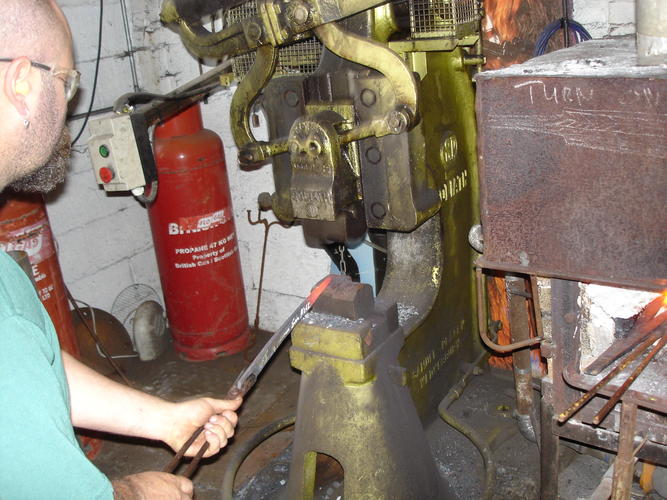
Owen working the power hammer to shape the tangs into the blanks:
Me working the blanks by hand. You can see how the tang is formed over the side of the anvil. Owen was doing the same thing on the power hammer, just much faster! We also forged a very slight bevel into the blanks as part of this process, and thats what gave them the smiling shape.

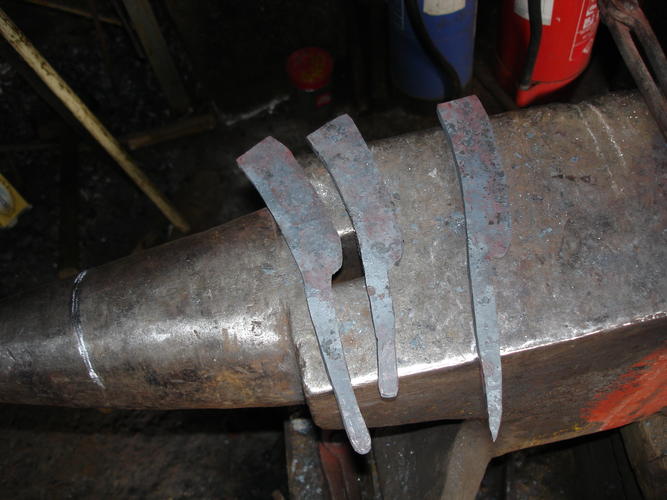
Heres the blanks with tangs forged. We made a fair few of these and picked the best ones. The spares were in case I burned through one with the grinder or wrecked the temper.
Once the blanks were forged we normalised them for the first time.
We did some initial shaping and grinding. Heres Owen showing me what to do, and then the blank after I'd done some more grinding.
Then we did another round of normalising with anti-scaling compound, and then a final normalisation.
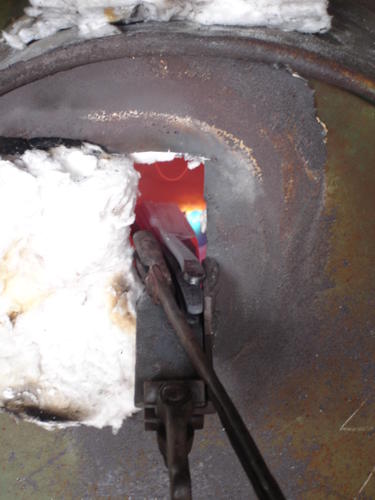
After that we did the heat treatment which was between 770-830 degrees and then quenched into hot oil.
Here are the blades in the heat treatment oven.
After that the tempering was done at 190 degrees for 2 hours (for the smiling wedge which was made from W2) and for one hour for the Damascus hollow ground (which was ISN20 and EN42).
After the tempering we did the final grinding (being careful not to wreck the temper!) and polishing.
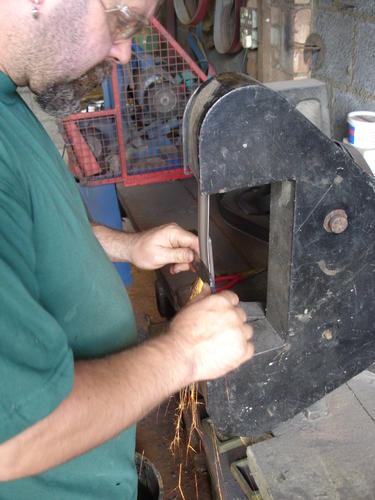
Heres me hollow grinding the Damascus razor on the grinder with a 12" contact wheel.
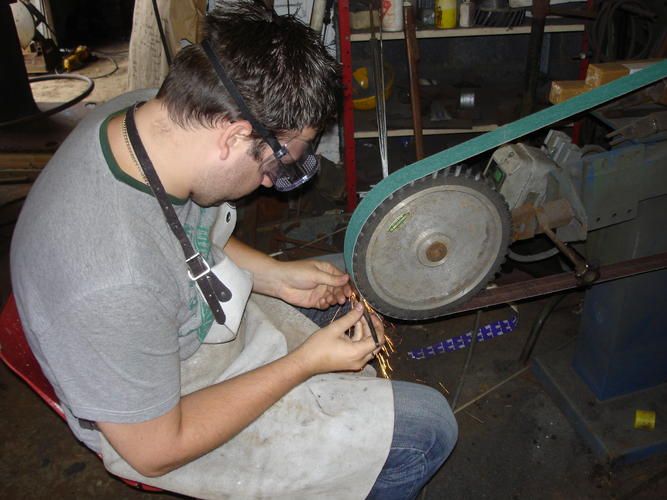
The polishing was also done on the grinder using successively finer belts from 35 (for the hollow grinding) up to 600 grit. This gives a different result to a buffer and lets you keep the really crisp lines on the tangs and on the spine of the wedge.
A buffer apparently can round off the edges slightly.
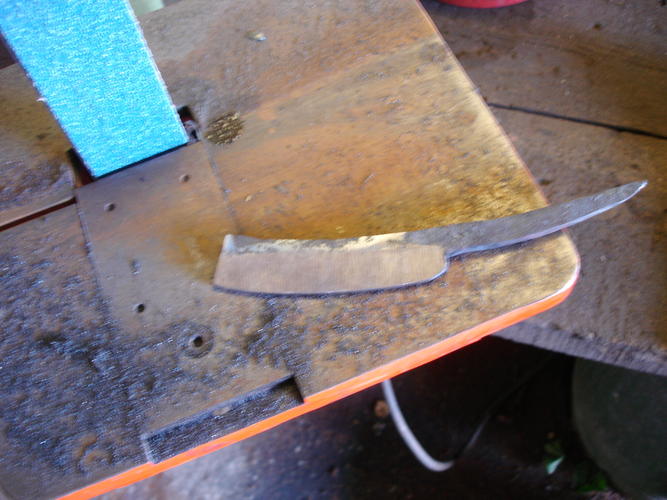
So here they are, the finished items!

They'll be coming with me to the Razorcon on Saturday for folks to check out. All I need to do is drill the pivot (with the drill on the slowest possible setting) and make some scales and hone them up. Cant wait to shave with them and find out what they're like!
So if anyone is interested in bladesmithing I can really recommend Owen's courses. He is incredibly talented and a real fountain of knowledge about all things bladesmithing.
Hope you enjoyed the pics!
-


 Reply With Quote