
Results 1 to 9 of 9
 24Likes

Thread: SYNTHETIC STONE LAPPING 101
 LinkBack URL
 About LinkBacks
Threaded View
-
03-23-2020, 10:28 PM #1Senior Member


- Join Date
- Apr 2012
- Location
- Diamond Bar, CA
- Posts
- 6,553
Thanked: 3215 SYNTHETIC STONE LAPPING 101
Synthetic Stone Lapping 101
So, your edges are not what they once were, nothing has change in the stones, but something has in the edges.
First, look at your stones when you have a honing issue. Are they smooth and flat? Maybe, maybe not as flat and smooth as you think.
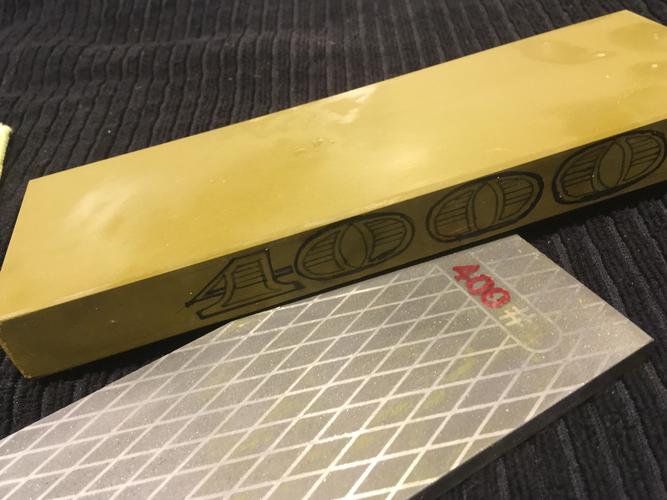
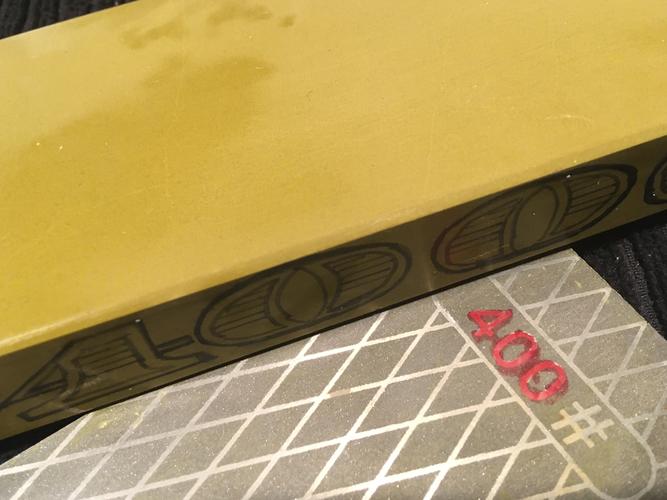
Ok, lets check. First get a diamond plate in the 300-400 grit range or lower. Chef Knives to Go has a great 140 grit lapping plate for $30, money well spent if you do a lot of lapping. Low grit plates work faster, but you can lap easily with ANY 300-400 plate. They all work, and all are about the same flatness.
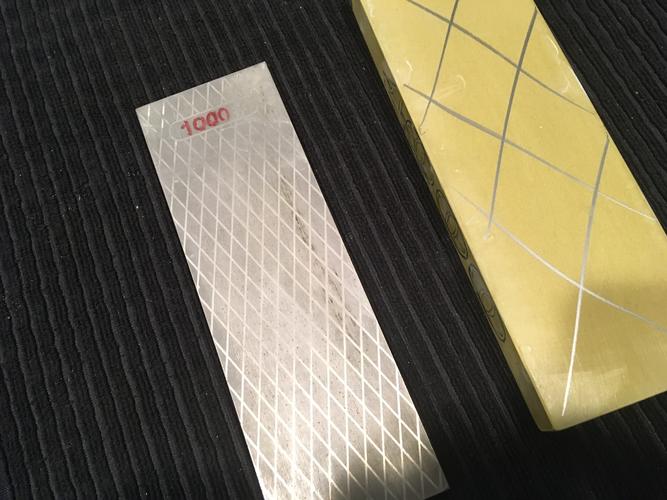
For this experiment I will use a CKTG 400/1000 grit plate on a 4k Nubatama stone, because most will be using a 300-400 plate.
Dead flat is not that important, and even if you do get a stone dead flat, it will quickly go out of DEAD flat with the first honing.
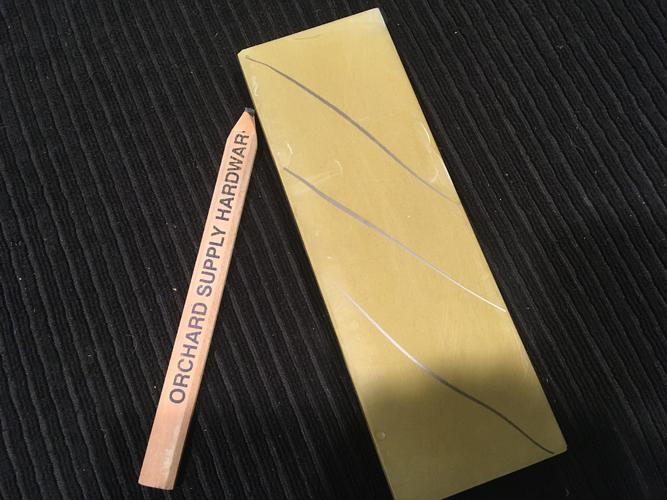
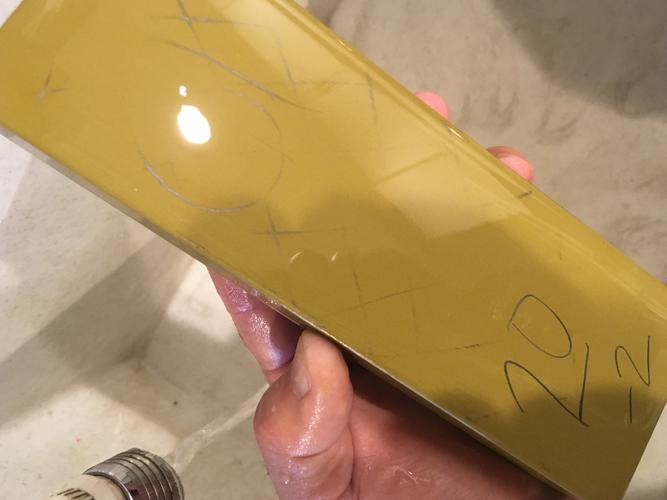
Mark a grid on your stone with a no. 2 pencil, I like flat carpenter pencils, about 25 cents from any hardware. Mark 3 grid lines from corner to middle, opposite corner to middle and one between the two. Do the same in the opposite direction, so you end up with a 1inch grid pattern.
Photo 1&2
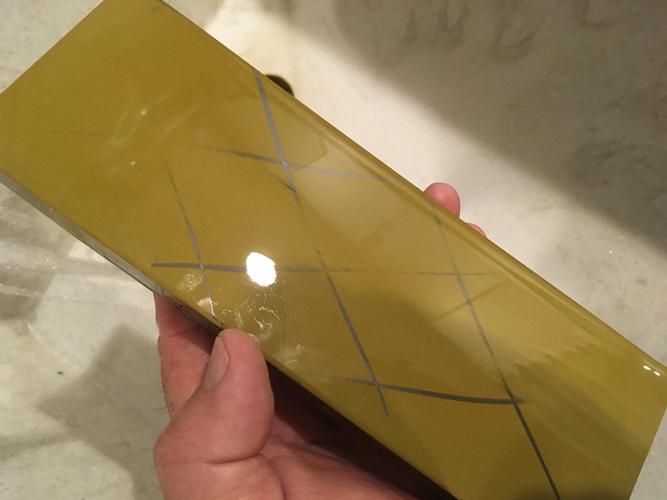
Under running water, just a little or under a pond of water, do 10 laps from end to end. Stop and look at where the marks are not removed, most likely you will have low spots in the center of the stone and the middle between the ends. The center is where the tip is worked and the middle is where most folks hone, (pressure). Photo 3, 10 laps.
If you watch honing videos, you will see most folks hone with the middle 4 inches of an 8-inch stone.
Lap until 50% of the grid marks are removed, then spin the stone 180 degrees.
DO NOT use added pressure. Adding pressure loads up/clogs the diamonds and will rip them from the plate. Use lite pressure under running water and occasionally run the plate face under running water or if using a pond, scrub the plate face with your fingers under water.
Once 90% of the grid marks are removed, re-grid mark the stone, Bevel the edges and corners about a 1/8th inch bevel. Most of the material that will need to be removed will be at the edges, beveling will quickly remove the highest material and prevent the edges from chipping. Photos 9&10
Re-lap under running water, do 10 laps and check again where the low spots are. Spin the stone when 50% of the grid is removed.
Continue to grid and lap until you can remove 90-100% of fresh grid marks in 10 lite laps or less.
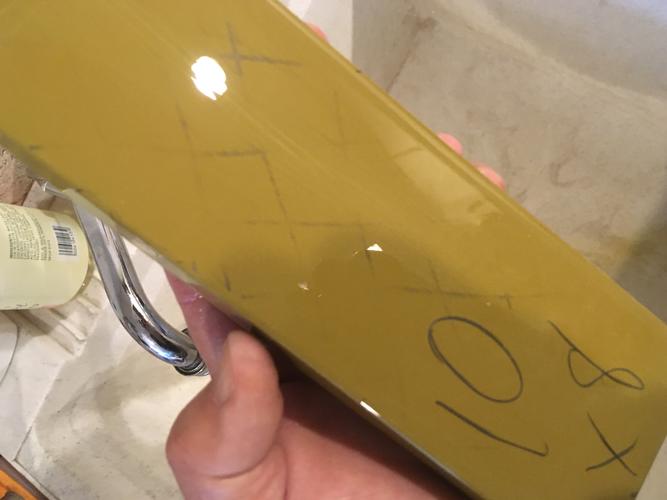
It took me about 30 laps to remove the grid the first time and 9 courses of about 20-14 laps each. On the 9th course, most of the grid was removed in 10 laps. Photo7 is the 8th course, 9 and 10 were improve over photo 7 almost all grid was removed by lap 10.
Do not be tempted to use more pressure or short cut the process, stop early, thinking because you removed all the grid with 30 laps, the plate is flat. Use lots of water and let the diamonds do the work.
If your stone is way out of flat or super hard and not making progress, e.g. SG20s are harder than Chinese Algebra. Get a sheet of 60 or 120 grit wet and dry and any flat surface, I use a steel cookie sheet from the dollar store on a plastic cutting board in the bottom of the sink and use the same process of marking and lapping until flat, then smooth and finish smooth with a 300-400 plate. It will take you several sessions to get to flat.
Again, dont use too much pressure, you will rip the grit from the paper.
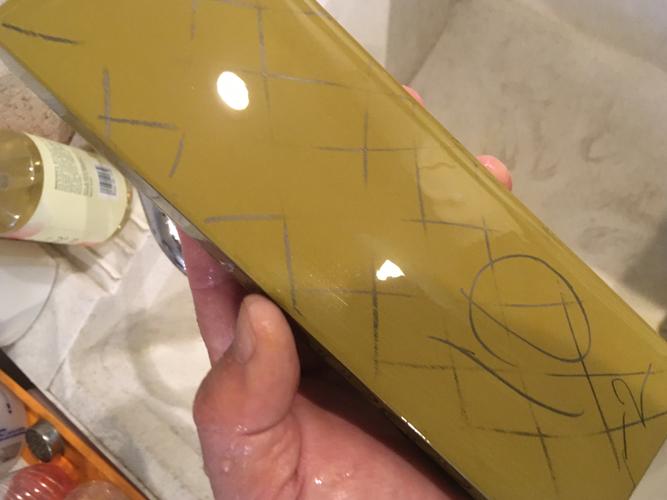
For your final grids, mark as described above but add lines between each line, so you have about a1/2-inch grid pattern. Photos 4,5, &6.
I took a lot more photo, but because my hands were wet, most of them were short videos. I marked the number of laps and how many courses on the corner. I switched to the finer ½ in grid about halfway, because I had a low spot on one side near the middle and I wanted to track it.
The whole lapping process took about 20 minutes, but most of the time was stopping to dry my hands and take a photo. It should take you 10-15 minutes total, but it takes what it takes.
The bottom line is, you can not grid a stone and remove the grid once or twice and get a stone flat. Slurry will build up, even under running water and you may think you have lapped the stone flat, but really the slurry is removing the pencil grid and the stone is not close to flat.
Once 95-100% the grid was removed in 10 laps, I re-gridded the stone and repeated the process and one more time to make sure. A total of 10 grid and lapping sessions.
Now hone, see if your edges improve. As a stone wears from honing, rough spots develop, (the low areas). As the edges wear those rough spots hit the honed smooth edge with each stroke and impact the edge leaving rough spots on the edge. It can be almost self-defeating.
The goal is a smooth stone surface, flattening the stone face leaves a smooth surface. If you surface your stone frequently you can minimize dishing, but even then, a thorough lapping is a good idea, and eye opening.

-
The Following 10 Users Say Thank You to Euclid440 For This Useful Post:
AlanQ (03-24-2020), DZEC (03-24-2020), Gasman (03-24-2020), Geezer (03-24-2020), JBHoren (04-23-2020), lloydw (03-24-2020), markbignosekelly (03-23-2020), MichaelPz (03-24-2020), ScoutHikerDad (03-24-2020), sharptonn (03-24-2020)


 Reply With Quote