Results 1 to 10 of 11
-
10-16-2009, 04:48 AM #1
 Pics with my new Veho VMS-004 Discovery Series 400x USB Microscope
I got my new USB digital microscope. I have fiddled a bit with it ad am not sure I am getting pics that are as good as I can.
I took a NOS Revisor I bought from the Revisor company. I have been shaving with the factory edge. Here is what that looked like when I started out:
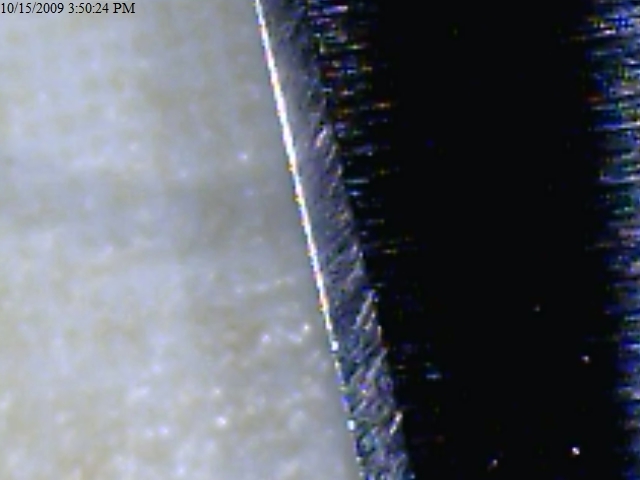
Then I decided to use the Nakayama I bought from O_S. After 20 strokes it looked like this:
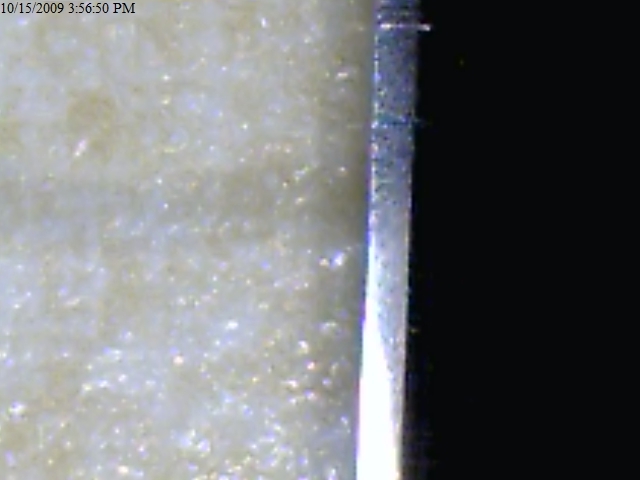
It didn't look quite as smooth as I could get so I did another 20 (total of 40).
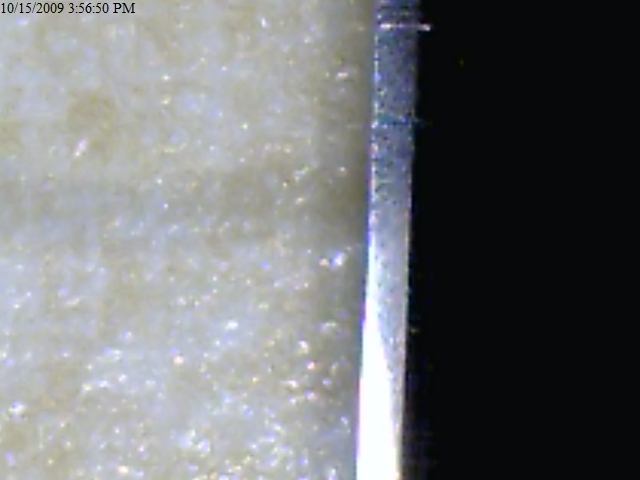
I thought that looked pretty smooth, so I wanted to see how the Olivia hone (AKA Frankonian) compared. I figured if it was much coarser, more scratches would show up. 20 strokes later it looked like this:
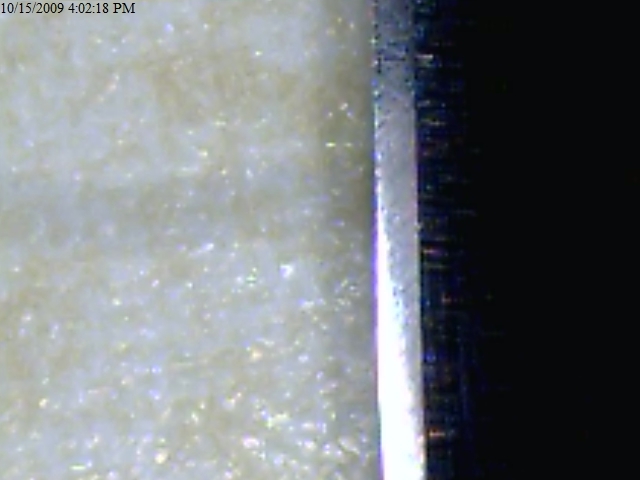
I didn't see much difference, so I did another 20.
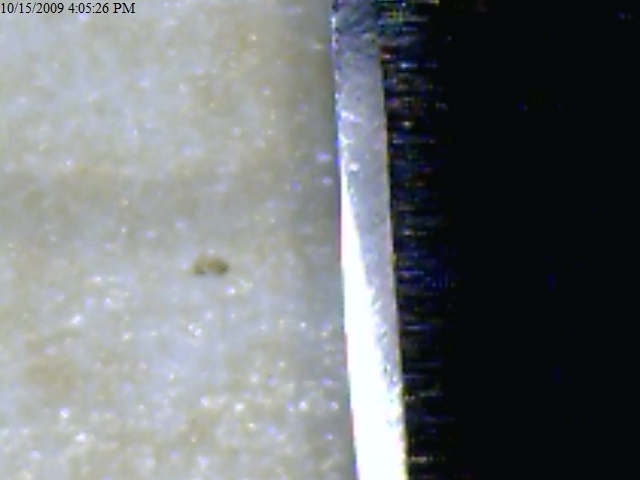
Finally, I decided to take it to 0.25 micron diamond on felt:
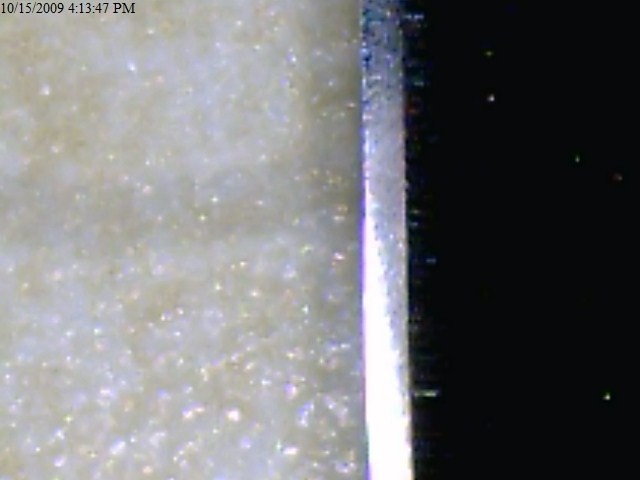
I don't know if you can appreciate it in the pics, but as I moved it around I thought it looked a little more uneven with the diamond than with either hone.
My experience has been that either hone feels a little smoother shaving, than the diamond.
These are the best pics I could get. If any other Veho users know any tricks about using the 'scope. Please give me some advice.
-
The Following User Says Thank You to Pyment For This Useful Post:
Smokintbird (10-16-2009)
-
10-16-2009, 02:13 PM #2

The pics look a bit out of focus, but I am sure you'll figure it out...it's probably just a simple setting.

Your pics do show enough to be obvious about the difference between the starting edge and the other honed edges! I think from the last pic that you are right about that edge being less even, but I'm not sure if I am just seeing things... Very interesting though!
Thanks,
Christopher
-
10-16-2009, 03:25 PM #3Senior Member

- Join Date
- Apr 2009
- Location
- Arizona
- Posts
- 325
Thanked: 127
Now you're in trouble! Like getting an erector set for Christmas isn't it?
Go to options and rotate the picture anti-clockwise 90 deg. That will put the blade across your picture instead of up and down.
Then under options go to preferences. Then go to zoom. Move the slider up some to increase the magnification. Best for me is around 2/3 of the way. Those little arrows are used to move the light out of the way, so that the reflection isn't quite as bad.
I don't mess with the effects tab, but on the settings tab I do check the image flip box only.
By the way. That last batch of coffee you sent was probably the best I have ever had. My wife and I have enjoyed it a lot. Thanks.
Enjoy!
Ray
-
10-16-2009, 03:41 PM #4Hones/Honing/Master Barber


- Join Date
- Aug 2009
- Location
- Waynesboro, PA
- Posts
- 997
- Blog Entries
- 6
Thanked: 199
-
10-16-2009, 03:52 PM #5Senior Member

- Join Date
- Apr 2009
- Location
- Arizona
- Posts
- 325
Thanked: 127
I think I replied to one of the threads about this before. But here are what some of the pic's look like.
Here is a blade with a chip
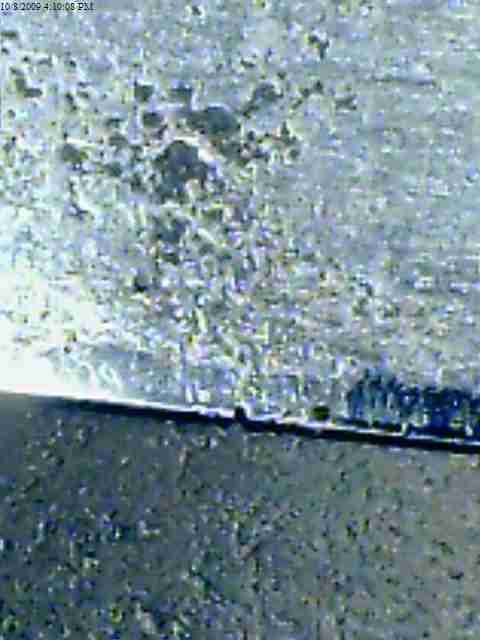
This is the same blade after honing
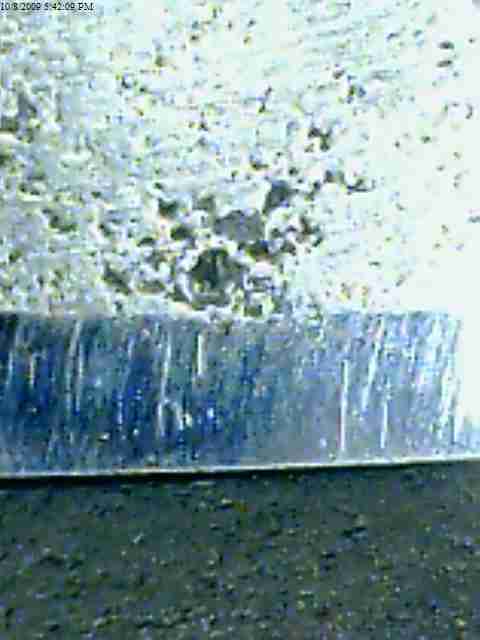
I don't know how I ended up with the extra 2 photo's at the bottom.
This tool works just fine for me. I wear bi-focals so taking my glasses off is a pain in the butt. The Radio shack works just fine too, but if you are doing a lot of razors, this is the tool to have. It is really useful for checking for chips and microchips. When you want to save a picture, make sure you hit the advanced button, on the save to screen, and change the resolution to 20 or so. That will reduce the size of the picture and make it possible to upload them without being too big.
If you have any more questions I would be glad to help.
Enjoy!
Ray
RayLast edited by rayman; 10-16-2009 at 03:58 PM.
-
10-16-2009, 04:38 PM #6Hones/Honing/Master Barber


- Join Date
- Aug 2009
- Location
- Waynesboro, PA
- Posts
- 997
- Blog Entries
- 6
Thanked: 199
The last couple pics look great Ray!
But the OP and your first couple look REALLY pixelated and bright.
Was the setting off or maybe the picture was resized causing pixelation?
*shrug* Just curious, cause I really want one, but not if it's hard to get a clean pic off of it.
Thanks a bunch for the info!
-
10-16-2009, 06:06 PM #7Senior Member

- Join Date
- Apr 2009
- Location
- Arizona
- Posts
- 325
Thanked: 127
This thing is like a little kid
 Some times it takes great pictures and other times it doesn't. If you are looking for lab quality from this model, forget it. It just doesn't do it.
Here are 2 examples of what you can expect from this microscope.
Before:
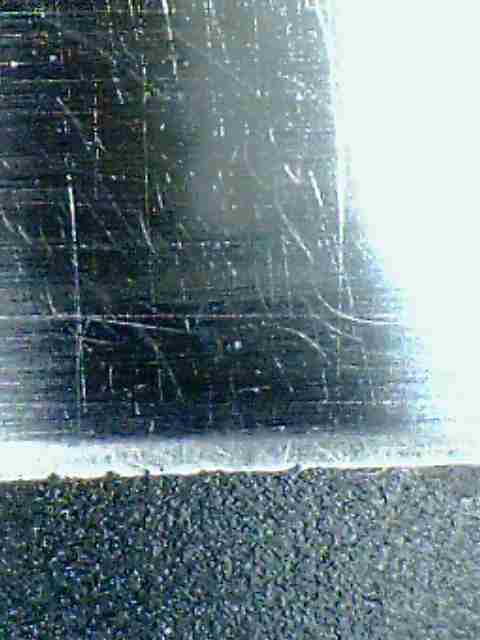
After:
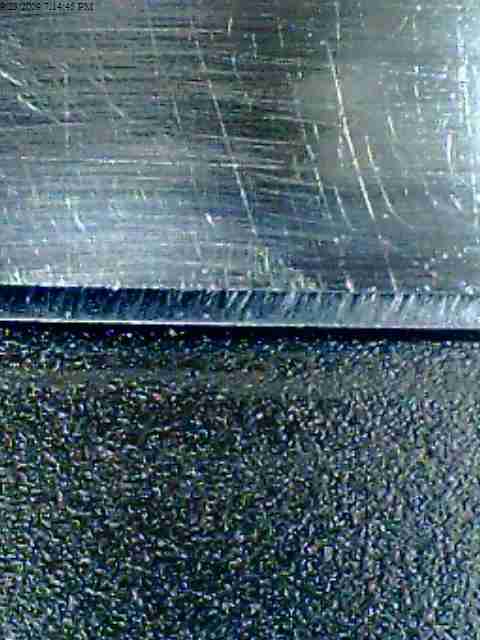
And again before:
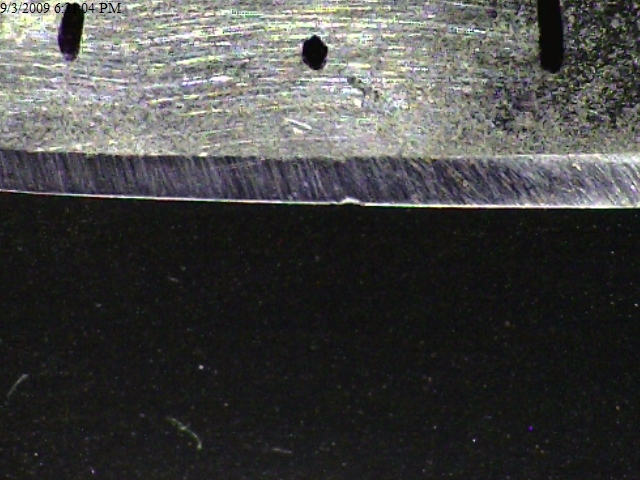
After:
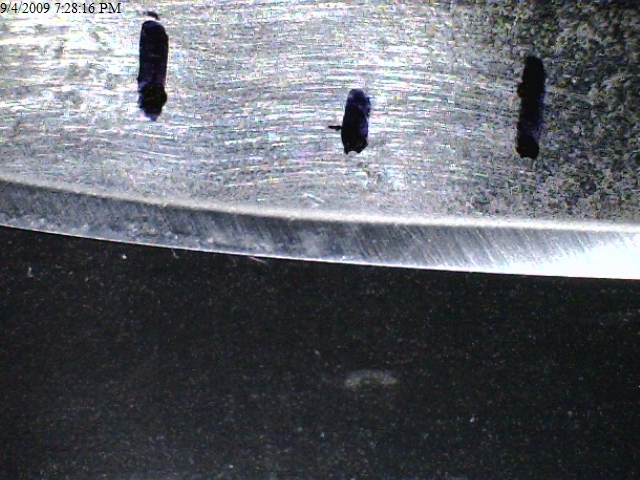
At 400x the edge looks like it is coated withwater and not very clear.
Ray
-
10-16-2009, 08:16 PM #8Senior Member

- Join Date
- Apr 2009
- Location
- Arizona
- Posts
- 325
Thanked: 127
I suppose I should have put this in one of the other posts so here is just something to think about.
I think if Lynn were to add to this thread he would say something like this:
This might be nice to have, but it isn't necessary to get a razor sharp. In fact, it doesn't really give you any information you don't already have while honing. Learn to hone without it and let your shave be the ultimate decider.
Have fun!
Unless you just want to look at edges, a lot, I wouldn't get one. Stick with the Radio Shack or a good 30x loop.
JMHO.
Enjoy!
Ray
-
10-16-2009, 08:22 PM #9I shave with a spoon on a stick.


- Join Date
- Jan 2009
- Location
- Stay away stalker!
- Posts
- 4,578
- Blog Entries
- 1
Thanked: 1262
After reading this thread, i never looked at scope pictures the same again....
Same edge, same spot, same magnification, different light... - Straight Razor Place Forums
-
10-17-2009, 05:39 AM #10

I think those 2 on the bottom of Ray's post are my razor (before and after).
I'll have to tone down with the zoom. Does it help If I increase the pixels?
Was that a Sumatra coffee I sent?


 LinkBack URL
 About LinkBacks


 Reply With Quote

