
Results 1 to 10 of 22
 LinkBack URL
 About LinkBacks
-
01-30-2010, 04:33 AM #1W&B, Torrey, Filarmonica fanboy


- Join Date
- Aug 2008
- Location
- Atlanta
- Posts
- 605
Thanked: 252 Coticule Resotrations (pic heavy)
I love to look at photos of razor restorations. But being a lover of hones and especially coticules, I thought it would be fun to post some pictures of coticules I've recently restored. And it's a good excuse for the coticule fans here to look at some coticule pics.

A while back I purchased some separated coticules from a forum member, with the intention of bringing them back to full shape. The first may or may not be vintage, and is slate-backed. The next two are vintage un-glued coticule/blue combos.
All were lapped with a DMT 10" Xtra-Coarse/Coarse performated combo plate, and re-glued with Original Gorilla Glue. After the glue set, they were all re-lapped and re-beveled with the DMT Coarse, followed by 600, 1000, and 2000 grit wet/dry sandpaper.
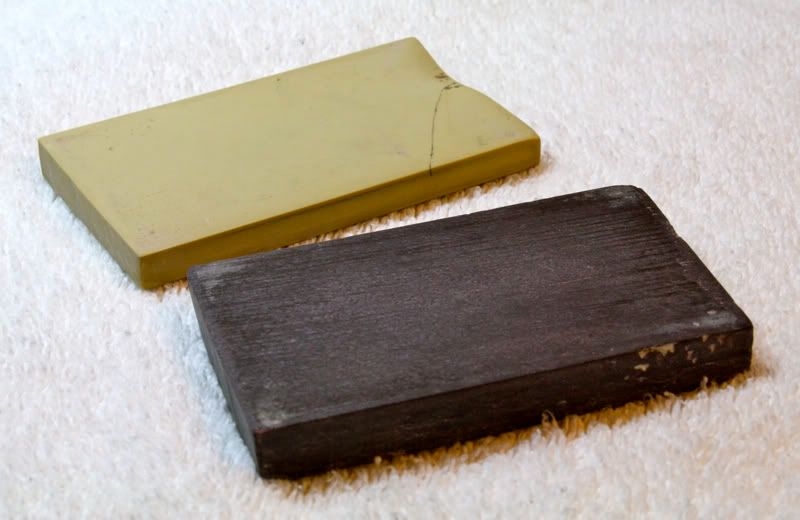
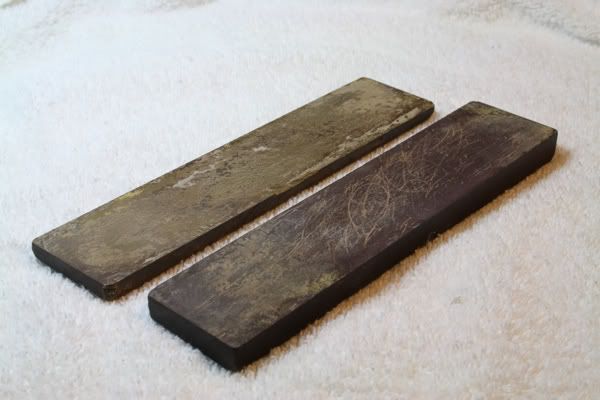
The first is a slate-backed 5.1" X 1.6". Before:
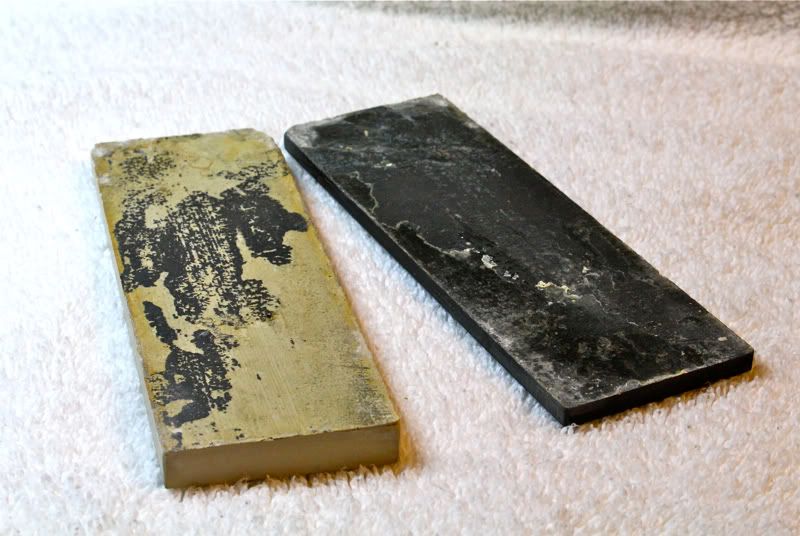
Another BEFORE, showing the original honing surface:
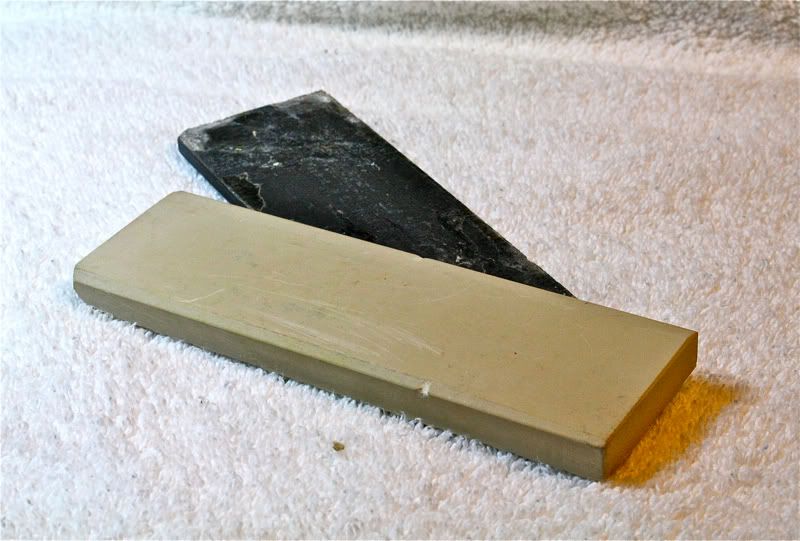
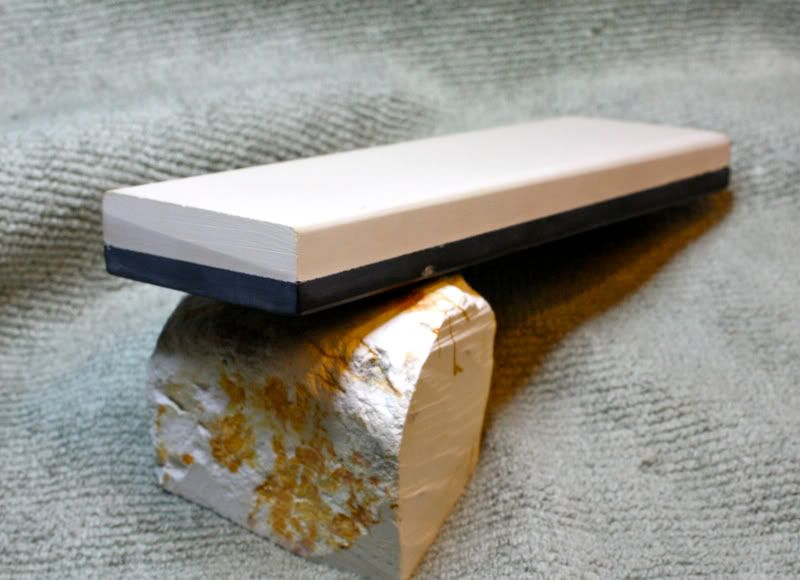
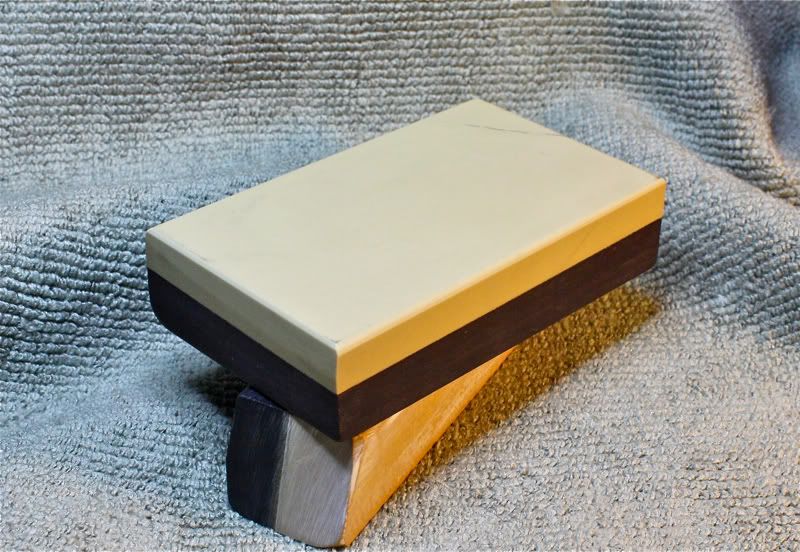
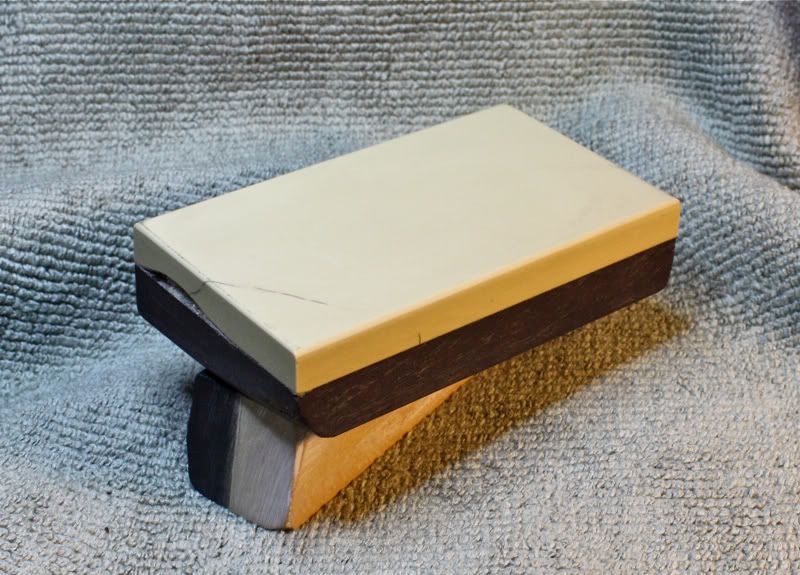
After:
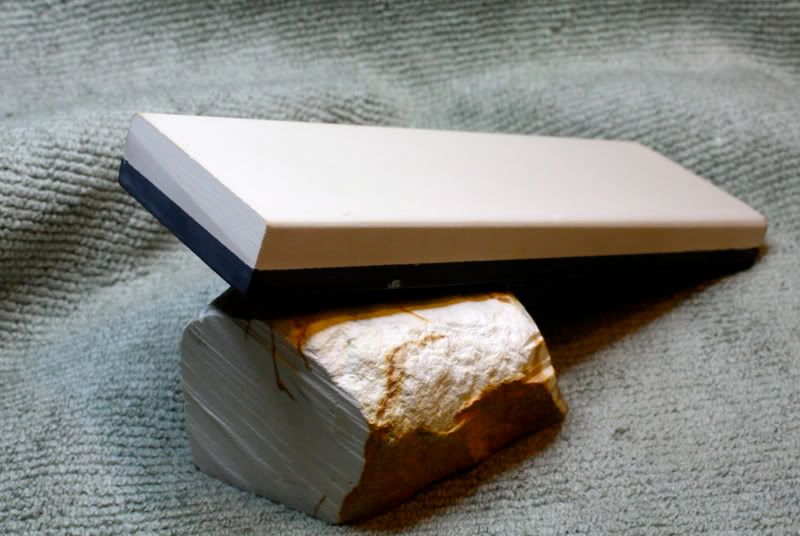
After:
-
The Following 5 Users Say Thank You to FatboySlim For This Useful Post:
Evritt (01-08-2011), joke1176 (02-02-2010), majurey (02-02-2010), MrDavid (01-30-2010), Oldengaerde (01-30-2010)
-
01-30-2010, 04:39 AM #2W&B, Torrey, Filarmonica fanboy
- Join Date
- Aug 2008
- Location
- Atlanta
- Posts
- 605
Thanked: 252
Continued....
Here is a tiny 3.0" X 1.8" separated yellow/blue combo. It had an interesting smooth depression on one side, so to preserve as much flat surface as I could, I flipped it over and glued that surface to the blue after lots of lapping:
Before:
After lapping and gluing, picture taken from the non-indented side:
Another after pic, taken from the side with the depression. I'd appreciate any advice on a good filler material that would match the coticule in color as closely as possible, so I could fill the "hole":
-
The Following User Says Thank You to FatboySlim For This Useful Post:
BHChieftain (01-30-2010)
-
01-30-2010, 04:46 AM #3W&B, Torrey, Filarmonica fanboy
- Join Date
- Aug 2008
- Location
- Atlanta
- Posts
- 605
Thanked: 252
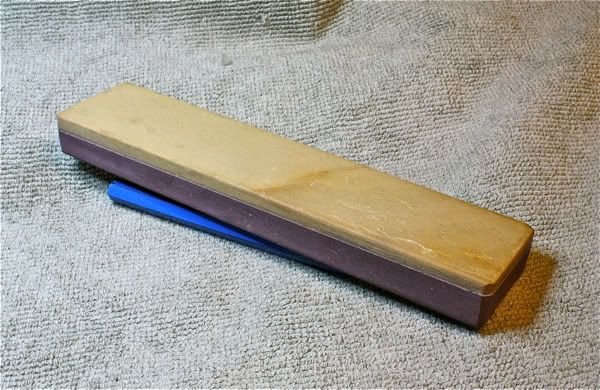
Last one, a very old 1.5" X 6.6" separated combo coticule that when I first looked at it, I thought it had a patina, or was dirty, or had been used with motor oil.
 After much lapping, the color goes all the way through the yellow coticule, and it has sort of a grain. I haven't seen a coticule with this coloration before. Can't quite call it "salmon", too brown with no real reddishness. But it's interesting.
Before, honing surface:
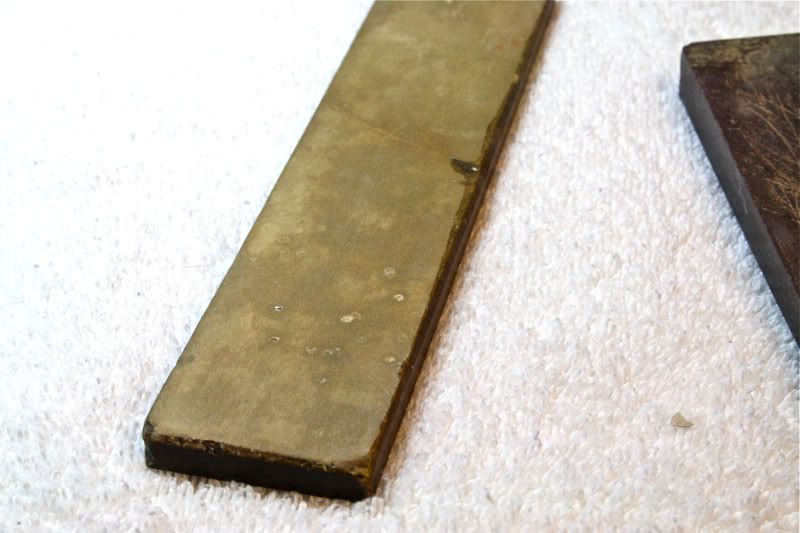
Before, the unglued surfaces:
After lapping, regluing, and finishing. That's really the color:
-
01-30-2010, 04:53 AM #4Senior Member


- Join Date
- Oct 2007
- Posts
- 4,445
Thanked: 834
Nice work. Did you spritz the surfaces of each piece with water before using the Gorilla glue? I know that glue is "activated" to some extent from moisture. Moisture helps the bonding.
They look great.
Regarding filling the gap: I have mixed coticule powder I saved from lapping a handful of them and mixed it with heated beeswax. I heated the stone in the oven a bit on low temp, mixed the beeswax and coti powder in a makeshift double boiler and very quickly filled the cracks. It worked well, but is a lot of monkey business. Finding a suitable colored epoxy would be easier.
Chris L"Blues fallin' down like hail." Robert Johnson
"Aw, Pretty Boy, can't you show me nuthin but surrender?" Patti Smith
-
The Following User Says Thank You to ChrisL For This Useful Post:
FatboySlim (01-30-2010)
-
01-30-2010, 05:06 AM #5Senior Member

- Join Date
- Dec 2008
- Location
- South Florida
- Posts
- 1,057
Thanked: 255
Nice pics. I would use slow cure epoxy with earth pigments. All of the iron oxides, the yellow, black and red are very stable and fill as well as color and economical. I join thin stones periodically with the black and it looks nice and none have ever failed.
Mike
-
The Following User Says Thank You to Kingfish For This Useful Post:
FatboySlim (01-30-2010)
-
01-30-2010, 05:06 AM #6W&B, Torrey, Filarmonica fanboy
- Join Date
- Aug 2008
- Location
- Atlanta
- Posts
- 605
Thanked: 252
Yep, correct, the moisture activates the Gorilla Glue. I read about Gorilla Glue as an option for gluing cracked stones here on the SRP. I used very little glue for the first two, and the seam between the sides is almost invisible after lapping of the tiny excess. But I went way overboard with the glue on the third one, and a pinkish seam is visible between the attached sides. But hey, that Gorilla Glue holds nice, I'll give it that. Originally Posted by ChrisL

Thanks Originally Posted by ChrisL

I'd read about using slurry powder mixed with beeswax here before (probably from you!). I'll have to give that or epoxy a try. I was actually going to use epoxy to glue the stones themselves, but I had difficulty using it in woodworking years ago. I'm sure they have much-improved epoxies nowadays. Originally Posted by ChrisL
-
01-30-2010, 05:14 AM #7Senior Member
- Join Date
- Oct 2007
- Posts
- 4,445
Thanked: 834
I like Mike's suggestion of epoxy and earth pigments. That seems much easier. I tend to be one that goes through laborious processes on purpose just for the experience of doing so. The coticule powder was a result of lapping a handful of coticules using a clean bucket of water to rinse them off during lapping. Then, I decanted the water after the slurry settled to the bottom over the course of a few days. When the water couldn't be decanted anymore without actually pouring off slurry as well, I let it evaporate until I had nothing but the powder left to store.
Chris L"Blues fallin' down like hail." Robert Johnson
"Aw, Pretty Boy, can't you show me nuthin but surrender?" Patti Smith
-
01-30-2010, 06:21 AM #8Comfortably Numb


- Join Date
- Jan 2009
- Location
- Charlotte, NC
- Posts
- 2,095
Thanked: 668
very nice work... those look really great, and I love the coticule

-
The Following User Says Thank You to Del1r1um For This Useful Post:
FatboySlim (02-02-2010)
-
01-30-2010, 01:20 PM #9Senior Member

- Join Date
- Apr 2008
- Posts
- 1,689
Thanked: 244
Yeah, they're looking great. Nice work.
-
The Following User Says Thank You to AlanII For This Useful Post:
FatboySlim (02-02-2010)
-
01-30-2010, 06:06 PM #10Unique. Like all of you.

- Join Date
- Jan 2009
- Location
- Uithof - NL
- Posts
- 518
Thanked: 327
Nice stones, and nice seeing them restored to usable beauty. Thanks for sharing!
-
The Following User Says Thank You to Oldengaerde For This Useful Post:
FatboySlim (02-02-2010)


 Reply With Quote