
Results 1 to 5 of 5
 15Likes

Thread: Coticule Repair
 LinkBack URL
 About LinkBacks
Threaded View
-
05-26-2013, 12:05 AM #1Senior Member

- Join Date
- Jan 2009
- Location
- Michigan
- Posts
- 178
Thanked: 45 Coticule Repair
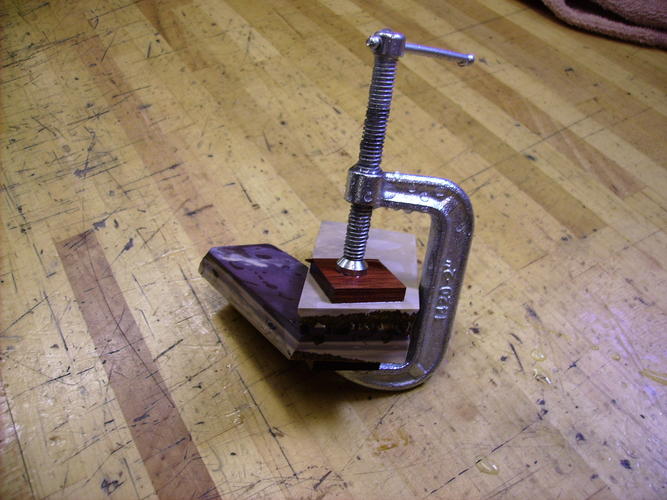
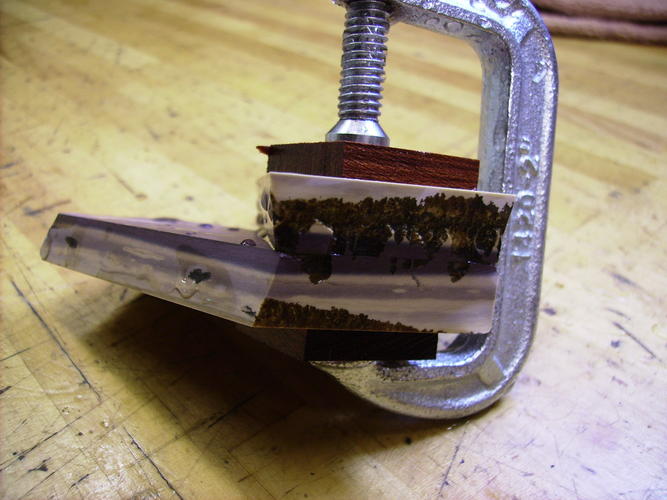
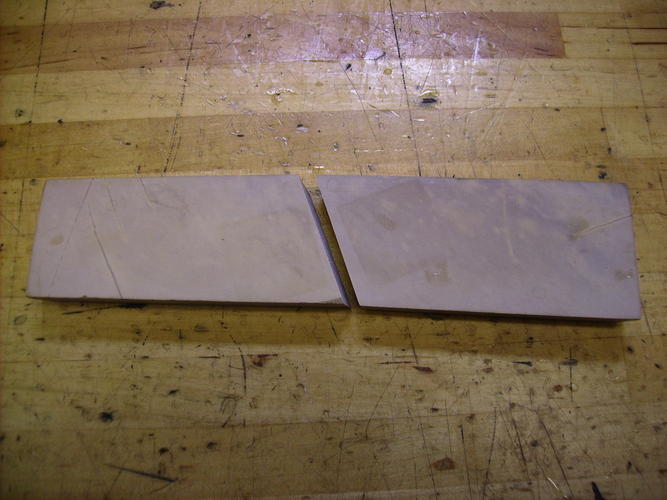
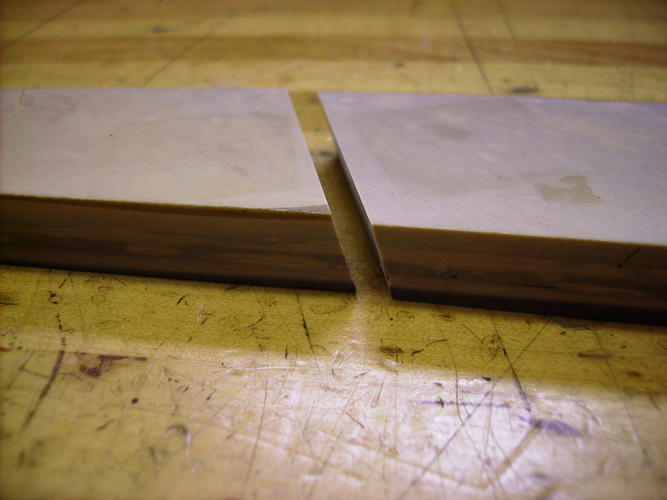
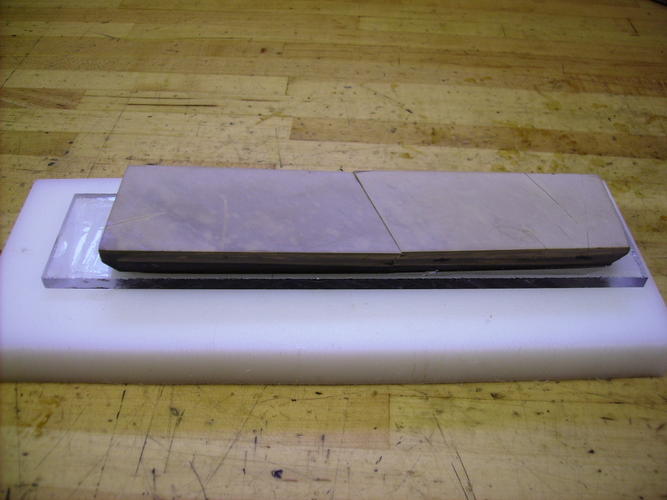
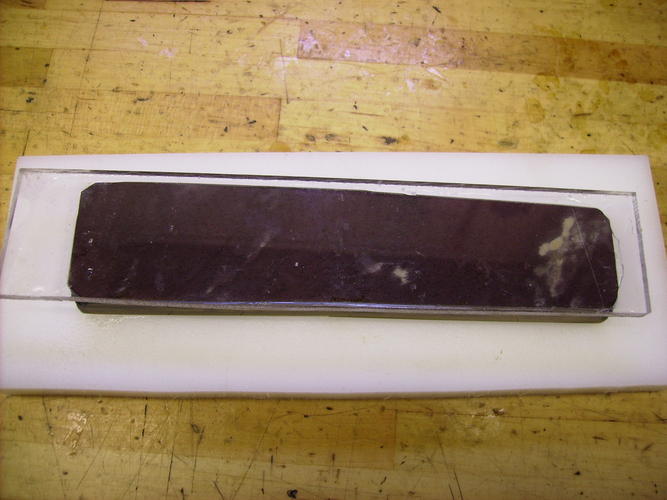
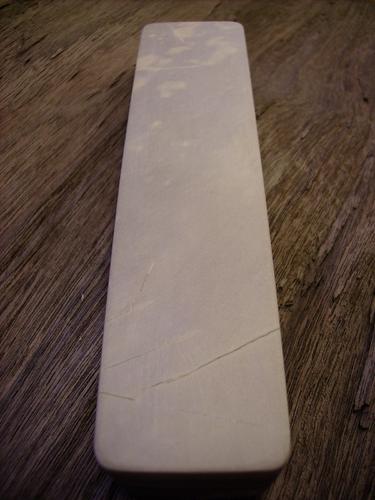
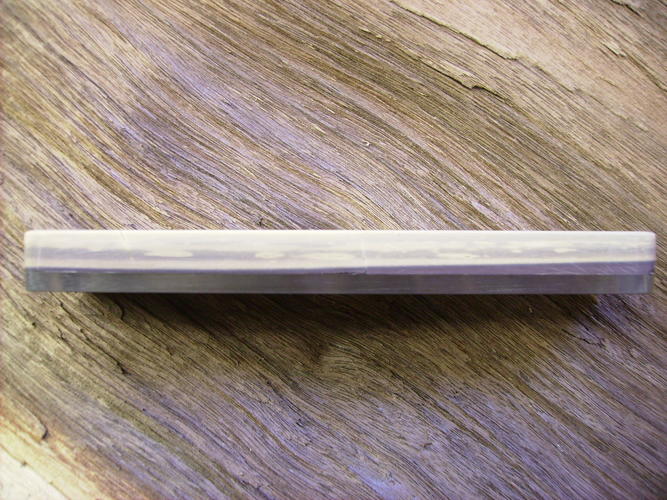
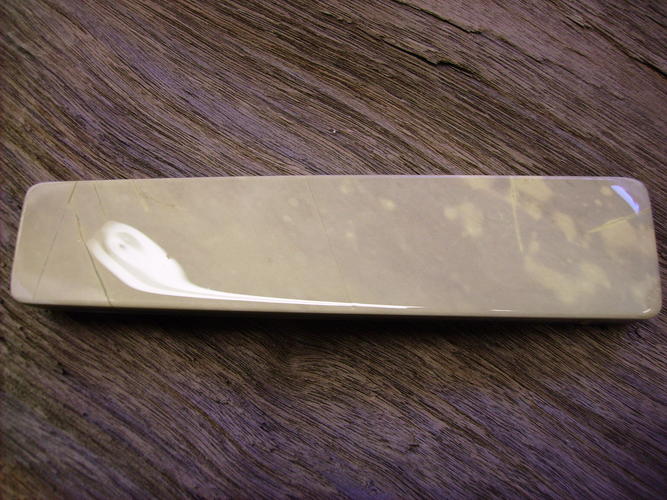
I just finished repairing a broken coticule and thought I would post some pictures of the process. The hone came from a gentleman who had it tucked away in a drawer of tools, broken long ago. I originally intended to use the pieces as slurry stones but kept thinking what a shame so I decided to attempt a repair. The hone was very dirty and the broken surfaces were in no shape to simply glue back together. I clamped the pieces together and established a new clean mating surface using a DMT diamond plate. Lapping both pieces together ensures that they will match well. You can't see in the pictures but I made sure to completely lap the joining surfaces before gluing. I used a mixture of hide glue and beeswax to glue them together, I'm not sure of the ratio but it was more glue than wax and seemed to work well. I chose the hide glue/beeswax because I wanted a softer glue joint thinking it might be better to avoid edge damage as a result of the glue. I'm not sure if it was a good idea but I'll find out soon when I use it. After the pieces were glued together, the bottom surface was lapped and then epoxied to a piece of 3/16" acrylic. I then trimmed the excess plastic on a bandsaw and sanded the sides smooth on a belt sander. To finish, I lapped the surface and I'm happy to have given this hone a new life, I just hope it turns out to be a good one!
-Matt


 Reply With Quote