Results 1 to 10 of 16
Thread: Honing - "Look" before you Leap
-
11-06-2013, 04:43 PM #1At this point in time...


- Join Date
- Jun 2007
- Location
- North Idaho Redoubt
- Posts
- 27,206
- Blog Entries
- 1
Thanked: 13250 Honing - "Look" before you Leap
One of the first things I do before I even touch a Hone is LOOK at the razor..
I make sure of course it is in good repair, that the pins are tight, so they are not flopping around when I try to hone and strop the razor that there are no cracks, I check to see that it closes centered .. Nothing worse then spending all the time honing then to slam the new fine edge into the side of the scales
I do BOTH versions on the TNT to check the integrity of the edge, and feel for issues, this is just something that should be second nature..
a. TNT running the edge of the razor down the thumb nail to feel for the condition of the edge, feeling for sharpness and roughness
b. TNT running the side of the bevel down over the thumbnail to create a small bulge in the bevel of a Hollow Grind razor, this will revel and hidden cracks, and often will let you feel for pitting in the side of the bevel..
A quick check for the condition of the overall shape of the edge can be done by holding the razor up and sighting against a bright light or window, turn the razor so it goes Black against the light so you are looking at the silhouette it can show a frown really quick.. (yes that is snow out there, we got a dusting last night)
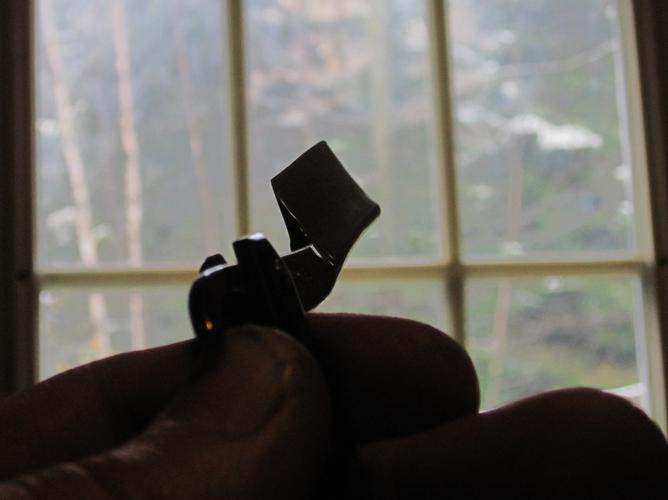
So can looking at the edge above a known Straight Edge , but the Silhouette trick is faster and you don't get the uneven bevel error in there.. If the bevel is uneven it can deceive your eye into thinking there is a frown when there isn't..
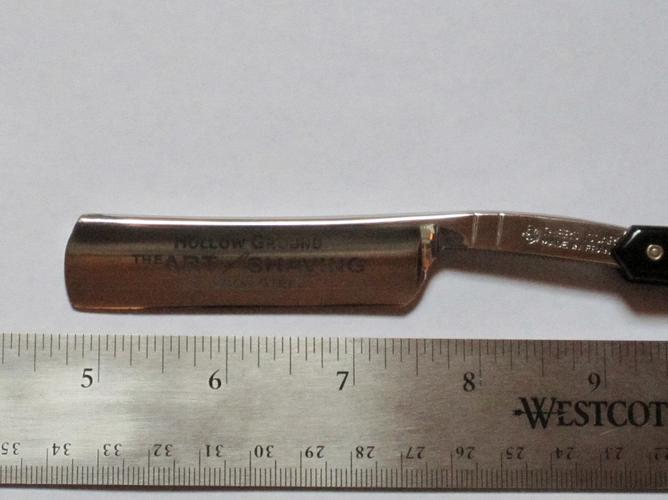
Here is a progression of what evaluating an edge looks like
I start with just the Mark A-1 Eyeball to see what there is to see
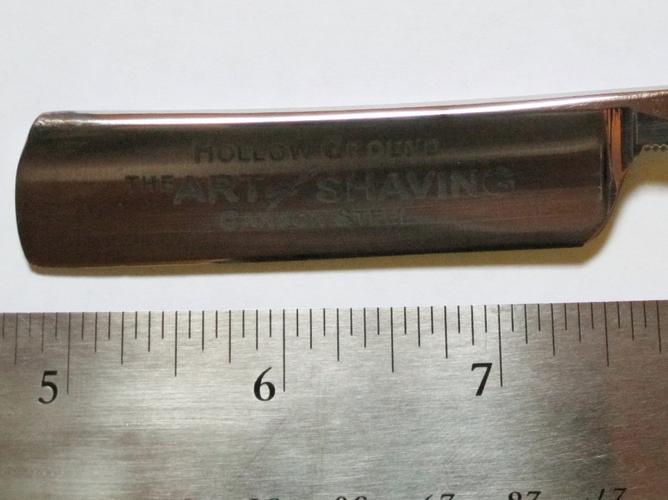
Look closer
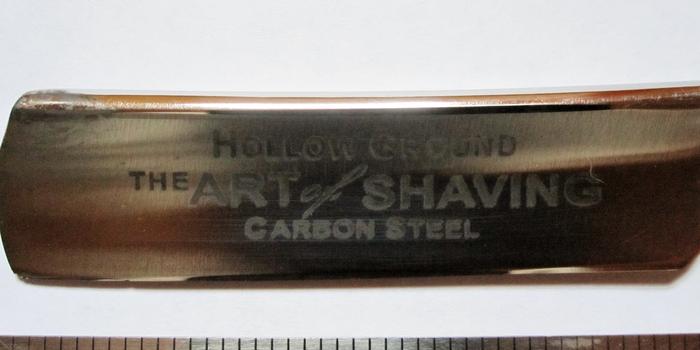
Do you see it ???
At 30X everything become clear, you can of course go much higher if you want, I have just never found any advantage to anything much higher then 40-60X myself... You can of course see in these shots that the bevel is uneven on this razor.. You would obviously look at both the front and the back of the razor bevel..
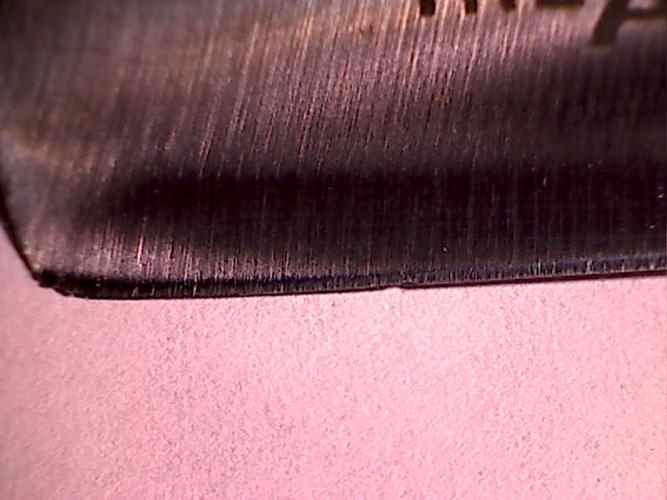
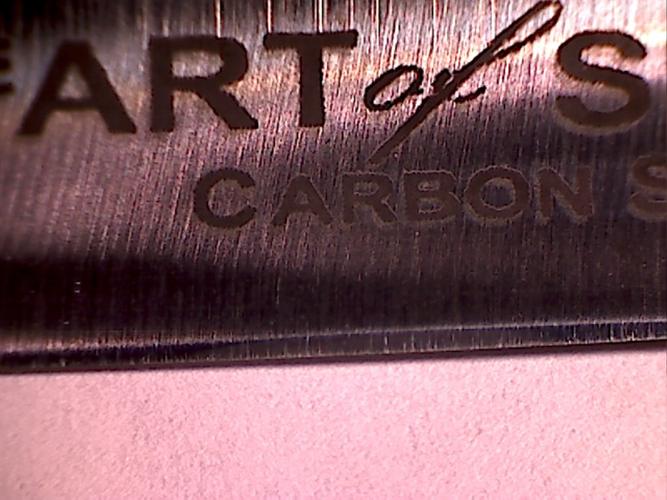
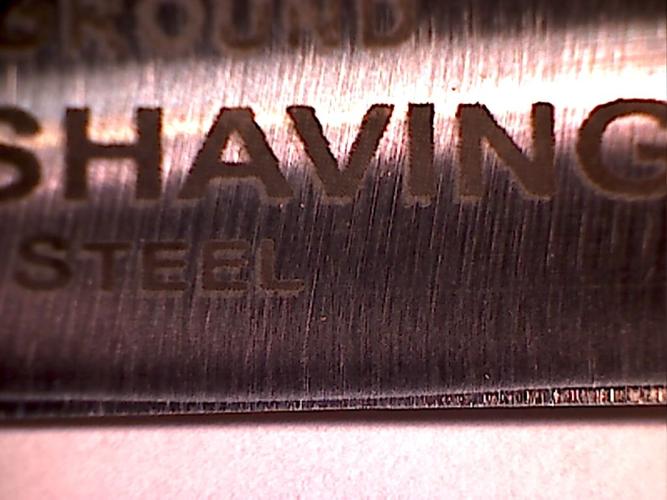
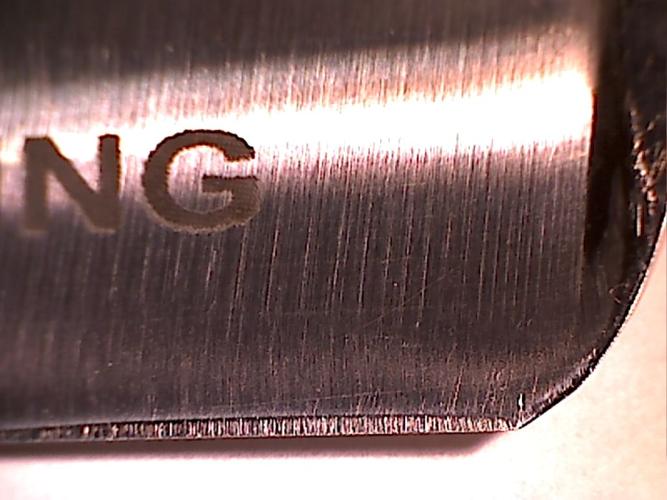
This is just a AOS TI that is the first one across the hones this morning so I decided to take some time and do pics while I did my testing hoping that it might help if you see what I see when I look at a razor BEFORE it hits the hones...
So what is your diagnosis of this razor ???? what issues do you see ???Last edited by gssixgun; 11-06-2013 at 10:07 PM.
-
The Following 17 Users Say Thank You to gssixgun For This Useful Post:
Baxxer (01-26-2015), BobH (11-06-2013), cmsessa (11-27-2016), jmercer (08-18-2015), Lonerider (11-07-2013), MJC (08-19-2015), PaulKidd (11-06-2013), PhatMan (01-24-2015), Phrank (01-24-2015), rolodave (01-26-2015), ScottGoodman (01-26-2015), Slawman (11-26-2016), str8fencer (01-24-2015), Tack (11-06-2013), tedh75 (01-24-2015), tinkersd (11-29-2016), xiaotuzi (12-01-2016)
-
11-06-2013, 04:55 PM #2< Banned User >

- Join Date
- Dec 2012
- Location
- Long Island NY
- Posts
- 1,378
Thanked: 177
Looks like it may have a slight frown, but could be the picture. The bevel is off because the spine may be crooked or its a bad grind and that's the frown. The toe looks short also. How off am I? I will gladly take a paddling in a public forum for the sake of all of us learning something today.
-
The Following User Says Thank You to bill3152 For This Useful Post:
gssixgun (11-06-2013)
-
11-06-2013, 05:17 PM #3Senior Member


- Join Date
- Apr 2012
- Location
- Diamond Bar, CA
- Posts
- 6,553
Thanked: 3215
The spine look a bit banged up near the tip, dropped? Or it may be just the lighting, which may account for the narrow bevel in the middle.
A chip under the T of The.
A bid of a frown, the tip and heel need some shaping and it looks like the stabilizer may be keeping the heel off the stone, which may account for the wonky bevel at the heel.
It saddens me every time I see the finish on one of these new TI’s.
Typical of the new TI’s I have honed. It can all be fixed with a proper honing.
-
The Following User Says Thank You to Euclid440 For This Useful Post:
gssixgun (11-06-2013)
-
11-06-2013, 05:20 PM #4

There is a chip 1/2 in from the toe
slight s curve honed in (it should have a slight smile)
which is about to lead to the start of a heel hook and part of the cause of the uneven bevel.
I cannot tell from the top picture for sure but it looks like the spine might have a slight warp.It is just Whisker Whacking
Relax and Enjoy!
-
The Following User Says Thank You to pfries For This Useful Post:
gssixgun (11-06-2013)
-
11-06-2013, 05:37 PM #5

A frown, slightly off-center; uneven bevel; corrosion on the spine at the toe end, and maybe
the heel as well; chips on the edge at both ends. Also, wear on the stabilizer, but maybe
that's just the lighting.
ps: I like the interactive style of this post. I'm sure that we'll learn even more when we get
your evaluation of this razor's condition.
-
The Following User Says Thank You to PaulKidd For This Useful Post:
gssixgun (11-06-2013)
-
11-06-2013, 05:40 PM #6At this point in time...


- Join Date
- Jun 2007
- Location
- North Idaho Redoubt
- Posts
- 27,206
- Blog Entries
- 1
Thanked: 13250 Next step: About 40 Circles per side
Cleaned the razor using MAAS and a cloth

Some of what was on there was simple staining most came off, obviously you want to do this BEFORE honing
So taking it to the next step,, these are at 60X and taken after doing circles only on a Chosera 1K, no X strokes.. The Point needed to be corrected on the DMT 325 with some light draws to fix the dinger,, Look really close at this pic and the ones above and you will see the crack above the point... It is out of play concerning the edge so I am proceeding.. There was no damage from that to the spine that was just staining..
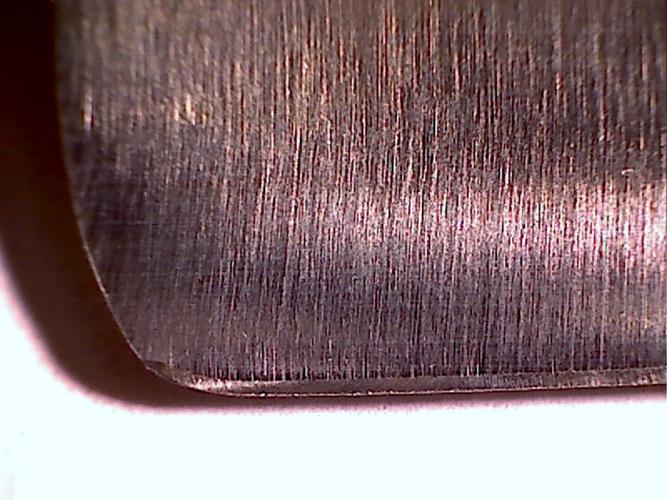
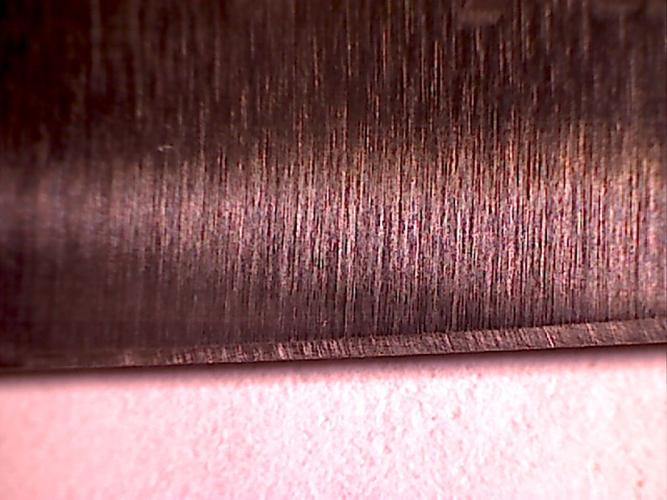
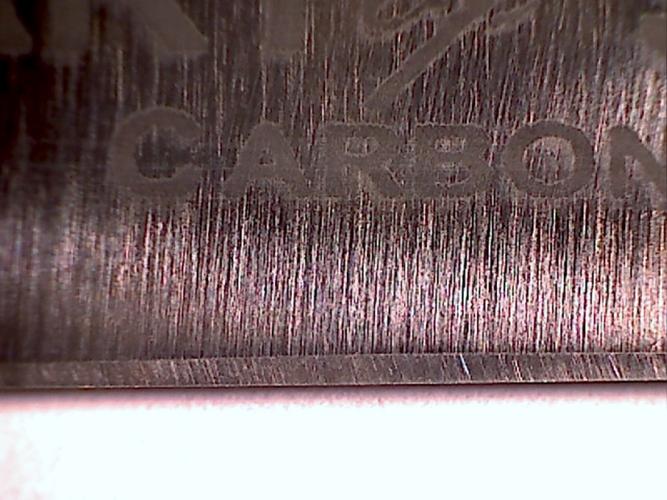
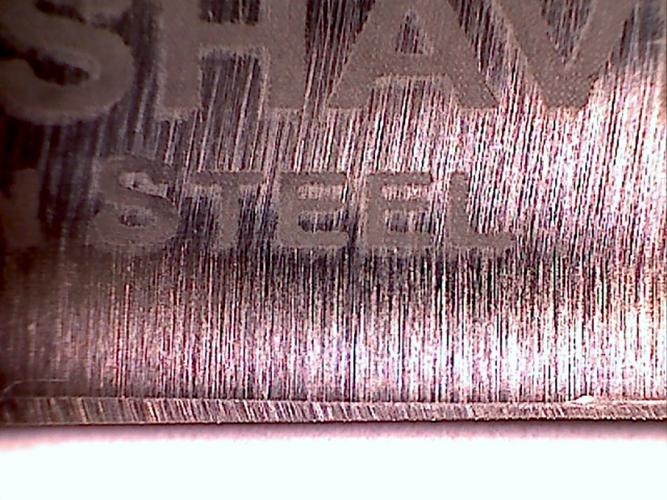
that is just a cloth fiber above to the left, not a crack
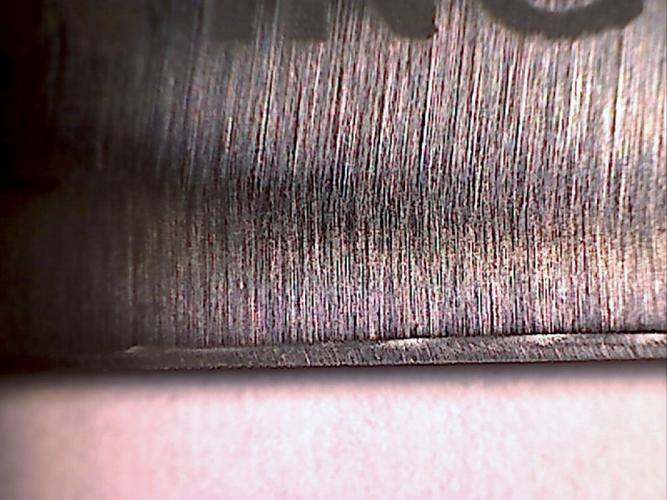
You can see in this Heel pic the beginnings of a Heel Hook, that will also need to be taken off with the DMT 325 but I will finish setting the bevel before doing that..
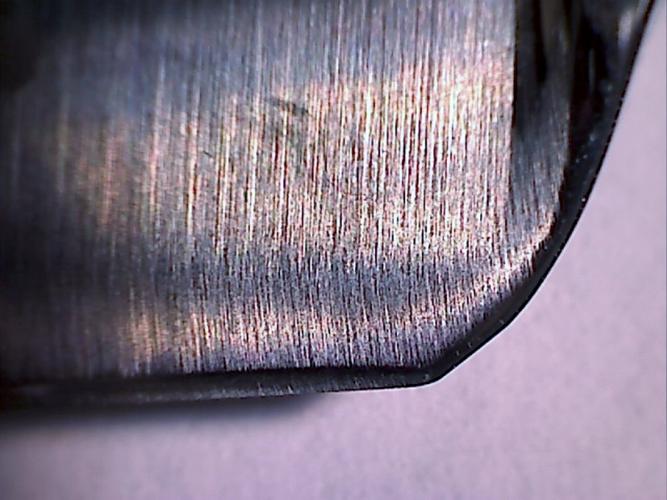
The very slight frown will most likely come out during this honing cycle, because I will hone "Toward a smile" it should take that out gently and completely without having to get drastic either on this honing cycle or the next.. As you can see it looks like the uneven bevel is coming out gently also, that is something that may or may not come all the way out on this cycle, however an uneven bevel does not effect shaving in any case...
-
The Following 9 Users Say Thank You to gssixgun For This Useful Post:
irishguy (11-06-2013), jmercer (08-18-2015), kwlfca (11-06-2013), pfries (11-06-2013), Phrank (01-24-2015), RoobtheLoob (01-20-2015), str8fencer (01-24-2015), tedh75 (01-24-2015), tinkersd (11-29-2016)
-
11-06-2013, 05:52 PM #7

Very informative Glen. Good posts.
-
The Following User Says Thank You to kwlfca For This Useful Post:
gssixgun (11-06-2013)
-
11-06-2013, 05:58 PM #8

Glen, your restoration and honing picture tutorials are always so informative! I come out of each of these feeling like I actually learned something...
-
The Following User Says Thank You to DarthLord For This Useful Post:
gssixgun (11-06-2013)
-
11-06-2013, 06:29 PM #9At this point in time...


- Join Date
- Jun 2007
- Location
- North Idaho Redoubt
- Posts
- 27,206
- Blog Entries
- 1
Thanked: 13250 Bevel Set: Completion
The bevel has passed my tests and is complete.. I got a positive TNT then went back did about 10 light finishing X strokes on the Chosera 1k and got a positive AHT..
I had to go back and add in 20 more circles per side and then about 40 X strokes to get the center 1/2 inch of the edge to pop a solid bevel.. This poses the question of whether it ever was properly set, it should be interesting to hear from the owner of the razor after his first shave...
Point
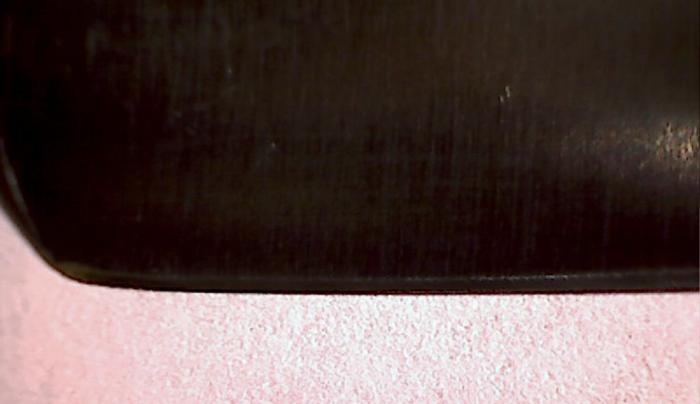
Front Middle
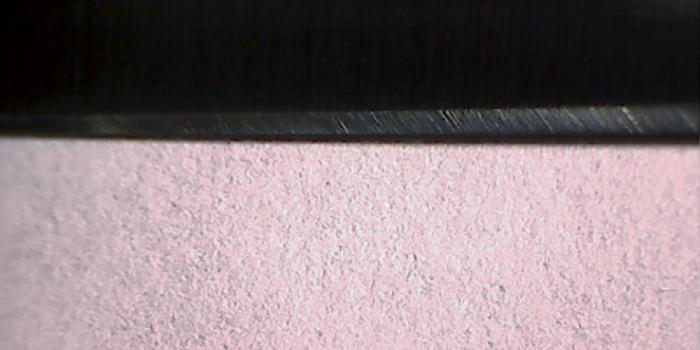
Heel Middle and where the issues were
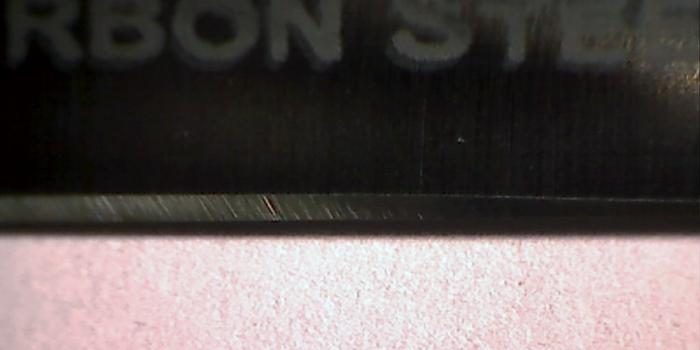
You can also see how the heel is back inline
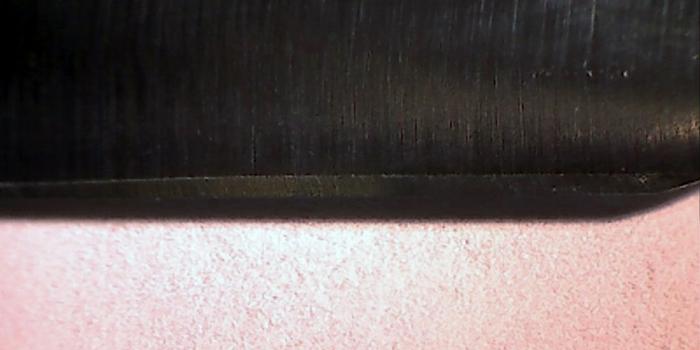
Moving to the Chosera 5KLast edited by gssixgun; 11-06-2013 at 10:10 PM.
-
The Following 8 Users Say Thank You to gssixgun For This Useful Post:
Bud (01-24-2015), hillbillypick (11-10-2013), jodypress (11-06-2013), mdwright (11-07-2013), pfries (11-06-2013), RezDog (11-06-2013), RoobtheLoob (01-20-2015), Slawman (11-26-2016)
-
11-06-2013, 10:04 PM #10Senior Member


- Join Date
- Nov 2010
- Location
- Pequea, Pennsylvania
- Posts
- 2,290
Thanked: 375
Thanks for sharnig Glen!
The pic's are great! I saw a Heel that didn't look right, toe issue, uneven bevel, and a chip. The edge just looked to straight to me, leading me to believe it was headed toward a frown.
I had a barber show me the thumb nail test but want to clarify it. He wet his thumb nail and ran the blade across it, at a 90, just the weight of the razor. He was checking for chipping. Is this what your doing? Or are you laying the blade more on it's side and flexing the blade checking for cracks?CHRIS
-
The Following User Says Thank You to Trimmy72 For This Useful Post:
gssixgun (11-06-2013)


 36Likes
 LinkBack URL
 About LinkBacks


 Reply With Quote


