
Results 11 to 20 of 20
 5Likes
Thread: honing question
 LinkBack URL
 About LinkBacks
-
11-28-2013, 08:53 AM #11Senior Member


- Join Date
- Feb 2013
- Location
- Gosnells Perth Western Australia
- Posts
- 7,218
Thanked: 656 Lay the razor on a flat surface with both spine and blade touching surface and make sure of your contact points. You can also sharpie the bevel then a couple of laps and make sure all the sharpie is being removed. If it is smiling the middle of the blade should be the easiest to hone.
 Originally Posted by dock13
 My wife calls me.........
 Can you just use Ed
-
11-28-2013, 11:45 PM #12Junior Member
- Join Date
- May 2013
- Posts
- 16
Thanked: 1
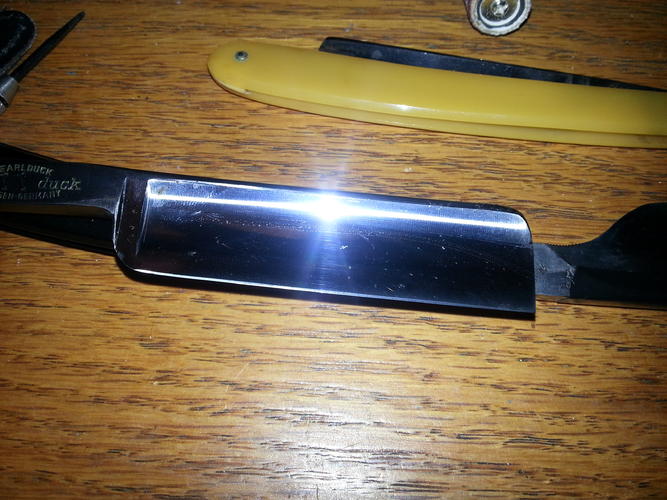
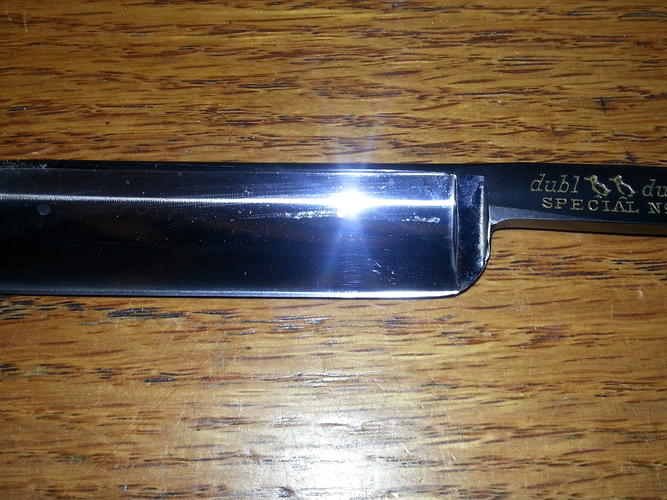
thanks for the help, I used a dmt 325 to bread knife and set pre bevel as gssixgun video instructs, then moved to 1k ss. the hone wear is the same on both sides. the blade has a taper to it, wider at the toe than heal.there seems to be no warp to the blade.the other side of the picture, the bevel is a lot smaller, and not even, much smaller bevel width at the toe. I will post more pictures. I noticed that the stabilizers have a chip and a crack that does not go thru the razor on both sides. I am thinking on just sending it out to glen, as I am fairly new to honing. but I am pretty stubborn, but dont want to waste to mch steel
-
11-28-2013, 11:56 PM #13Junior Member
- Join Date
- May 2013
- Posts
- 16
Thanked: 1
can somebody give me the link to upload photos?
-
11-29-2013, 12:09 AM #14Senior Member

- Join Date
- Feb 2013
- Location
- South Carolina, USA
- Posts
- 1,181
Thanked: 162
Have you tried pressing with a fingertip with your non-honing hand and putting just a little extra pressure on the part of the blade that is not getting sharp? If you watch some of Glens videos, he demonstrates the technique.
-
11-29-2013, 12:24 AM #15Junior Member
- Join Date
- May 2013
- Posts
- 16
Thanked: 1
thank you,will give it a try. i would post more pictures,but i cant find the link to upload pictures. lol
-
11-29-2013, 05:14 AM #16BHAD cured

- Join Date
- Jan 2008
- Location
- Indiana
- Posts
- 1,306
Thanked: 230
Coloring the bevels with a black marker can sometimes help to see what's going on.
-
11-29-2013, 02:35 PM #17Senior Member

- Join Date
- Apr 2012
- Location
- Diamond Bar, CA
- Posts
- 6,553
Thanked: 3215
Going from a 325 plate to a 1K is a big jump especially if you remove a lot of material it will take some work to get a 1K to produce an edge.
I like to use a progression to speed things up and completely set the bevel, 600, 1200 diamond plate, (Ez-lap credit card plates work well for this) circles with spine off the hone. Or a 400, 600 stone progression prior to a 1K will make the work easier and a bit quicker.
You will still put in some time on the 1K, circles until all the deep stria is removed then long blending strokes. Once you begin to get an edge lightly joint the edge on the corner of the 1K stone to remove a lot of the jagged 325 edge and then reset the bevel with x strokes on the 1K.
The photo upload is the 3rd icon from the right, on the tool bar.
-
11-29-2013, 05:15 PM #18Junior Member
- Join Date
- May 2013
- Posts
- 16
Thanked: 1
thanks for all the help. edge finally came together at.0000.
I went to 600 choseria stone then to 1k, when the edge came, I dulled on the corner lime you said and started over on 1k. now pops hair, so on to norton 4k then polish on 8 12k. thanks again. this forum is great!!!
-
11-29-2013, 05:29 PM #19Junior Member
- Join Date
- May 2013
- Posts
- 16
Thanked: 1
 gssixgun likes this.
-
11-29-2013, 05:45 PM #20Senior Member
- Join Date
- Apr 2012
- Location
- Diamond Bar, CA
- Posts
- 6,553
Thanked: 3215
Nice work, the 600 is a lifesaver if you are bread knifing. If you plan on doing a lot of straitening or chip removal, a 400 Chosera is also a good investment.
I bread knife on a 325 or 600 plates then knock the corners off on the 325 or 600 plate then the 400 and 600 and finish on Chosera 1k. Goes fairly quickly with that progression.


 Reply With Quote