
Results 1 to 10 of 21
 16Likes
 LinkBack URL
 About LinkBacks
Hybrid View
-
05-22-2015, 03:33 PM #1Member


- Join Date
- Aug 2013
- Location
- South Africa
- Posts
- 39
Thanked: 2 Remote assistance required - to hone a razor
Hi,
I have been a member for some time and shaving every day with a straight for the past few years - something I look forward to every morning.
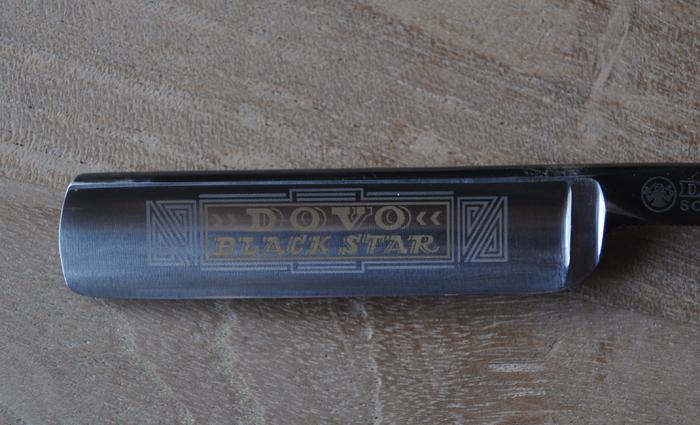
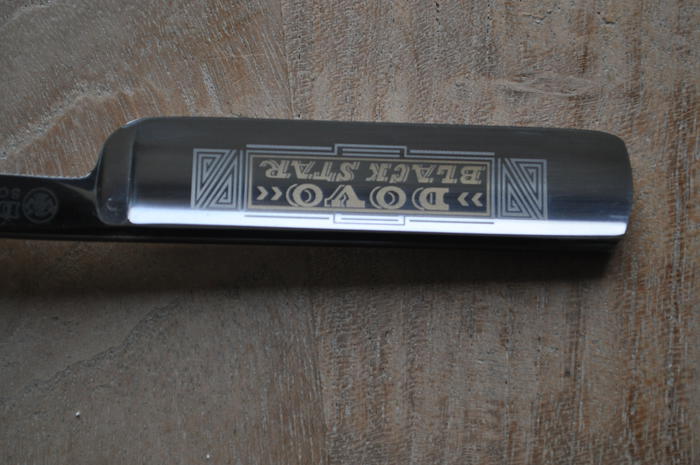
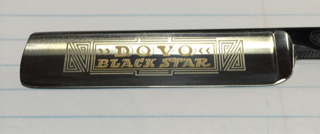
Right when I started my brother in Belgium sent me a Dovo Black Star razor - my first. Since then I acquired quite a few more and I am fortunate to shave with a different razor every day of the week.
I have never successfully honed a razor and only tried with one the Dovo (before I was a member at SRP) which I royally messed up - I am sure it will be easy to spot in the pics. Recently I got a Norton 1000 and 4000/8000 and I would like to try my hand at getting the Dovo into shape. As I live in Africa I cannot drive across to someone to assist me in fixing this Dovo.
Since I have a good camera I thought I would take some pics and request that members on the forum provide me some advice in terms of what they think I should do to set a bevel and then to get it to shave ready. I would be able to document the process as it progresses.
Looking forward to assistance from members in the forum.
 artp47 likes this.
-
05-22-2015, 07:10 PM #2Senior Member


- Join Date
- Feb 2008
- Posts
- 32,564
Thanked: 11042
My monitor isn't that great for resolution and brightness so I may be missing something, but the blade looks good to go for honing. Use one piece of electrical tape, I use 3M but whatever. Since it is a full hollow you want to apply 'gentle' pressure in setting the bevel, but not too much, or you can actually flex the blade and cause more bad than good. No pressure and you'll be spinning your wheels. You might also read the portion of the 1961 barber manual PDF from the SRP library help files. The illustration shows an ideal blade profile and the text explains how to keep it, avoiding a frown.
http://straightrazorpalace.com/srpwi...t_-_Honing.pdf
A picture is worth 1,000 words, so you might want to watch the two videos linked below, by Lynn. Do the circles on the bevel setting and maybe switch to X strokes on the rest of the progression. Circles can remove more metal, so be careful.
SirStropalot and Gerhardb like this.Be careful how you treat people on your way up, you may meet them again on your way back down.
-
05-22-2015, 07:45 PM #3Senior Member

- Join Date
- Jul 2014
- Location
- Kentucky
- Posts
- 707
Thanked: 92
A lighted loupe from EBay is a great tool to help you see your edges under magnification. They cost around six dollars USA, maybe cheaper based on your location. Please feel free to ask a lot of questions, this is a great forum with a multitude of experienced members.
-
05-23-2015, 03:15 AM #4Member
- Join Date
- Aug 2013
- Location
- South Africa
- Posts
- 39
Thanked: 2
Hi, I realized that when posting a picture the uploaded resolution is reduced I will have to post some magnified pics.
This morning I used the caliper and measured the spine at the shoulder end and the heel end. This is where my main concern is and I would like your advice.
On the side with Dovo etched the spine wear is as follows:
heel end = 1 millimeter
toe end = 0.75 mm
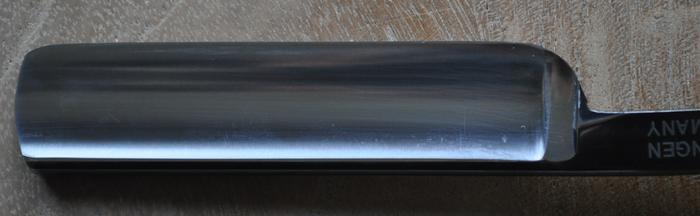
On the other side
heel end = 0.6 mm
toe end = 0.6 mm
Therefore the etched side is ground uneven and slightly more than the other side. In order to set a bevel I would have to correct this and get both sides even. Is taking metal off on the non-etched side as well as the toe end of the etched side the correct action ?
Kind RegardsLast edited by Gerhardb; 05-23-2015 at 03:15 AM. Reason: grammar improvement
-
05-23-2015, 03:21 AM #5Senior Member

- Join Date
- Jun 2006
- Location
- The Netherlands
- Posts
- 5,474
Thanked: 656
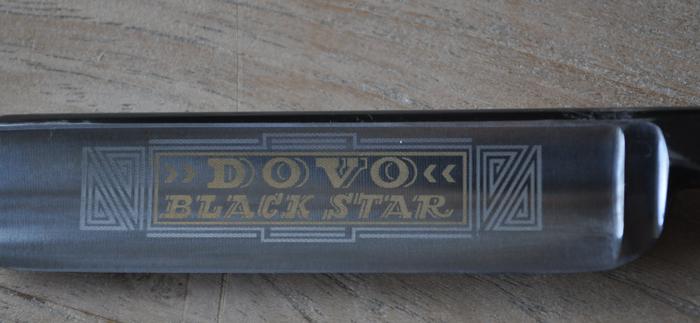
I just wondered looking at the first and the last picture whether this razor has a slight frown towards the heel. If so you wil have to remove that first.
Plus ça change, plus c'est la même chose. Jean-Baptiste Alphonse Karr.
-
05-23-2015, 04:29 AM #6Senior Member


- Join Date
- Jan 2013
- Location
- Communist State of California
- Posts
- 1,461
Thanked: 463
No need to measure anything. Use a layer of tape and don't worry about what the spine looks like for now. Mark the bevel with a marker and give it a few strokes on a hone. If the hone can hit the entire bevel there is no reasons to be concerned about the spine. Read about the basics and set the bevel on your 1k. Use a loupe and look at the bevel often to help you see what's going on through the process. Stay on the 1k till it can easily shave are hair and pass a thumb nail test. Originally Posted by Gerhardb

-
05-24-2015, 09:01 AM #7Member
- Join Date
- Aug 2013
- Location
- South Africa
- Posts
- 39
Thanked: 2
Ok, so this is where I am at the moment.
Watched the suggested videos and some more. Read some threads including one on shaving off the 1000 grit hone - interesting !
I started as follows:
Make sure all the tools are 100% by lapping the hones and adding a layer of electrical tape on the spine, visual inspection of the blade in bright sunlight with a 10x Loupe.
Round 1 honing:
Stayed on the 1000 grit Norton stone until I was able to shave hair off my arm, I had to use a fair bit of force and it did not shave cleanly. I then went to the 4000/8000. In hindsight I should have stayed on the 1000 until I had a better result. The edge looks fine, it digs in slightly when I do a TNT.
Compered to a factory edge for a Revisor it was no good and I started the process again after watching some GSSIXGUN videos on Youtube.
Round 2 honing:
This time after watching the videos I varied the pressure on the 1000 grit hone, starting with medium pressure (still very little metal came off compared to what I see on the videos - in round one none that I could see came off) I make this observation based thereon that in the videos you can see metal collecting on the hone - in my case this is hardly noticeable. I did 40 circles either side and then 20 by x strokes with very little pressure - the end result was much better in shaving off arm hair - much less pressure needed and it was taking off most hair as I would shave my arm. At this point my left forearm has very little hair left.
I went onto the 4000/8000 with x strokes pyramid and really did not substantially improve the edge - I can shave with it but prefer not to and certainly it does not pop hair off on my arm.
Based on what I am describing above would you say that I should now shift my focus onto 4000/8000 part of the sharpening process - 2 x things worry me (1) I don't seem to be taking as much metal of as I see in the videos (2) setting the bevel is 90% of honing and no use moving onto 4000/8000 part if the first is not 100%.
Comment appreciated.
-
05-23-2015, 03:42 AM #8Member
- Join Date
- Aug 2013
- Location
- South Africa
- Posts
- 39
Thanked: 2
Hi Kees, I just took this pic - To better see the edge.
-
05-23-2015, 03:59 AM #9Senior Member

- Join Date
- Mar 2015
- Location
- Fairfield, California
- Posts
- 341
Thanked: 60
I would think, one piece of electrical tape on the spine. Elbow horizontal and off the table. Light steady pressure with the 40 circles ccw twards & 40 circles ccw away. Originally Posted by Gerhardb
Lynn has a YouTube video with the Norton 4k/8k and circle method.
-
05-25-2015, 04:24 PM #10Member
- Join Date
- Aug 2013
- Location
- South Africa
- Posts
- 39
Thanked: 2
Will post some pics under magnification in the next few days, from the loupe i can see that the edge is scratched evenly from one end to the other and evenly on both sides. Also did the tests from the video you added in and all looked in order. This along with the save from yesterday are good indicators that I am ready to goto 4k on the weekend.
BobH likes this.


 Reply With Quote