
Results 51 to 55 of 55
 74Likes
Thread: Microscope for honing
 LinkBack URL
 About LinkBacks
-
08-27-2015, 10:23 AM #51www.edge-dynamics.com


- Join Date
- Feb 2013
- Location
- London
- Posts
- 3,066
Thanked: 512
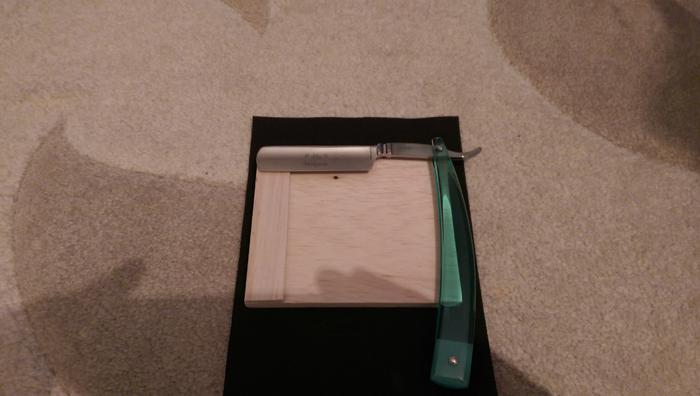
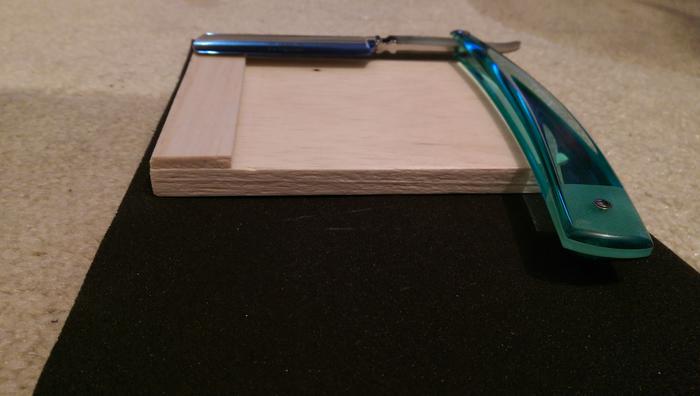
I went a bought a small packet of balsa wood pieces £10 (Extortion) .
Glued a few bits together .
Pictures below. I've since sanded it and treated it with linseed oil.
-
08-27-2015, 07:59 PM #52Senior Member


- Join Date
- Apr 2012
- Location
- Diamond Bar, CA
- Posts
- 6,553
Thanked: 3215
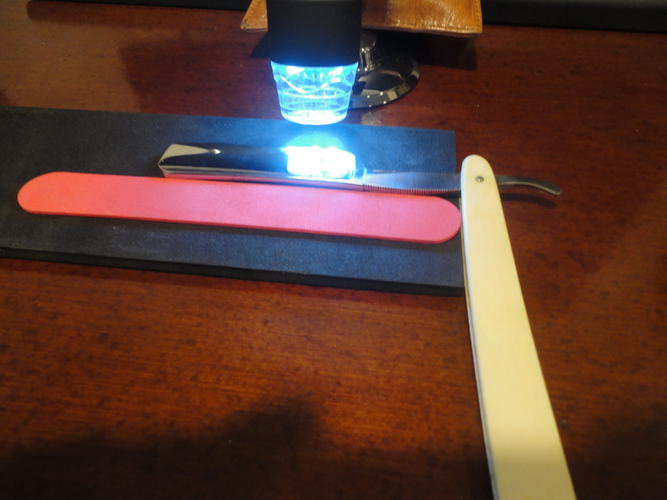
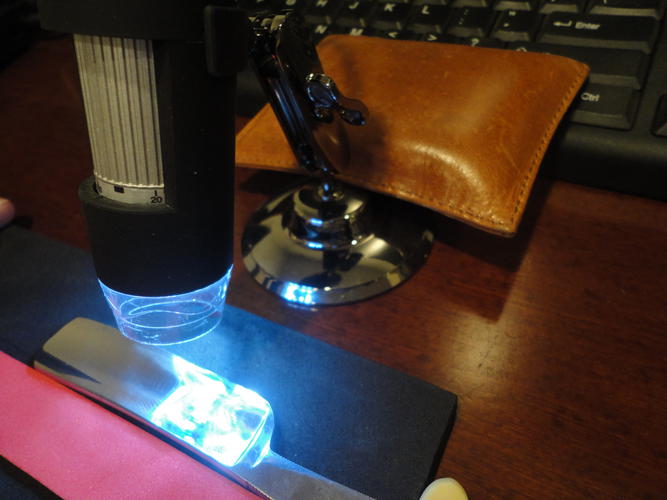
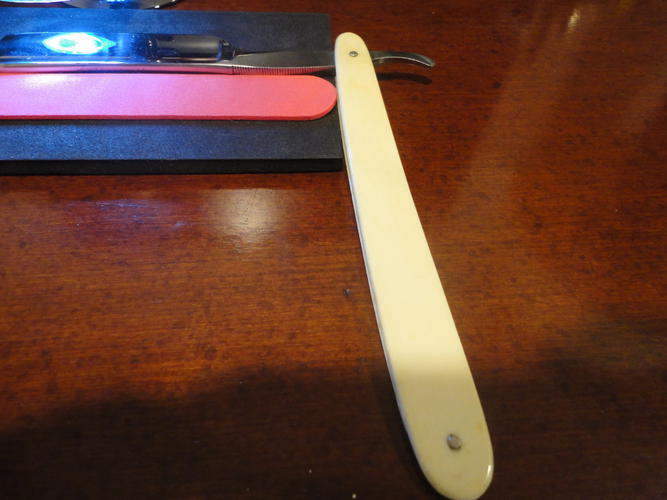
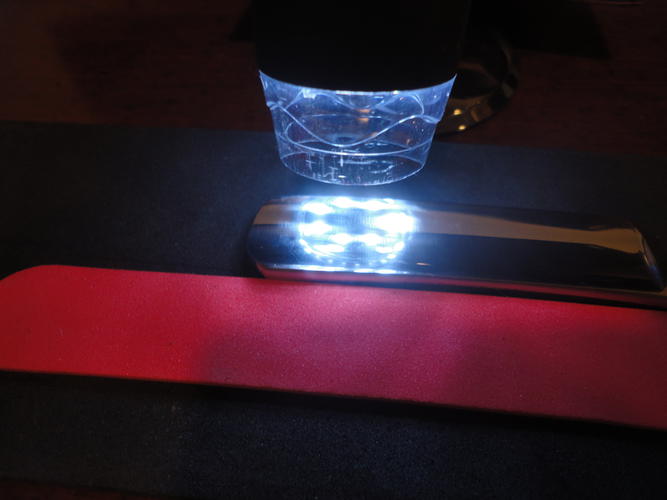
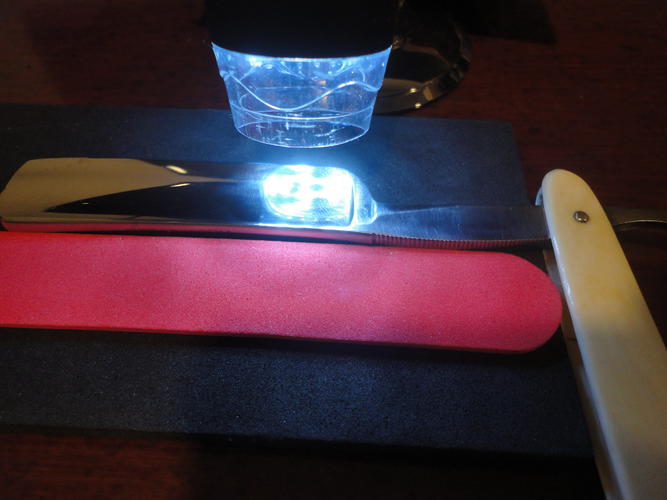
This is the set up I was describing. 6mm foam cut into 3 in strip, the red is a foam tongue depressor, (craft store) glued to the foam. The leather weight is a lead shot filled bag, I have used the keyboard in the background to hold down the scope base, any weight will make it more stable.
Put the spine on the foam and back up to the edge of the tongue depressor for alignment, hang the scales off the edge of the 6mm foam, (black foam give a good contrast of the edge), focus the scope and slide the whole set up, foam and razor to view the heel to the toe, no need to refocus. A 6mm sheet of 11x9 in foam is $2 from a craft store. The foam holds the razor in place very well and protect from scratching.
BTW a full sheet of foam is a great work surface for working on a razor, and is washable. A 3x3 in piece for the blade and another on the tail keep the razor flat and in place and you can sand or clean right up to the edge without any danger of cutting yourself, the slightest pressure buries the edge in the foam, great for sanding.
-
-
08-27-2015, 09:07 PM #53www.edge-dynamics.com
- Join Date
- Feb 2013
- Location
- London
- Posts
- 3,066
Thanked: 512
I see now, very nice.
I will have to copy you .
I was gonna have to heighten my scope for my set up to work.
At the moment I tape my scope to the table . I will make some kinda mini snake thing filled with ball bearing's or some such device .
Cheers
Edit: So the height of foam required is in the 18mm range ish? 3x6mm on top of each other?Last edited by JOB15; 08-27-2015 at 09:10 PM.
Geezer likes this.
-
08-27-2015, 10:01 PM #54Senior Member

- Join Date
- Jul 2014
- Location
- Denver CO
- Posts
- 4,659
Thanked: 811
I don't use this type of scope but the pictures are very helpful.
-
08-27-2015, 10:08 PM #55
I use a piece of hard plastic material about 6mm square x 10CM long, taped to my Binocular microscope stage fore and aft, near and away, directly under the lens and am able to adjust my blade angle and lighting that way. Being hard, it does not catch the edge. I did chamfer the upper edges though.
Otherwise I use a simple hand held 60X lighted scope.Be yourself; everyone else is already taken.
- Oscar Wilde


 Reply With Quote
