
Results 21 to 26 of 26
 25Likes
 LinkBack URL
 About LinkBacks
Threaded View
-
09-03-2015, 07:03 PM #1Senior Member


- Join Date
- Jul 2015
- Location
- Colorado
- Posts
- 540
Thanked: 79 honing progression with pictures and extra details!!!
So I am still working with the GD (I know run for the hills!) hahaha but really IMO I think they these razors have been a valuable asset in learning how to fix, hone and repair razors. It's apparent that these razors aren't consistent and have issues that YOU have to learn how to fix. I have a digital micrometer and have measured everything to make sure everything is on the up and up. Now with that to the side hopefully I don't have anyone chasing me with a pitch fork after saying that... I just felt I should explain about the razor prior and give more details as Glen explained his distaste for threads going off into the abyss. I also used 2 layers of electrical tape this time as suggested from glen, also "killed" the edge after setting the bevel (as seen in pictures) now I don't count how many passes I'm doing on each stone because IMO honing isn't a mathematical equation and there is no super formula that will give u perfect results everytime. I do spend as much time as I need on each stone look under the scope and see how my edges are looking, checking for chips, the scratch pattern and shiny portions of the edge (as I don't know the term for it) I do work a lot more on the lower grits and spend less time on the higher stones because I work out a lot of my issues before I even get up in the higher grits. Here are my results, let me know what you think, if there are things I could improve on and suggestions ops would appreciate it as all of you have been very helpful in my process... Also as to cut away from variables this is the same spot on the razor, well the best I could to get the same spot, thanks elucid!
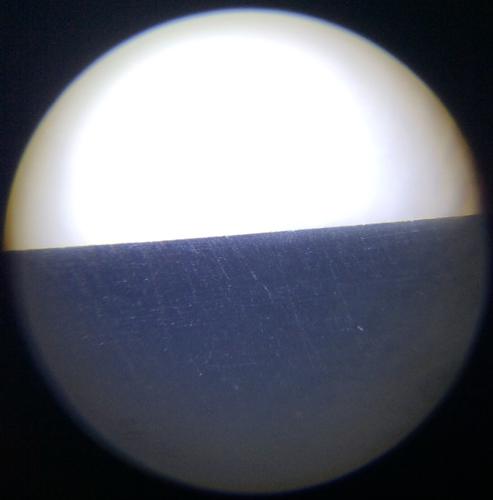
This is with the Shapton Pro Series Stones
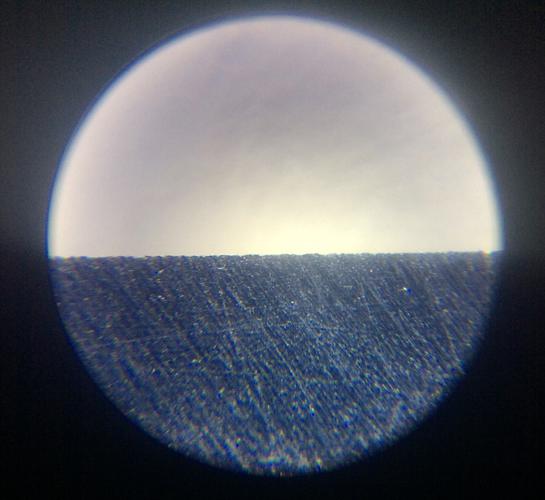
1k bevel set
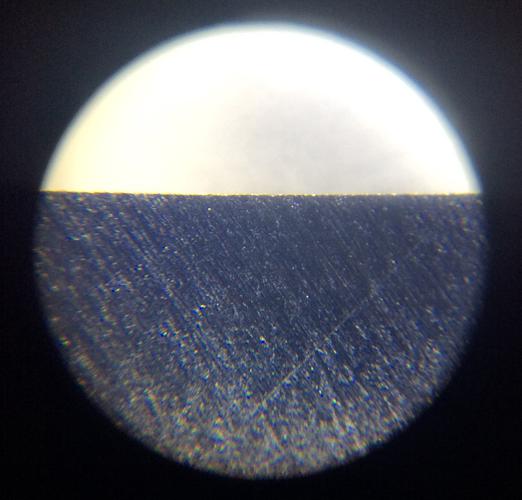
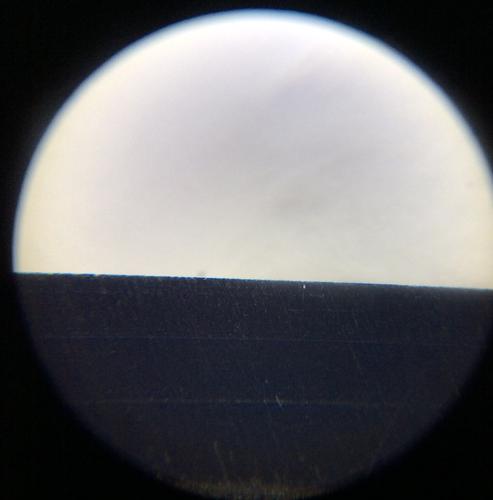
Killing the edge 1k

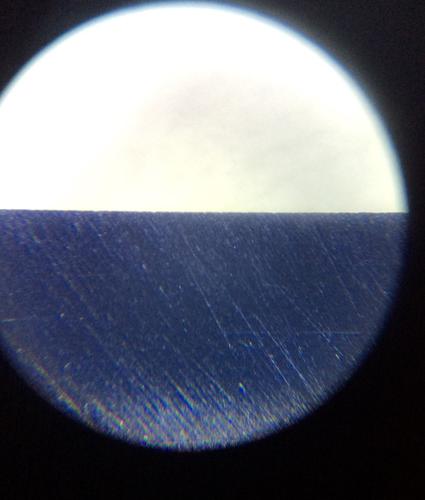
Finished with the 1k
2k
5k
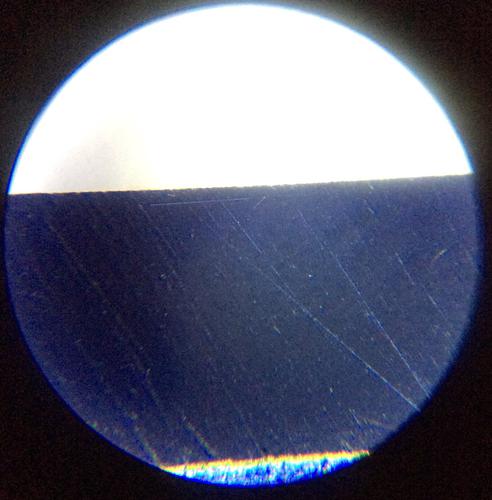
8k
15k
After everyone seeing my progession I have noticed after I'm done with the 15k my edge looks the same if not worse has anyone else had issues with the 15k shapton pro?


 Reply With Quote