
Results 1 to 10 of 155
 47Likes
Thread: Is this microchipping...
 LinkBack URL
 About LinkBacks
Hybrid View
-
01-18-2016, 05:49 PM #1Senior Member


- Join Date
- Apr 2012
- Location
- Diamond Bar, CA
- Posts
- 6,553
Thanked: 3215
Some good work on this thread. PM me your address and I will send you some lapping film.
I have had good luck with film and chippy hard razors. It would be interesting to see what it would do on this razor. Still think you need to remove some more of the edge and get to solid steel.FAL likes this.
-
The Following User Says Thank You to Euclid440 For This Useful Post:
pcm (01-18-2016)
-
01-18-2016, 11:12 PM #2Senior Member

- Join Date
- Dec 2014
- Location
- Southern NH
- Posts
- 562
Thanked: 41
Sure, willing to give it a try. Can you point me to some info on how to use the lapping film (I've never tried it)? Originally Posted by Euclid440
 Regards,
PCM
-
01-22-2016, 01:59 AM #3Senior Member
- Join Date
- Dec 2014
- Location
- Southern NH
- Posts
- 562
Thanked: 41
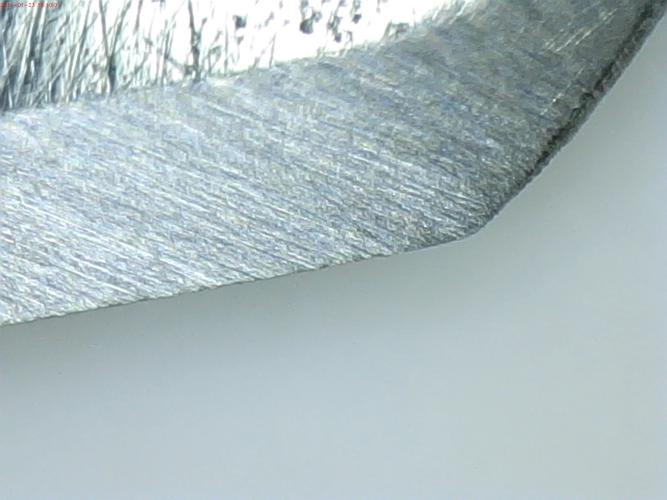
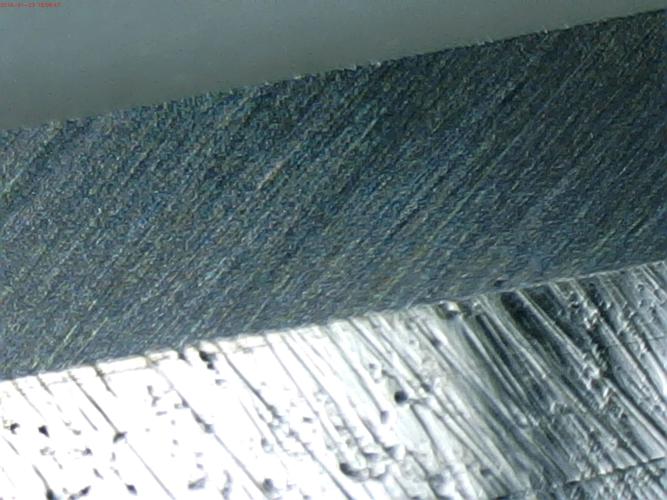
Breadknifed 4 times on 8k face, added two layers of tape, used 4K, rolling X strokes, then perpendicular (so I could see stria), and back to rolling X with light pressure. There's not too many deep stria. The toe on left side (3rd shot) is not getting honed right to the edge (1mm), and a tiny bit on the right heel (0.5mm - hard to see with reflections - first shot). Here are some low and high magnification shots:
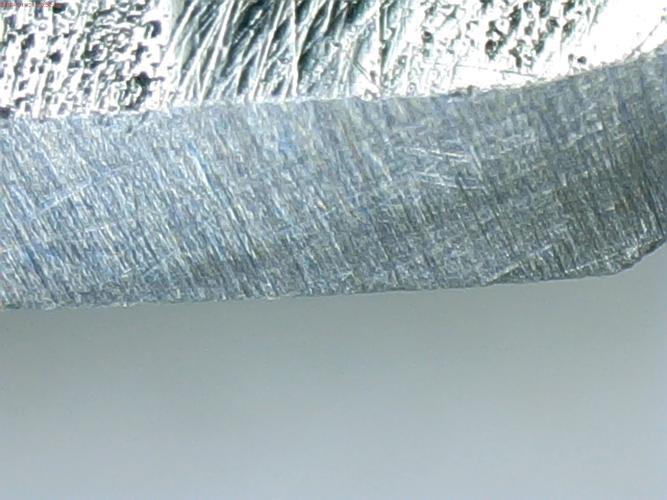

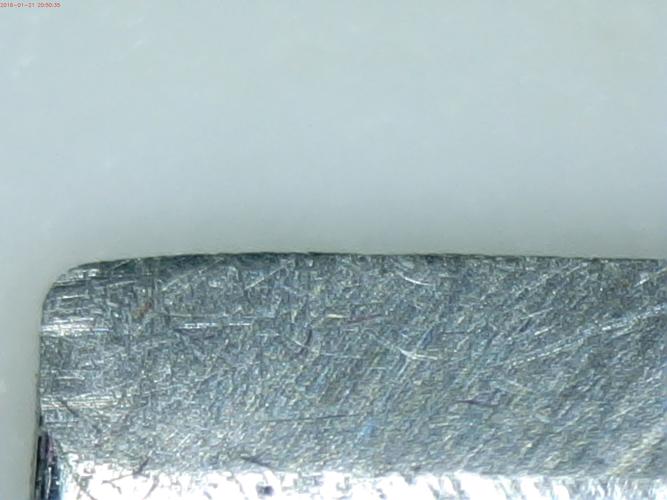
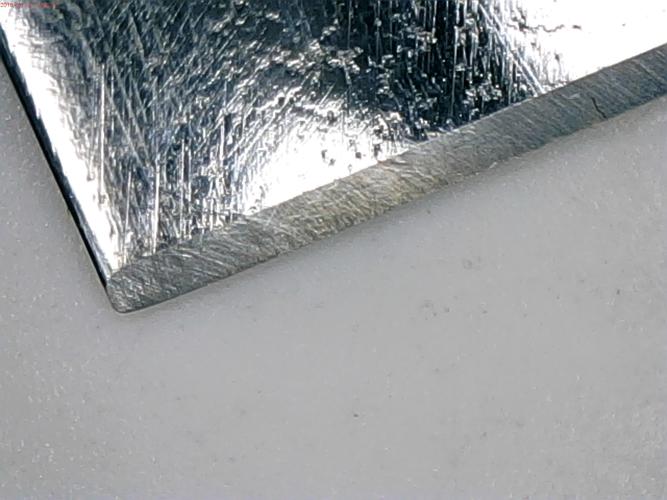
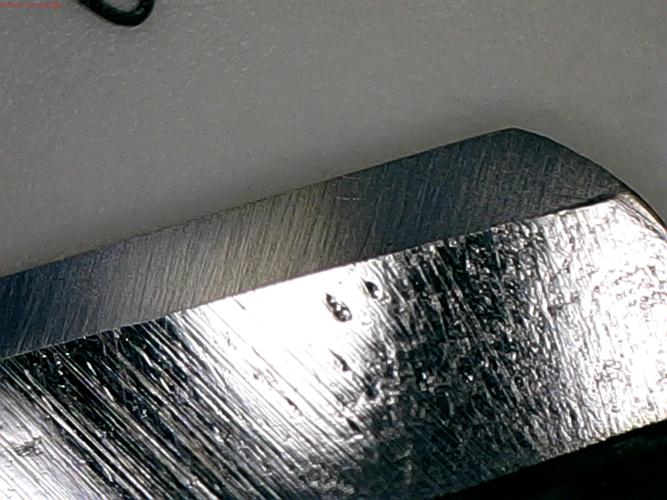
Thoughts? Suggestions?
I'll get another chance to work on this Saturday.
Thanks!Regards,
PCM
-
01-22-2016, 04:06 AM #4Senior Member
- Join Date
- Apr 2012
- Location
- Diamond Bar, CA
- Posts
- 6,553
Thanked: 3215
Start your rolling x with the heel forward and put your index finger on the heel, keep the heel on the stone at least halfway across the stone.
Then swing the toe around and down towards the corner with the index finger on the tip of the toe and lift the heel just a smig. Some ink on the whole bevel will show you how much to rock/roll it.
You just have to get the rolling action down, it is not that exaggerated, the finger pressure may be enough.
It’s kind of like riding a bike you just have to think about turning, to make it go around a corner. The pressures shift is a combination of lifting the heel and torqueing the pressure ever so slightly towards the edge and just visualizing the pressure shift from heel to toe. The ink will tell you when you got it. Other than that, the stria pattern looks good.FAL likes this.
-
The Following User Says Thank You to Euclid440 For This Useful Post:
pcm (01-23-2016)
-
01-23-2016, 11:19 PM #5Senior Member
- Join Date
- Dec 2014
- Location
- Southern NH
- Posts
- 562
Thanked: 41
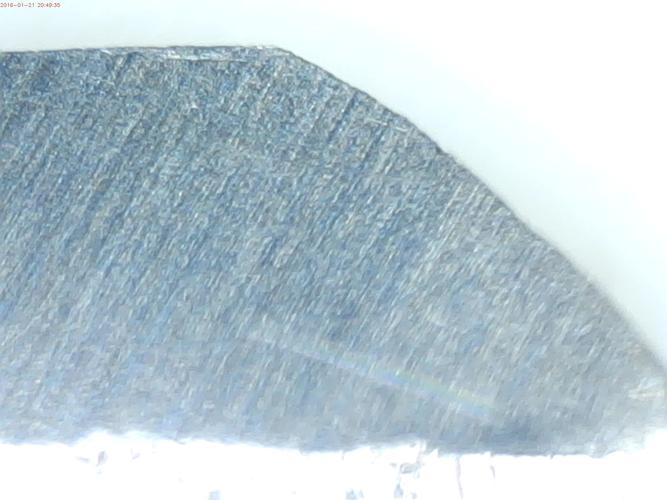
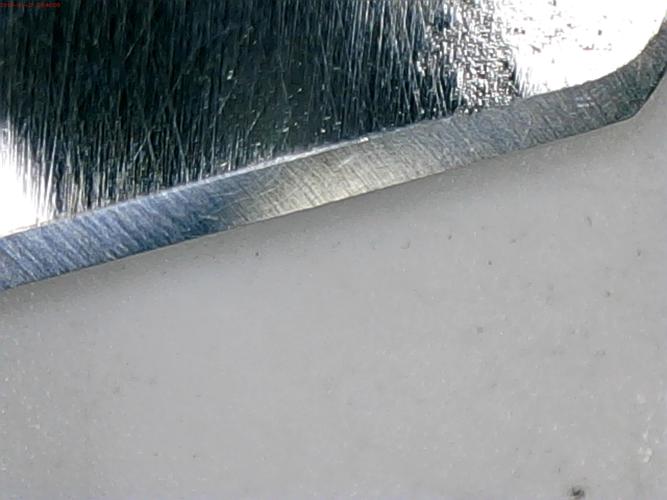
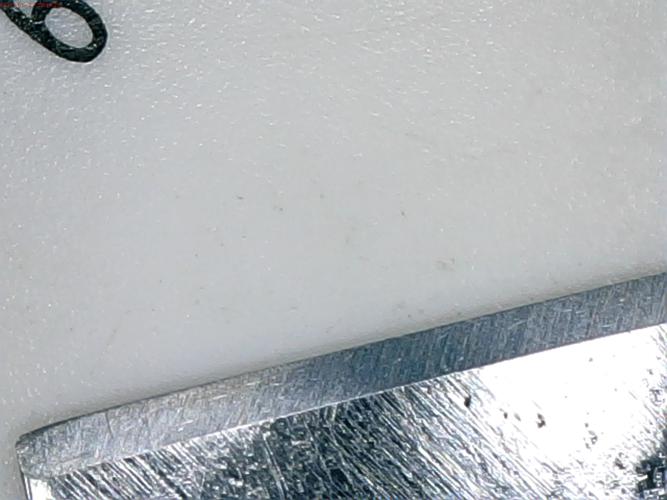
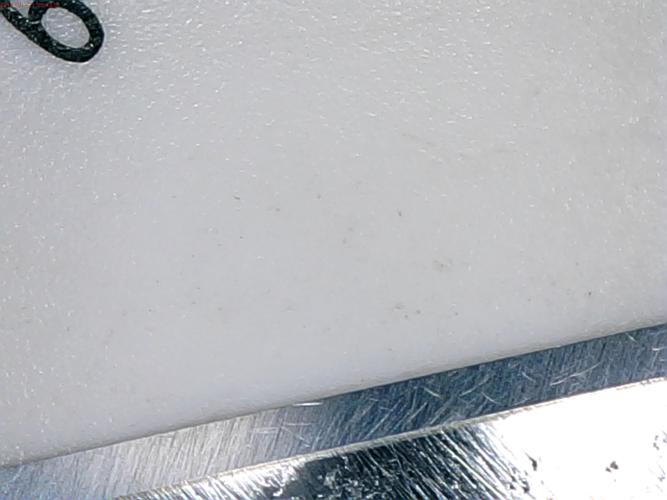
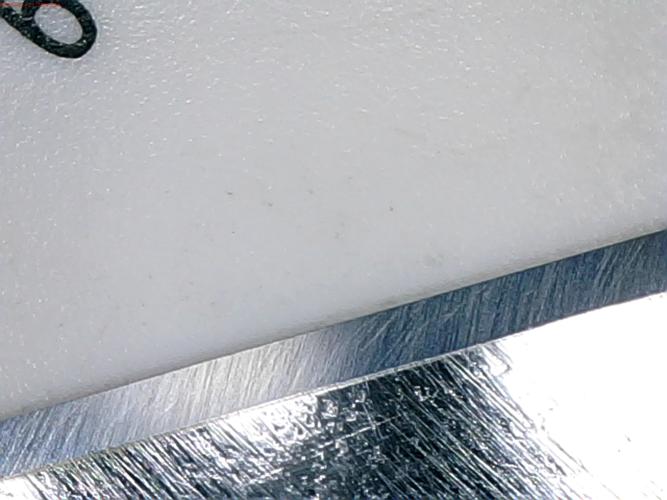
I spent more time on the 4K with 2 layers of tape tonight. It looks pretty good to me. Just the very end of the toe on the left side (w.r.t. looking at the edge) has a little deeper stria, and was maybe not getting as much contact on the hone. I did check with ink and, at least on the stroke I did, it covered the edge well.
Here are some high magnification shots:
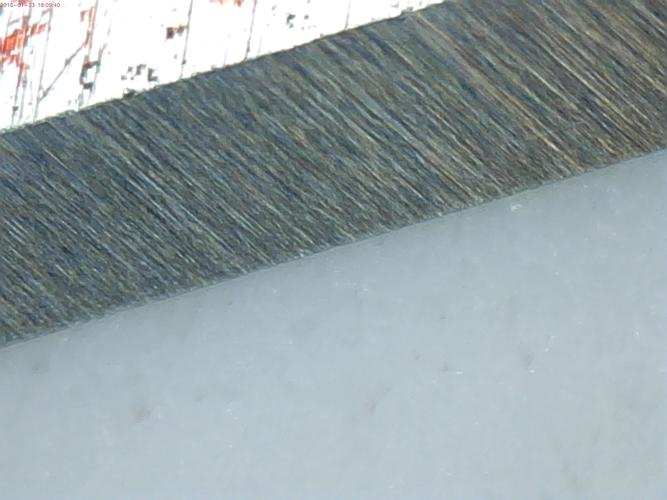
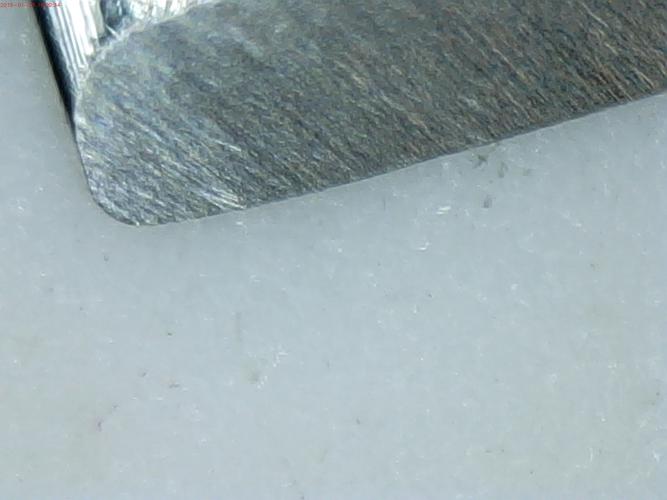

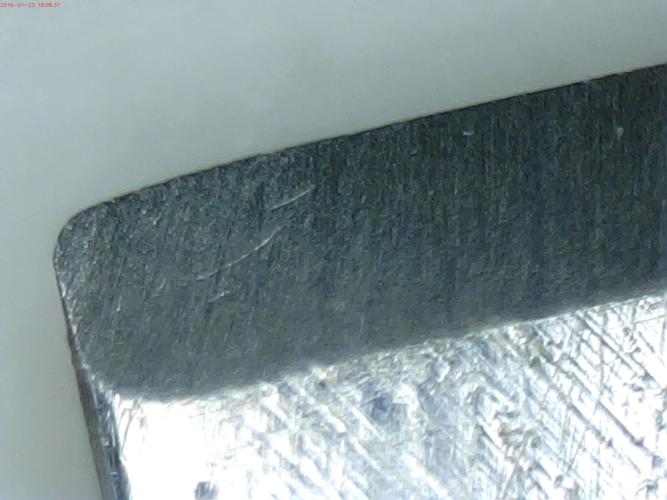
What do ya think? Seems like I could try the 8K or should I try to work on that toe more?Regards,
PCM
-
01-24-2016, 01:32 AM #6Senior Member
- Join Date
- Apr 2012
- Location
- Diamond Bar, CA
- Posts
- 6,553
Thanked: 3215
Try the 8k but spend a little more time on the toe with some pressure, looks a lot better.
Here is the photo of the skew for the glass plate for the film, dont know why the PM would not let me upload.
-
The Following User Says Thank You to Euclid440 For This Useful Post:
pcm (01-24-2016)
-
01-24-2016, 01:41 AM #7Senior Member
- Join Date
- Dec 2014
- Location
- Southern NH
- Posts
- 562
Thanked: 41
Cool. I'll try to get that from Lowes.
So, I lapp the tile with my DMT, and then can apply the film as you mentioned?
Should I try a film after I get done with the Naniwa 12k? Which film?
Thanks!Regards,
PCM


 Reply With Quote