
Results 1 to 10 of 15
 49Likes
Thread: How to Tape a Razor, SAFELY
 LinkBack URL
 About LinkBacks
Threaded View
-
02-23-2016, 04:53 AM #1Senior Member


- Join Date
- Apr 2012
- Location
- Diamond Bar, CA
- Posts
- 6,553
Thanked: 3215 How to Tape a Razor, SAFELY
Recently a friend related to me, how he cut himself taping a razor, actually un-taping a razor. I have had some near cutting experiences also, but luckily have not cut myself, at least not bad.
So, here is a pictorial on taping and some thoughts on what works for me. Hopefully it might keep someone from cutting themselves while taping and un-taping a razor.
This is not a tape/no tape thread, and if you dont like or use tape, thats nice. Rock on
Photo 1, the victim.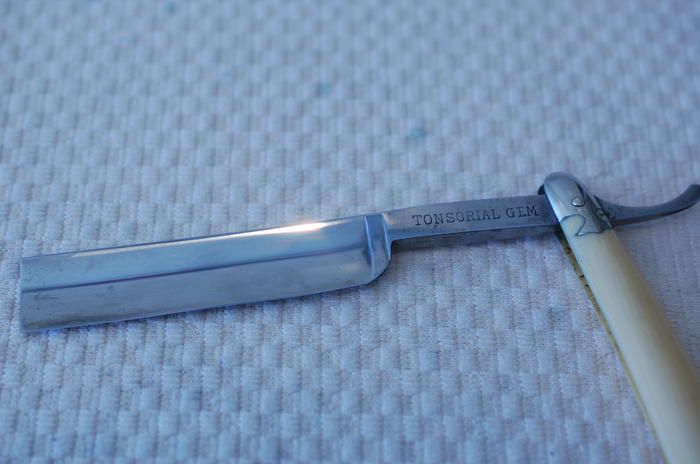
Firstly, I dont think it matters what kind or brand of electrical tape you use, just use the same brand for thickness consistency. Also use a new roll of tape, one that has been in your tool box for many years of heating and cooling cycles has probably started to break down and the glue will just be gummy. Do not soak your stones in hot or warm water, you will heat the glue and cause problems. Tape is cheap, change it often
There are two actions, where most accidents occur and can easily be avoided, with a little bit of pre planning.
1. Un-taping a razor, trying to get a finger nail under a corner of the tape. And
2. Wet hands. Wet hands will make you skin stick to the tape, you use more pressure, then slip. Usually a cut happened when the hand is pulled reflexively back into the edge.
So, dry your hands well When honing, I keep a dry micro-fiber on my lap and a dry paper towel on the bench and use both to keep my hands and the razor dry at the pivot. The use of both towels is especially useful when wiping a razor dry and of swarf, to look at the bevel and edge through a loupe or scope. Ensure your hands well dried, when applying and removing tape.
The times I have had a close call, removing tape is when the tape ends near the corner where the blade meets the stabilizer. If the edge of the tape is in that corner, it is a bear to get started, add a wet hand, flat out dangerous So, avoid that corner.
I use IPG brand, vinyl electrical tape, that I buy from Habitat for Humanity for a buck fifty, a roll and buy 3-4 rolls at a time of the same color, I buy red because it is what they normally carry, it is a bit thinner than black and wears well. I have noticed a slight difference in thickness from color to color, of this brand, white and black is thicker. I will use 2 different colors just for demonstration. So, you can see what I am talking about for alignment with a two layer application.
Photo 2. IPG Electrical tape roll.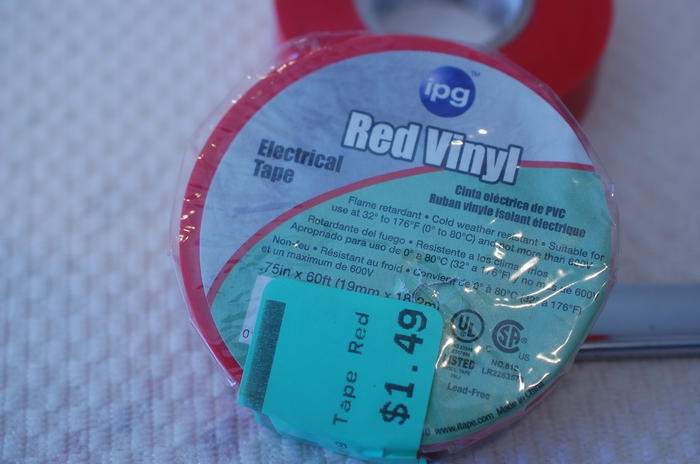
Mr. Murphys law will dictate, that you will decide to hone, the day after you trim your finger nails you might consider leaving at least you thumb nail of you dominate hand a bit longer, if you hone a lot.
2 schools of thought on taping
1. Apply the tape to the razor and cut the tape with a scissor with about a ¼ in hanging over the toe.
2. Precut the tape and apply the end of the tape short of the tip at the toe.
I find that method 1 allows water and swarf to get between the tape and razor, from the small pocket that is formed at the tip of the spine and lift the tape, so I prefer to seal the tape solidly flat, to the spine on all the edges.
Lay the razor on the bench, pull out a length of tape, roughly the length of the edge, add a half inch in length and cut your tape. Pick up the razor and apply the tape to the tang, so that you are at least a ¼ inch south of the stabilizer or the heel of the razor, if there is no stabilizer and just short of the end of the spine. Tack down just the end of the tape, to the spine of the tang with your thumb.
Photo 3. Measure the tape to the length of the edge.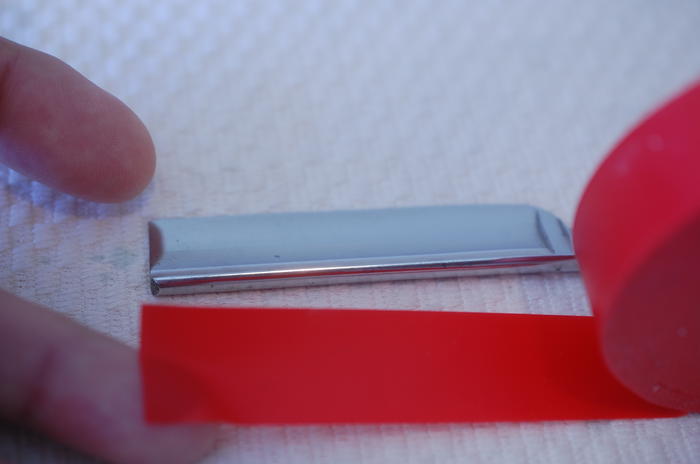
Photo 4. Tack the end to the tangs spine, in the middle of the tape. Notice how far south of the stabilizer or the heel the tape ends. You will be able to lift the corner of the tape well away from the heel and the edge, that half inch of extra tape is your safety margin.
Now pull your tape up to the toe, but do not make contact with the spine until you have the spine in line with the middle of the tape. Use the tip of the toe to sight on.
Photo 5. Site the top of the toe to center the tape.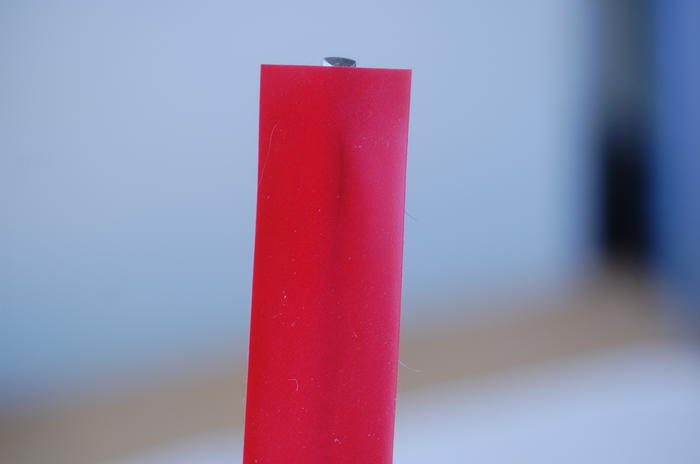
Lightly lay your tape on the spine, if crooked or wrinkled, peel it off from the toe end and re-apply, stretching it just bit, with your thumb on the tang end, helps with a tight application. With a dry thumb, smooth the tape from the tang to the toe, with light pressure pushing out air bubbles and wrinkles. Do not try to use a paper towel if you hand is wet, it will slip, better to stop and dry your hand. You do not need a lot of pressure to get the tape flat. This is where a lot of cuts occur, so BE CAREFULL.
Photo 6. Smooth the tape to the spine.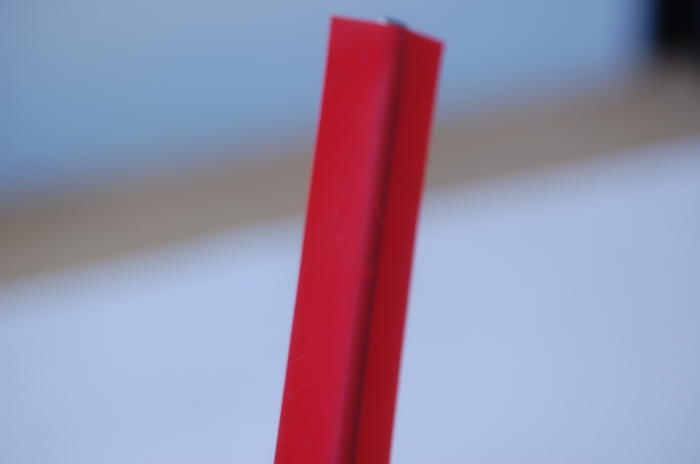
If you measured correctly you should be just short of the tip of the toe, a quarter to a half inch of the spine tip will not be covered and allow you to seal the tape to the spine and blade face tightly. If you are using a proper honing technique, you will not touch the un-taped spine while honing. If you are honing a worked or gold washed spine and want a bit of insurance apply the tape starting at the tip of the toe, just make sure to cut your tape extra-long so that it ends past the stabilizer.
Once you have the tape on flat, smooth it out again using a little more pressure, just on the flat of the spine. With thumb smooth over one corner of the tape then the other, from tang to toe, this is the most critical area for smooth, flat tape contact. Here is where the tape will touch the stone and a wrinkle or bubble will only cause problems.
Photo 7. Smooth the tape on the corners of the spine.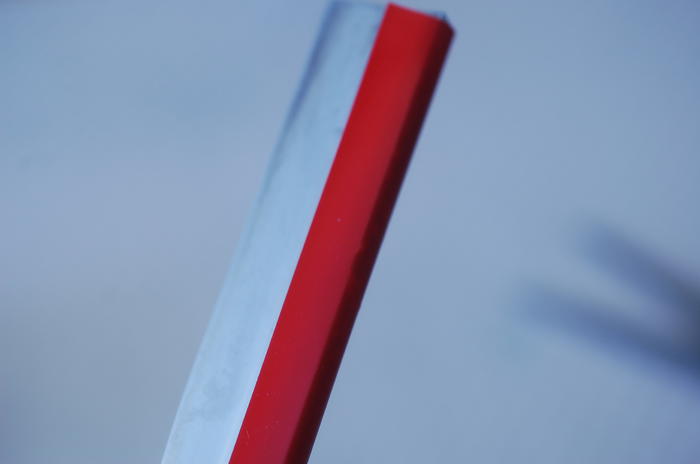
If you have an issue, lift off the tape and re-apply. Now smooth out one side of the blade, squeegeeing the air out from between the tape and blade. This part is not as critical as the spine but you do want it flat. If the tape wrinkles badly or folds onto itself, by the time you get it off it will probably be distorted and not lay flat, cut a new piece, tape is cheap
Photo 8. Make sure the tape is flat on the spine and especially on the corners that will lay on the stone.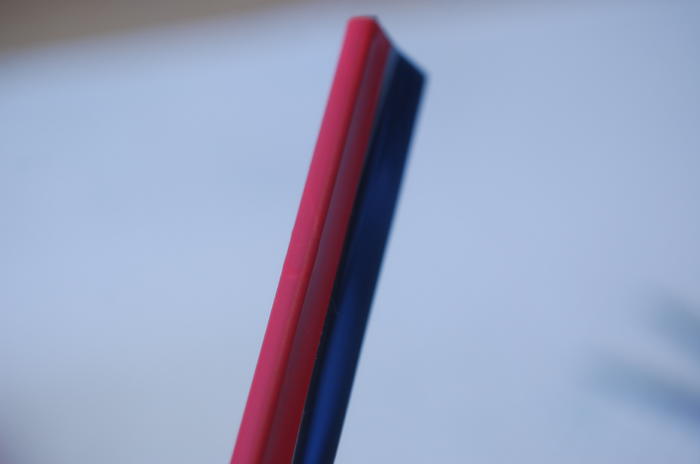
Photo 9. Notice the beginning of the tape and that it ends just short of the tip of the toe. Do not smooth the tape to the blade until the spine and corners are down tight and smooth.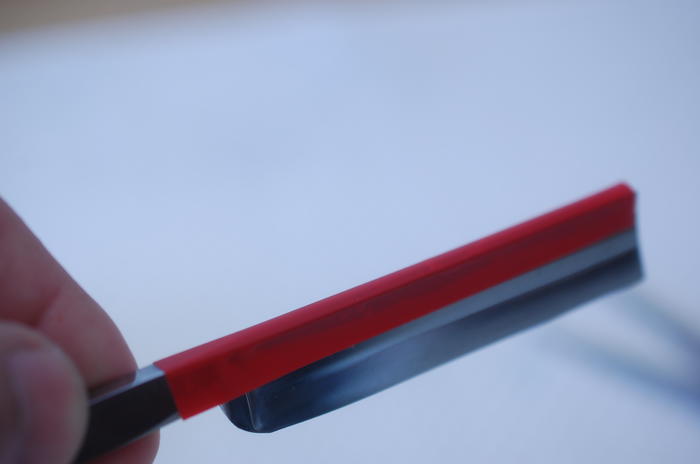
Once down, go over the spine and the spine corners to ensure the tape is flat and tight on the spine. A Popsicle or wooden coffee stir stick with the end cut off straight with a pair of dikes will easily get into the corner of the stabilizer and blade, sticking the tape water tight to the razor. (Note the photo of this process came out very blurry and is not in the sequence).
Photo 10. Once the spine and corners are down tight, smooth the tape to the sides of the blade, note how the tape is short of the tip of the toe and tight to the blade all the way around.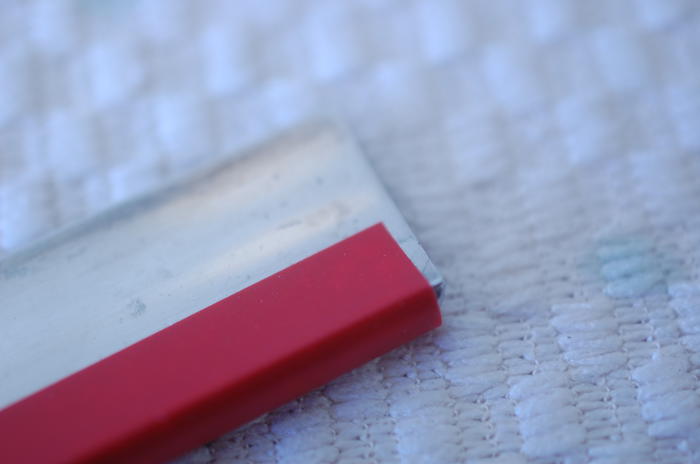
If you are using one layer of tape, you are done.
-
The Following 12 Users Say Thank You to Euclid440 For This Useful Post:


 Reply With Quote