
Results 1 to 10 of 15
 49Likes
Thread: How to Tape a Razor, SAFELY
 LinkBack URL
 About LinkBacks
Hybrid View
-
02-23-2016, 05:14 AM #1Senior Member


- Join Date
- Apr 2012
- Location
- Diamond Bar, CA
- Posts
- 6,553
Thanked: 3215
SECOND LAYER
If using two layers of tape, which I normally do for bevel setting and recommend for new honers, (It is easy to burn through a single layer of tape) lay the razor on the bench again. Measure the tape from the toe to the heel again, this time cut a ½ in. shorter than the edge.
Photo 12. Measure the tape to the spine, short of the tip and short of the stabilizer.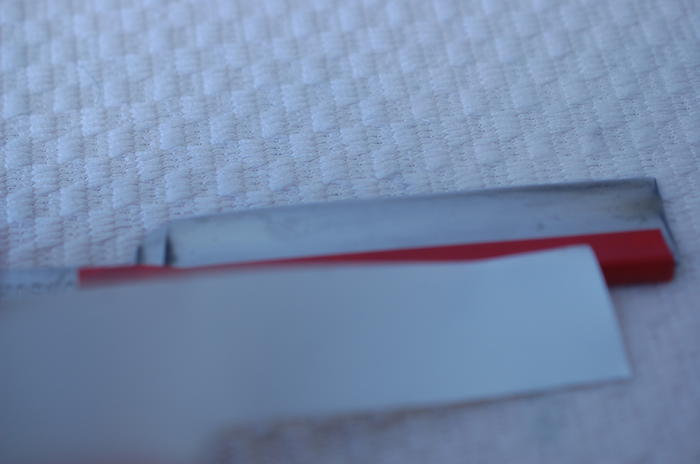
Lay the tape on the spine, a ¼ to ½ inches above the stabilizer. Tack the end to the spine and sight the tip until straight, as before. Now smooth the spine and then each corner and lastly the faces.
Photo 13. Tack the bottom of the tape to the spine.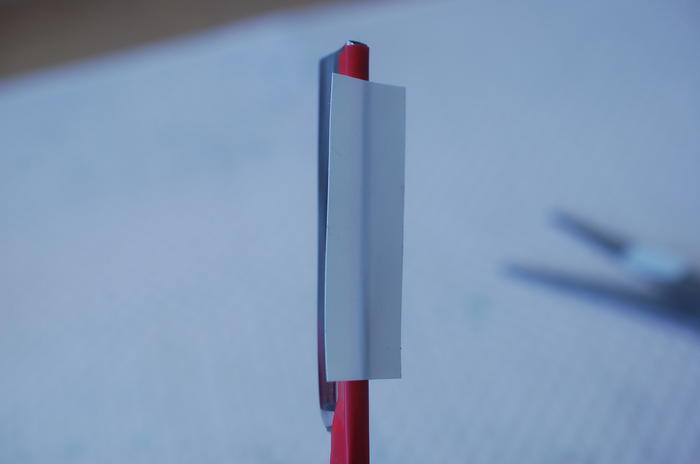
You do not need a full length of tape, the spine will ride on the middle section of the second layer. For demonstration, I am using 2 colors of tape, use the same tape for both layers.
The goal is to end the bottom of the second layer of tape, well away from the corner, where the stabilizer and blade face meet, and not lay the second layer directly in line with the first, offset the second layer 1/8 to ¼ inch, so you can easily get under the corner of the top tape to lift off without removing the bottom layer.
Photo 14. Offset the second layer from the first layer that is centered on the spine. The offset will make lifting the second layer safer and easier.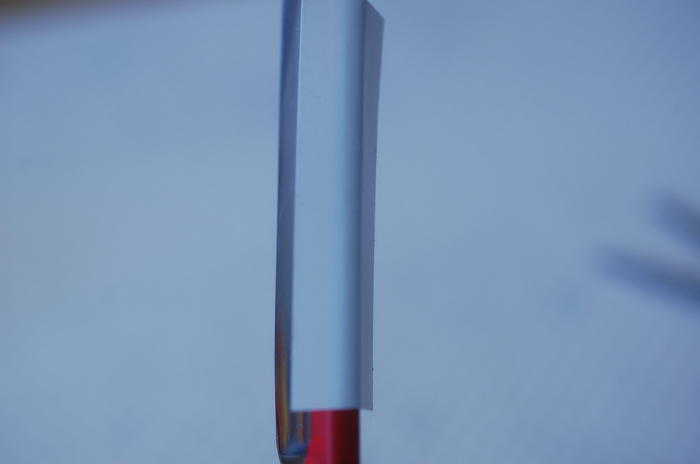
If it goes a little longer that the first layer at the toe, that’s ok, as long as it does not go over the tip of the toe. If using 2 layers only the top layer needs replacing, if burned through.
Photo 15. Notice the length of the tape at the toe and the offset to the first layer. The second/top layer should sit tight to the first layer and the blade.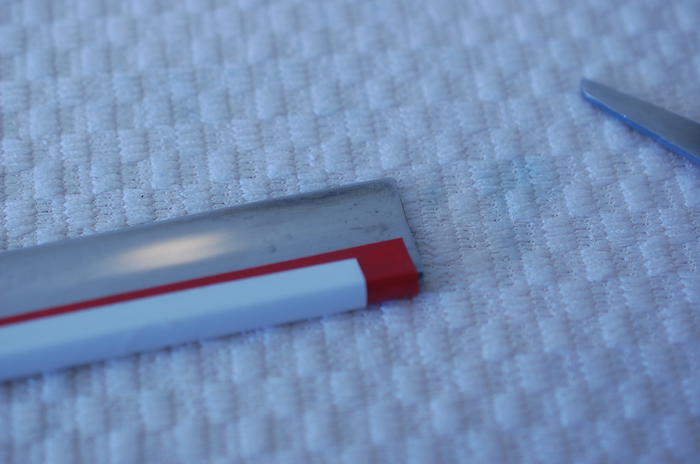
Once the bevel is set, after removing the second layer, the bevel is easily re set to a single layer angle on the transition stone or a few laps on the 1k. Ink will confirm the angle easily.
Which I might add, ink is another inexpensive and no-brainer tool that quickly makes diagnosing problems easy. I buy red Sharpies by the box and use them with abandon.
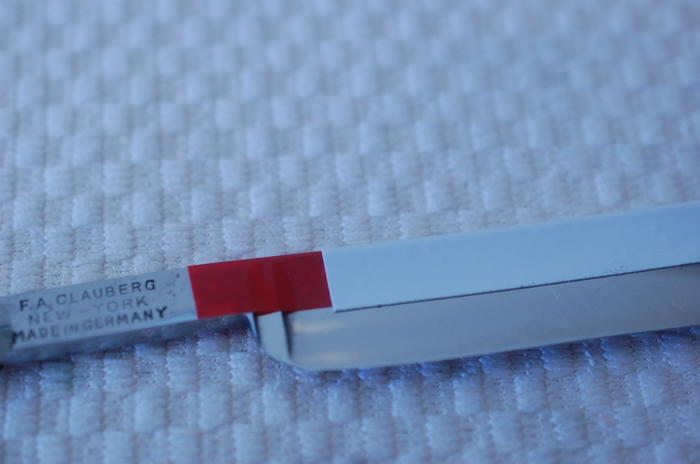
Photo 16. Make sure to seal down the tape to the spine with a flat wooden coffee stir stick or popsicle stick, Do not use your thumb or finger nail, it is easy to slip.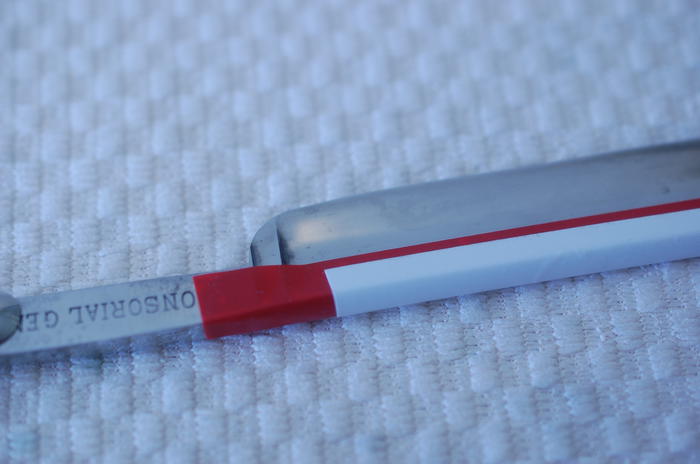
Photo 17. Notice the tape offset and the distance from the tip. Make it safe and easy to lift only the top layer of tape.
Budda Bing… You’re done…
All of this took way longer to explain, that it will to do, and will become second nature after a few applications. The goal of all this is to make it easy to access the corner of the tape predictably, and prevent the dastardly slip. Safety Third…
At the slightest gummy feeling or seeing large dark partials in the slurry, change your tape, you have burned through. Tape gum or residue are easily removed with a paper towel and WD40
Taking photos while trying to hold the razor and tape and camera and focus was challenging, so some of the photos are not exactly as you would perform the operation and as a result the tape is not as tight as would normally be applied. You will hold the razor in one hand and apply the tape with the other.
Be Prepared…
A well-stocked, easy to access, (Hanging on the wall), First Aid kit is a very good thing to have in any shop. Make sure to inventory and re-supply your first aid kit often. Lots of gauze, tape, band aids and a sharp scissor are the minimum. A roll of Duct Tape is very handy and sticks well, even with blood on it, in a pinch.
NOW would be a good time to inventory your First Aid kit, if you don’t have one, NOW is a good time to buy or build one, mark it clearly with a red cross so everyone know where it is.
Typically you will only find out what is missing, from your kit, when you need it…
Be safe…Last edited by Euclid440; 02-23-2016 at 02:47 PM.
-
-
02-23-2016, 05:37 AM #2< Banned User >

- Join Date
- Jul 2015
- Location
- Central Oregon
- Posts
- 789
Thanked: 98
Good Job Euclid440, I have no trouble putting tape on and only got cut Taking It Off.

-
The Following User Says Thank You to FAL For This Useful Post:
Euclid440 (02-23-2016)
-
02-23-2016, 10:23 AM #3
Two well known members have admitted to needing stitches resulting from a taping mishap.
It can happenGeezer and markbignosekelly like this.If you don't care where you are, you are not lost.
-
The Following User Says Thank You to rolodave For This Useful Post:
Euclid440 (02-23-2016)
-
02-23-2016, 12:12 PM #4Senior Member


- Join Date
- Dec 2012
- Location
- Egham, a little town just outside London.
- Posts
- 3,857
- Blog Entries
- 2
Thanked: 1083
^^^ Im not going to name names but Glenn admits in one of his vids he needed a few stitches.
Euclid, nicely explained, some good points I hadn't thought of.rolodave likes this.
-
The Following User Says Thank You to markbignosekelly For This Useful Post:
Euclid440 (02-23-2016)
-
02-23-2016, 02:30 PM #5Senior Member
- Join Date
- Nov 2014
- Location
- Sacramento
- Posts
- 309
Thanked: 135
Excellent information here. Kind of wish I had seen something like this before I started using tape. Now I understand why my technique was so messy (running the tape past the toe).
Wish my 'mentor' would have shared this........ Euclid440 likes this.
-
The Following User Says Thank You to Paulbuck For This Useful Post:
Euclid440 (02-23-2016)
-
02-23-2016, 02:59 PM #6Razor Vulture

- Join Date
- Oct 2010
- Location
- Lone Star State
- Posts
- 26,168
Thanked: 8618
Well-Done! My pet peeve at meets, etc. A guy with a roll of tape swinging from the end of the razor trying to catch it with scissors!
 I won't name names.
  rolodave likes this."Don't be stubborn. You are missing out."
I rest my case.
-
The Following User Says Thank You to sharptonn For This Useful Post:
Euclid440 (02-23-2016)
-
02-23-2016, 07:47 PM #7illegitimum non carborundum

- Join Date
- Jan 2008
- Location
- Rochester, MN
- Posts
- 11,552
- Blog Entries
- 1
Thanked: 3795
Below is a video of how I tape. I never have seen a problem cutting the tape flush with the end of the spine but in this video I bent the tape and then cut in a bit from the end. Normally I cut the tape while it is hanging straight down and use the end of the spine as the guide for where to place the scissors to make the cut.
-


 Reply With Quote


