Results 1 to 4 of 4
Thread: Illumination for Microscoping
-
03-28-2018, 03:01 PM #1Senior Member

- Join Date
- Nov 2016
- Location
- Germany
- Posts
- 111
Thanked: 30 Illumination for Microscoping
Dear Community,
currently I am in my "honing and scoping" phase and would like to share with you my current learnings.
While gawking to the terrible edges from my honing I've noticed that the type of Illumination does dramatically affect the amount of bevel-scratchiness I'm seeng through the microscope. I've already read about that somewhere but have still underestimated the influence.
Intuitiveley I've started with "direct light from the side" setup (basically I've placed my desktop-light on the side of my microscope).
I know from my previous hobby that this kind of light does highlight the details. A photographer should avoid this light in portraits (at least in femail ) but for a honer this light is quite usefull for the edge-evaluation I guess.
To digitalize my microscope I use my mobile phones camera and place it in front of the ocular (btw. there are also some ocular holders available for mobile phones, my is on its way right now).
So now, when I am looking through the microscope to the one and the same razor-edge and changing the light angle between the razor and the light source a totally different looking scratch pattern appears.
Take a look at that:
(There is a small rusty spot on the bevel which I use to align the pictures to look at almost the same point at the razor edge for each picture)
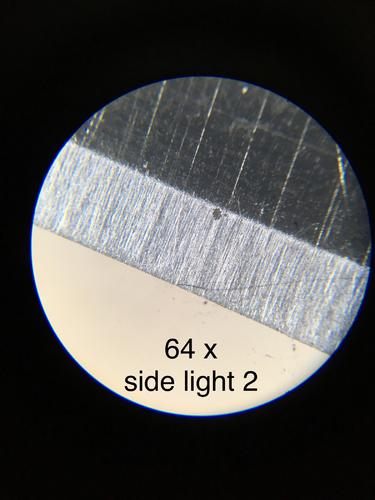
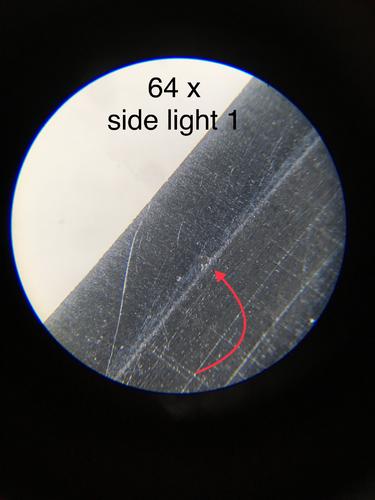
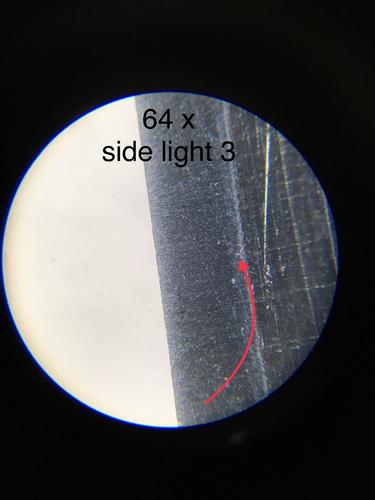
The razor has been honed a while on coticule with milky slurry after the prev hazy Tenjho-jnat-finish. I've done the most of the time half strokes but a kind of circles or something must have been there cause there is a diagonal scratch visible on one picture.
In addition to my "kiddies-tabletop-microscope" I have a digital "kiddies-USB-microscope".
The USB-friend does provide its own illumination which is a ring of LED-lights placed around the lens.
From the photographic perspective the Ring-Light does hide the details to a certain extend (cause the shades are kind of compensated by the opposide sitting lights) I could still manipulate the looking of the edge by tilting the microscope.
Unforunateys I could not meet the same magnification level, bit here some pics (my USB-devise produces terrribly grained pictures I guess its sensor is not the best...):
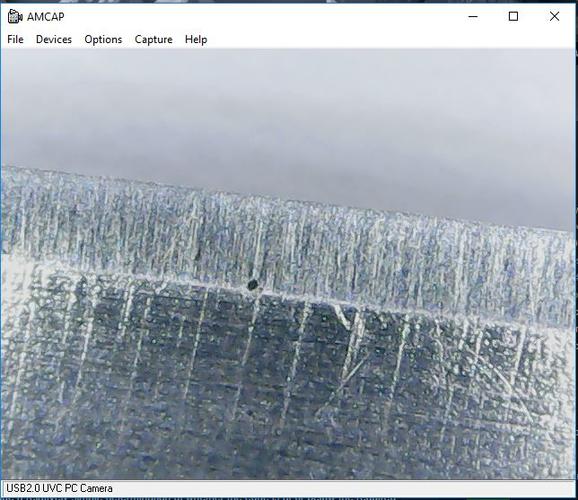
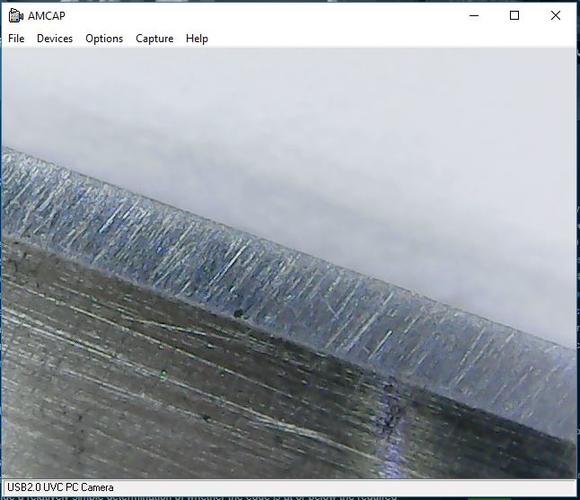
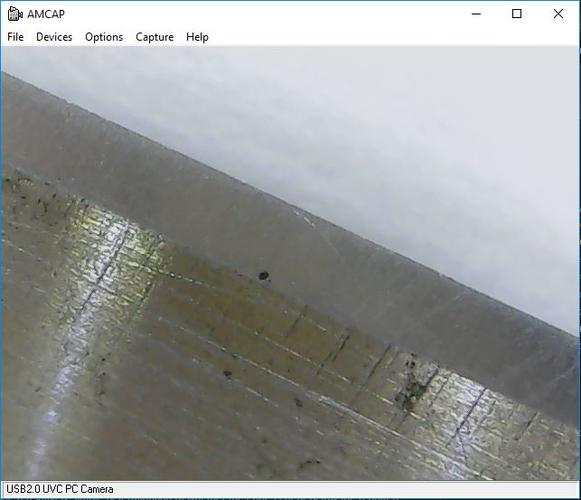
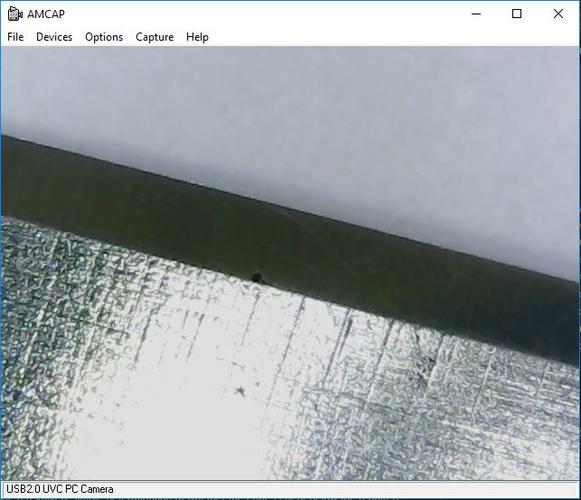
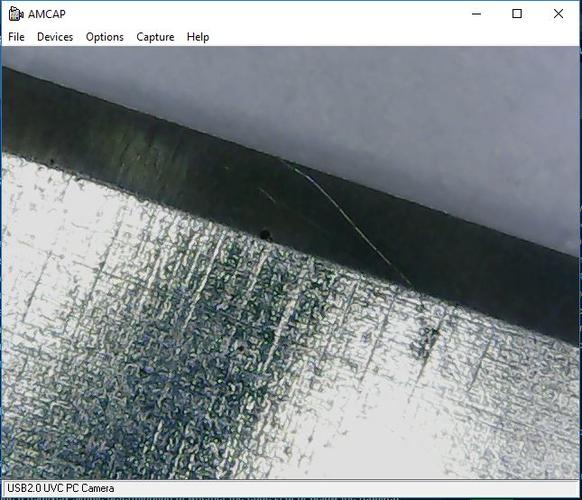
Actually the pictures appear mirrored, I think its due to the optical system of the tabletop-microscope is different ot the USB-verison.
Happy honing my friends!
-
03-28-2018, 03:55 PM #2Senior Member

- Join Date
- Sep 2013
- Location
- NW Indiana
- Posts
- 1,060
Thanked: 246
Yes the light is critically important to seeing any details. Not only the position but even the type of light. Google "light collimation" and you'll get the specifics. Basically it means to align the light rays so that they're all parallel. This prevents the "scattered" reflections you are having trouble with. You can somewhat approximate the effect of a collimator by using a brighter light and positioning it farther from your subject. An LED light or even a flashlight with a narrowly focused beam can help with that.
-
03-28-2018, 04:56 PM #3

Yes, for most applications light is a critical factor as any photographer knows and getting the right light for the job can be a maddening experience. Ask a cinematographer doing a motion picture on location who has minutes to get a scene just right.
For most applications "natural light" is what you want but if you want to highlight defects like in most honing that's a different story.
With a microscope it's about color and intensity and angle.No matter how many men you kill you can't kill your successor-Emperor Nero
-
04-08-2018, 06:24 AM #4illegitimum non carborundum


- Join Date
- Jan 2008
- Location
- Rochester, MN
- Posts
- 11,552
- Blog Entries
- 1
Thanked: 3795
Your last two photos remind me of one of the Facebook honing expert idiots who insisted that his bevels were so highly polished that they did not reflect light!


 1Likes
 LinkBack URL
 About LinkBacks


 Reply With Quote
