11 Attachment(s)
A tough challenge ... (almost) won.
Yesterday I had to face a tough challenge.
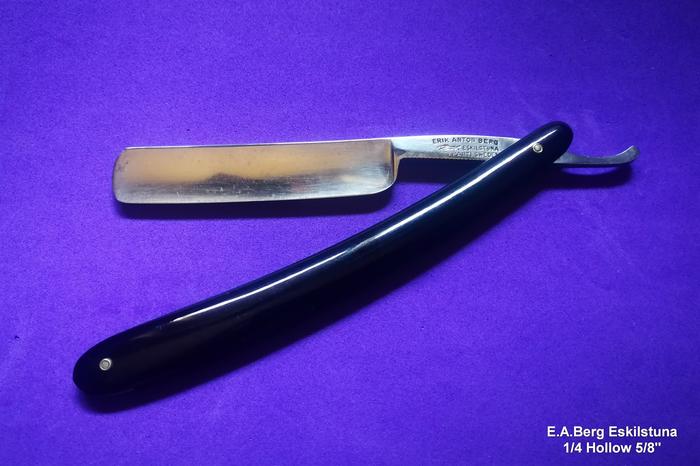
The Razor was a nice E.A.Berg, 5/8" 1/4H which, despite some problems, performed well in the past. As I banged it on the faucet last time I used it, the need was to correct the chips I caused.
The razor (as I said) had some problems:
1) it's a bit warped, so in one side the bevel was (too much) thinner in the centre of the blade than on the Heel & Toe .
2) it has pitting in the same zone, both on the bevel and just below it.
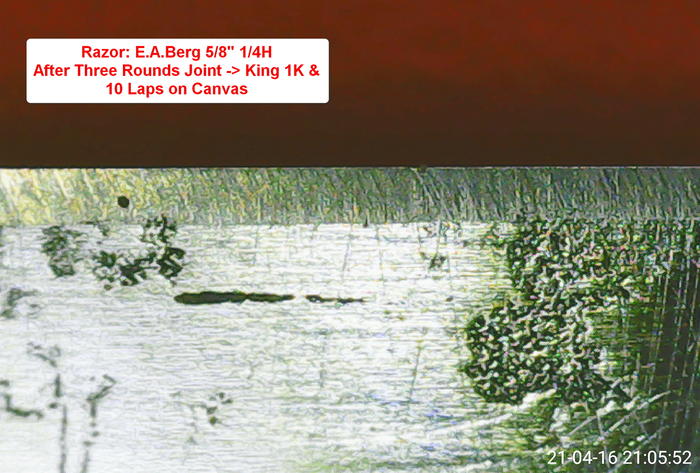
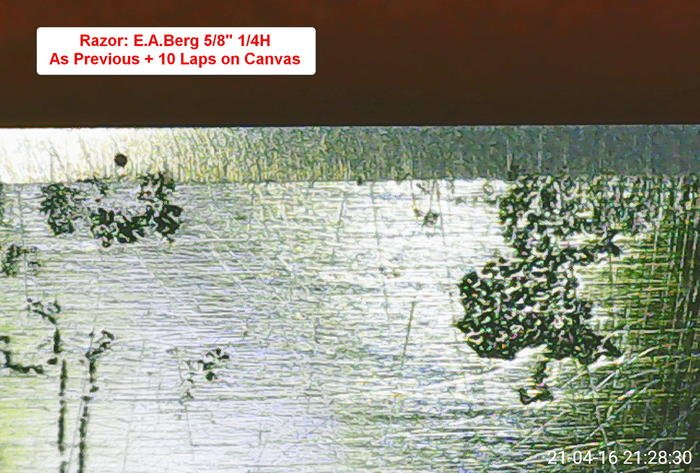
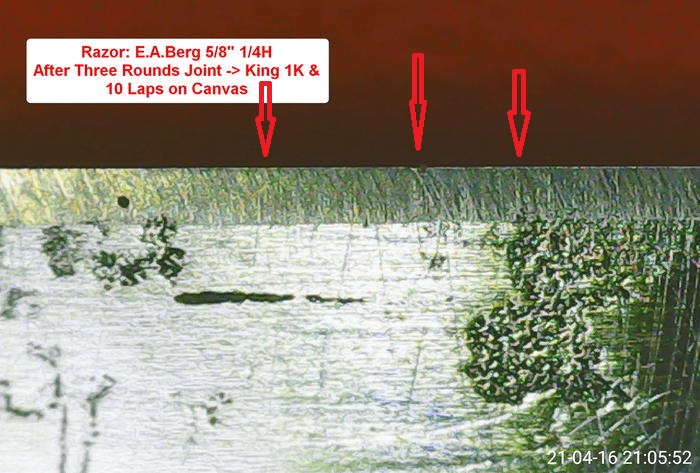
Of course, I decided to hone it from scratch and followed some of Euclid's suggestions regarding the bevel setting on my King 1K. I.e. I killed the edge (5/6 passes on a stone's edge) and made some cycles of full laps edge leading/circles/x-strokes etc. each followed by jointing (2 passes) the edge and stropping 10 laps on Canvas, until the full edge became chips free (apart from some very micro-ones) and passed treetop test.
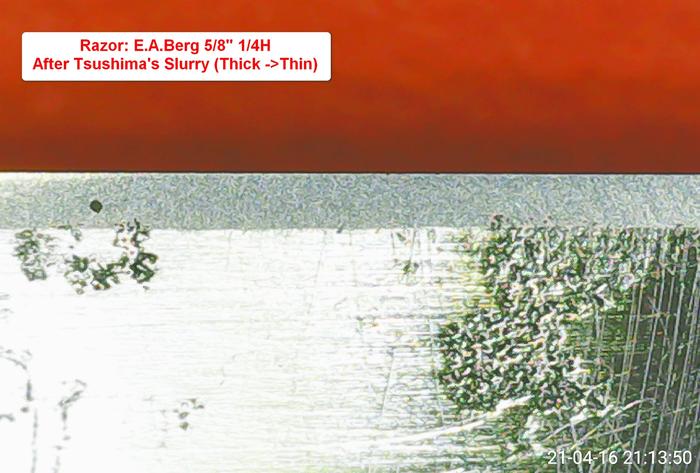
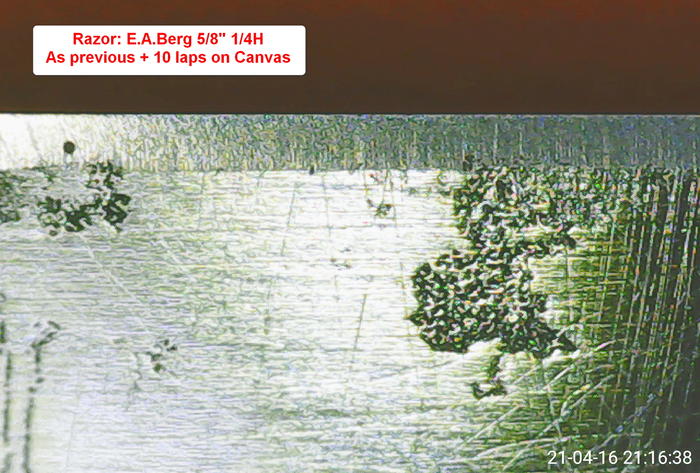
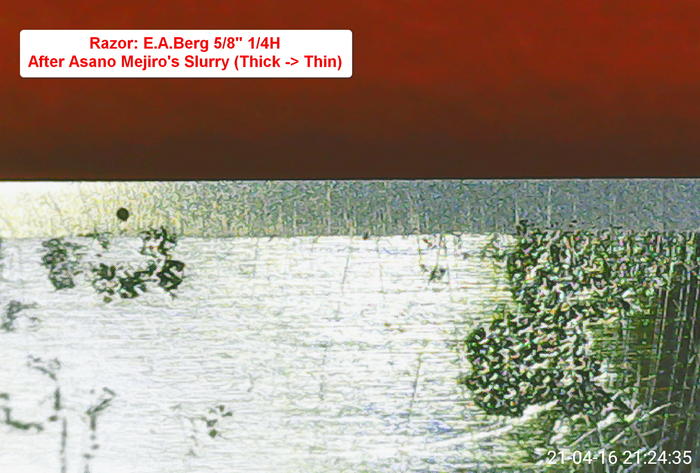
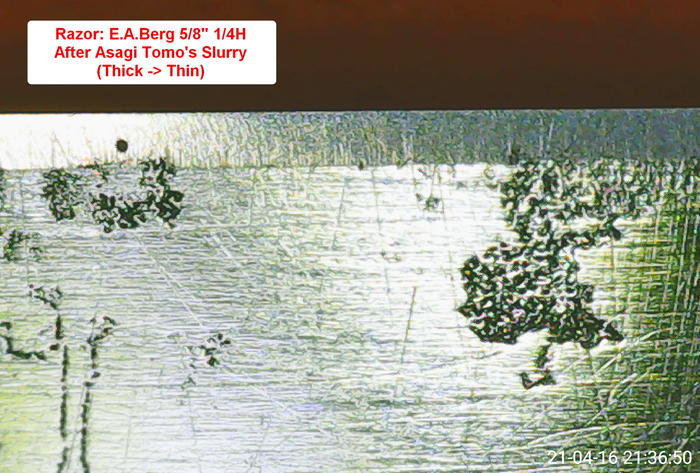
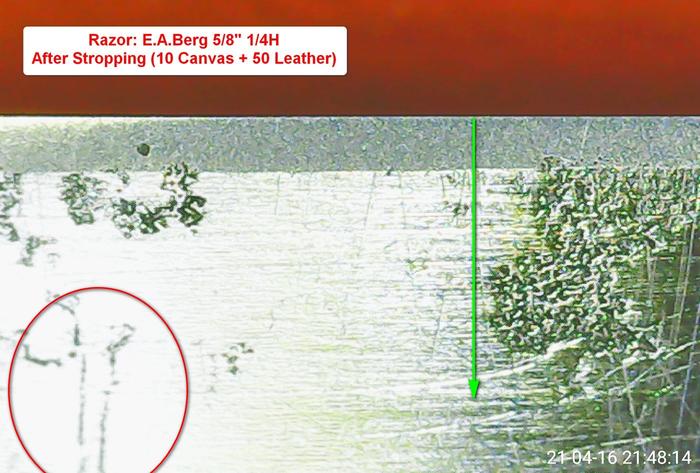
Then I followed my (actual) progression: Ozuku Asagi Koppa (base stone) and slurry from Tsushima Black Nagura -> Asano Mejiro Nagura -> Asagi Tomo. Each followed by 10 laps on Canvas. The blade still passed the treetop test at this point.
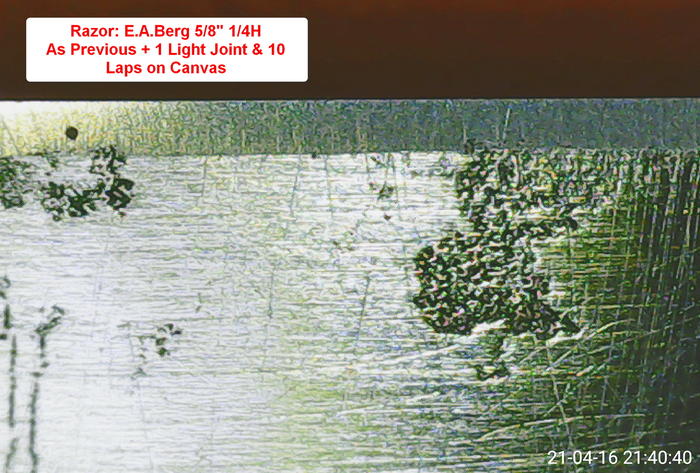
This time, however, I adopted another suggestion from Euclid: I lightly jointed (1 pass on stone) the edge after the Asagi Tomo and then made 15 light laps on it's thinned slurry.
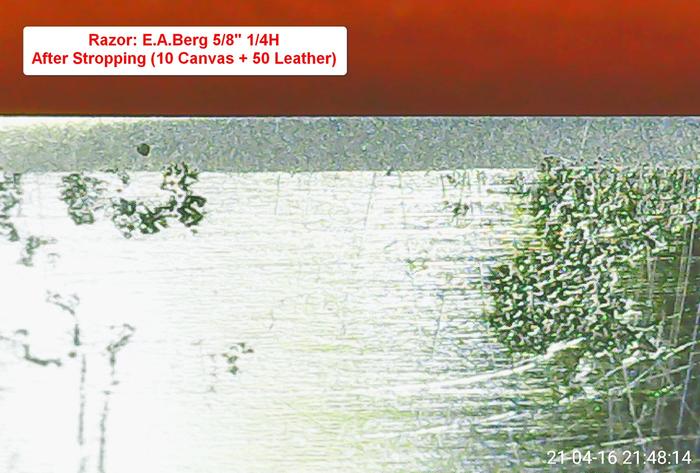
And it was in this last step that I must have made a mistake... as the treetop test was weaker after that. Anyway (I was a bit tired), I made the final stropping and today wanted to test it on shave, but I had to give up almost immediately, because the razor cut very little.
For what I can understand, I corrected the bevel (now its depth is quite homogeneous), eliminated the chips and made (also if not perfect) a discret finish with an at least acceptable edge. So, I should have made the mistake when jointing the edge or during the final 15 laps... :thinking:
If so... i think i will have to repeat the step with the Asagi Tomo's slurry. This time, however, without repeating the light edge jointing, so as not to further complicate things :) and see how it goes.
Note: First image is about the most damaged point of the blade, then I got another easier to find reference point.
Attachment 331488
Attachment 331489
Attachment 331490
Attachment 331491
Attachment 331492
Attachment 331493
Attachment 331494
Attachment 331495
Attachment 331496
Attachment 331497
Attachment 331498