6 Attachment(s)
Learning Jnats with Microscope
Hi to all SRP guys!
After posting something "random" in another thread (Hone of the day... where I got a great help from Euclid440 :bow) I decided to start a new one, where to put my experiences with Jnats with the aid of a (cheap) USB Microscope. Nothing new of course, but just the learning curve of a newbie, both at honig and with Jnats. Hope images, experiences and comments will be helpful to other newbies (and myself of course) to understand something more about this engaging topic.
First: I'm new at honing (about six months and 20some razors honed & touched up)... but wanna grow always more.
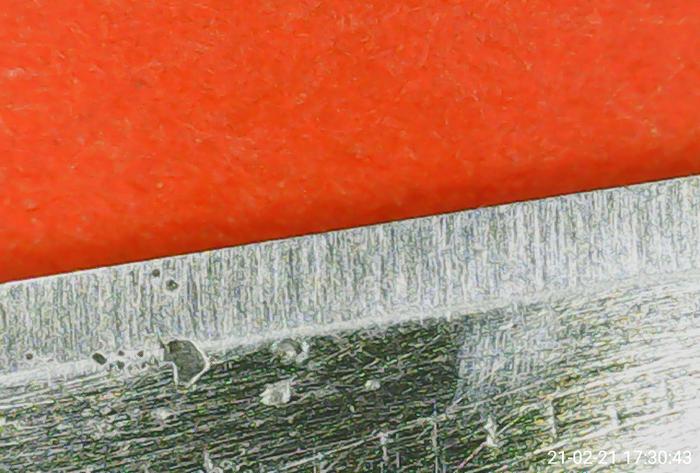
Second: Microscope doesn't hone. It's just a tool which helps to understand what I'm doing & how the stones work. It doesn't says if an edge is sharpen enough or if the shave will be smooth but, it can act as a visual aid to correlate phisical sensations to what is happening on the bevel and the edge. I.e. when we test (fingers, thumbnail test, tree topping hairs, HHT) we can try to see if what we feel is related (and how) to what we see. We can try to understand if a particular finishing aspect gives us a more or less smooth shave. Needless to say, it use is essential to share what's happening with other people. Actually I'm still working at finding the right background to put the razor. This time I used a dark blue foam pad, but was not much satisfied.
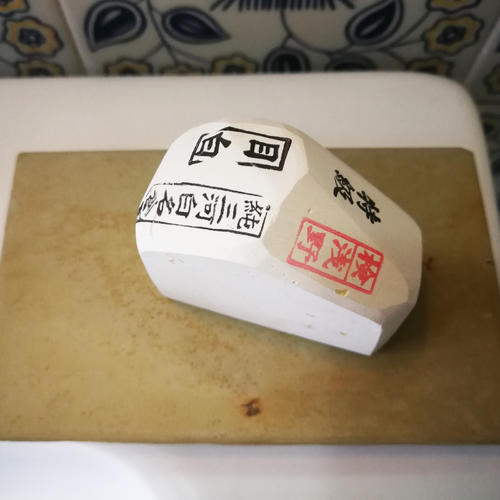
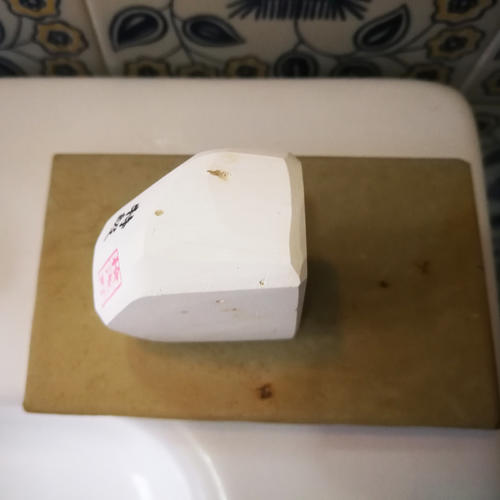
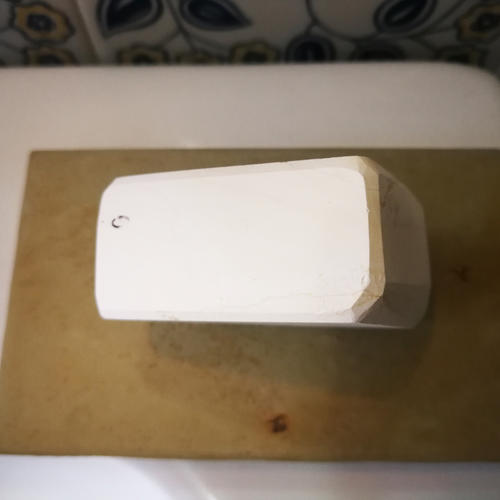
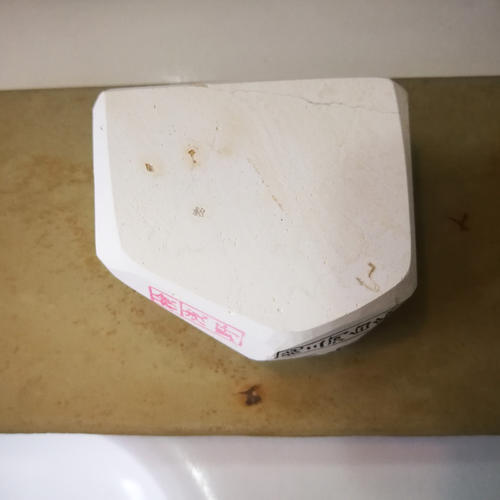
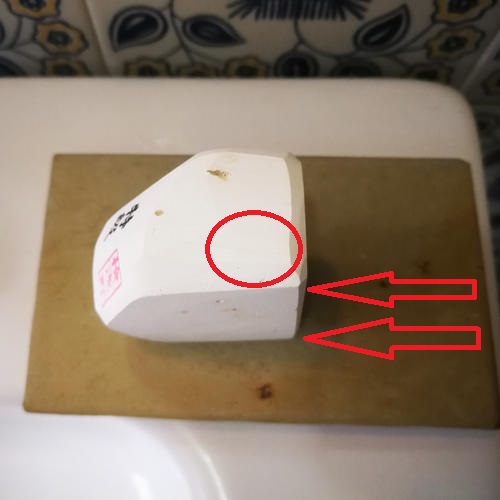
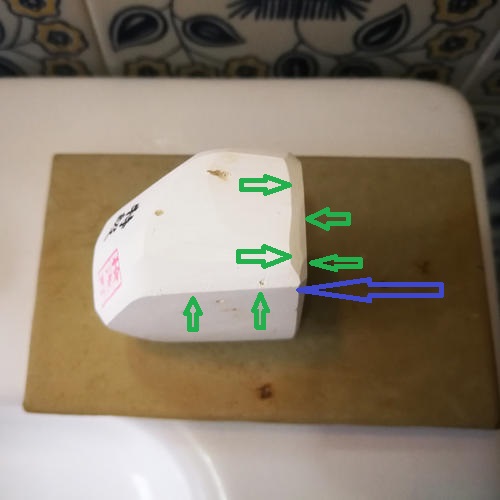
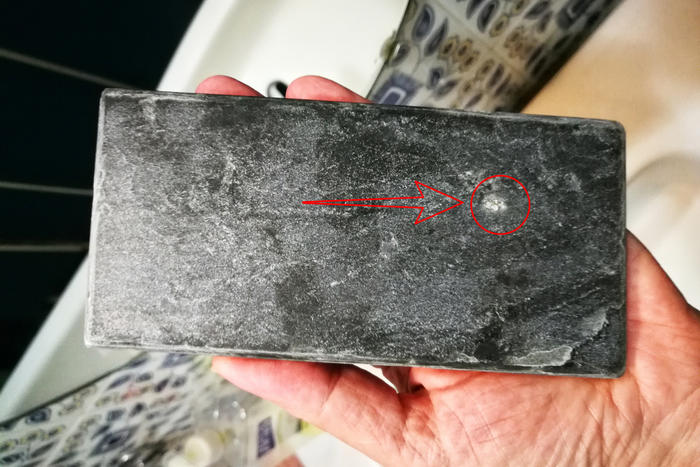
Third: Actually I've 3 small Jnats: Aiiwatani Karasu - Nakayama Kiita Koppa and Ozuku Koppa. All in the low price range, but already better than many other stones (or, at least, that's what my skin says :)). Plus some Tomos & Naguras I will test day by day. Microscope will help me to understand how these ones work.
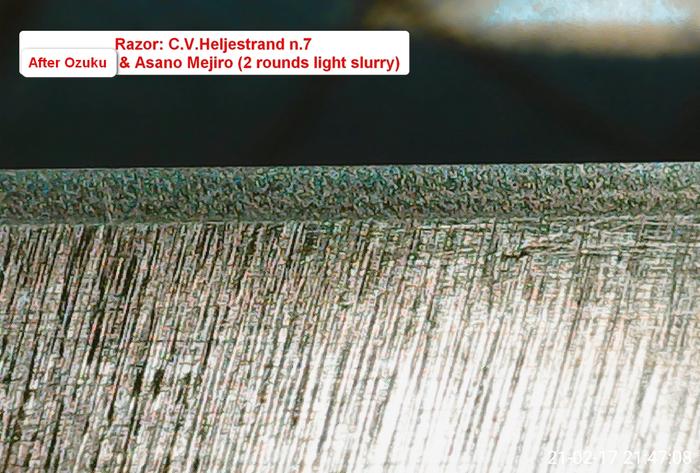
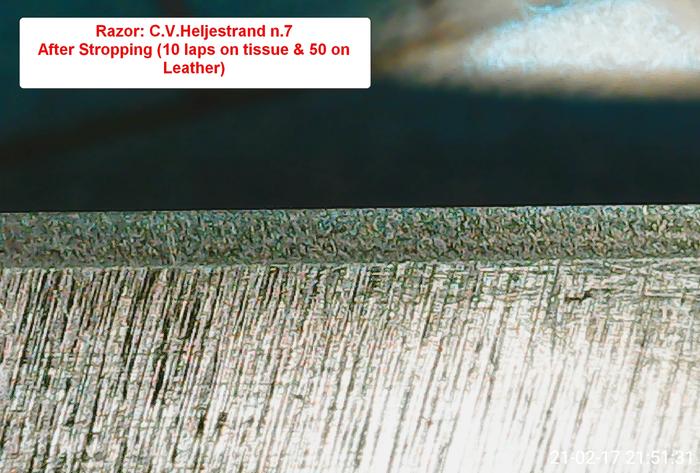
So, let's start with yesterday's honing session. Today it delivered a very, very close shave. It was quite smooth too.
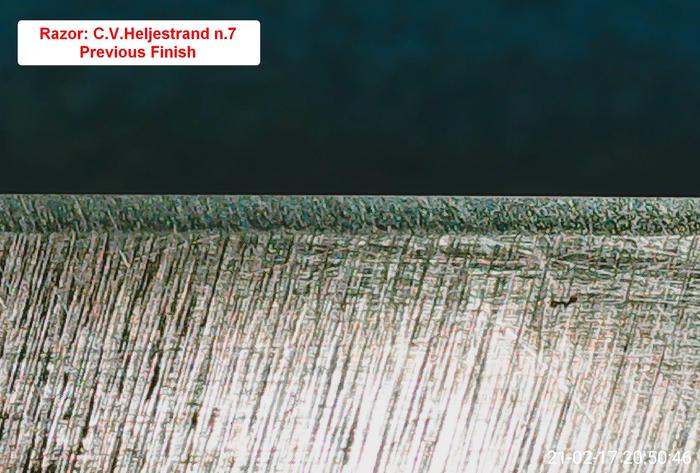
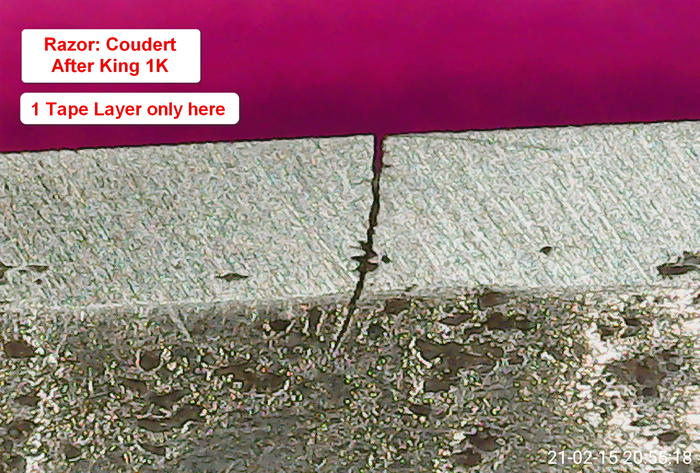
Razor: C.V.Heljestrand n.°7 - Eskilstuna - 5/8" 1/4H. I've honed or touched up it previously, but never got the right balance in keenes/smoothness.
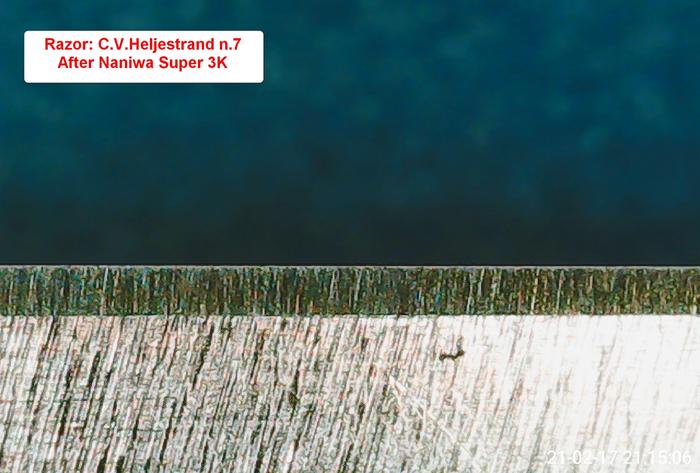
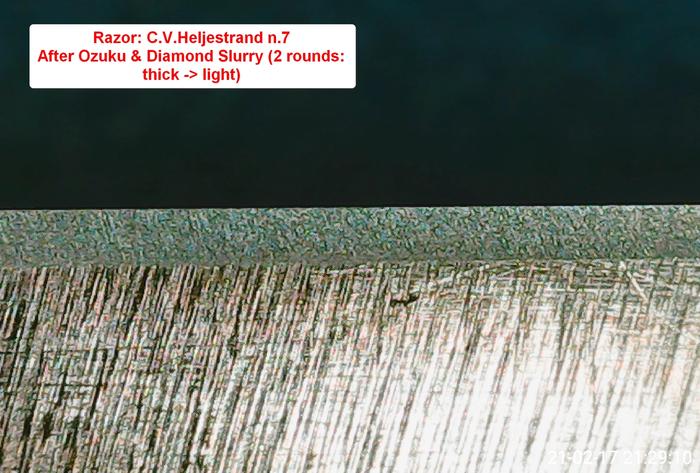
This time I killed the edge and used (with 1 layer of Kapton Tape): King 1K - Naniwa Super 3K - Ozuku Koppa - Asano Mejiro Nagura (first time I used it) - I jointed the edge some times during the various phases.
Attachment 329739
Attachment 329740
Attachment 329741
Attachment 329742
Attachment 329743
Attachment 329744
5 Attachment(s)
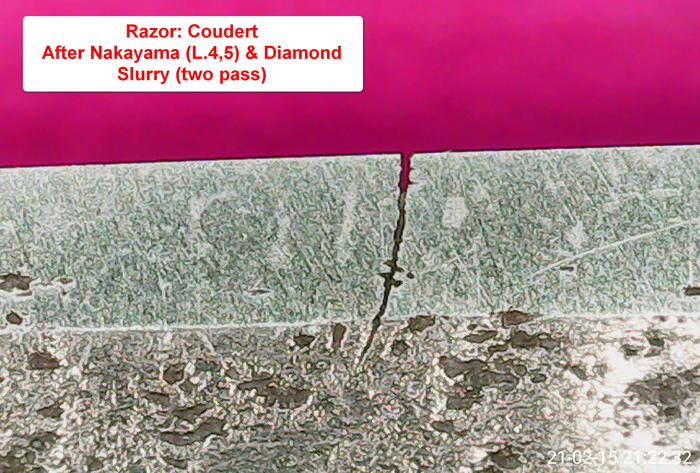
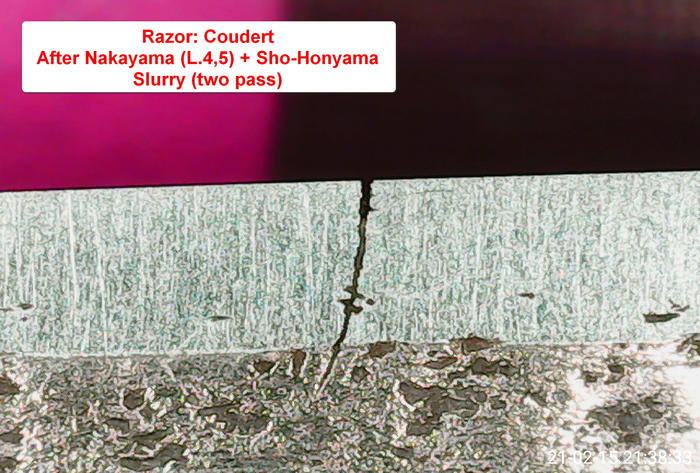
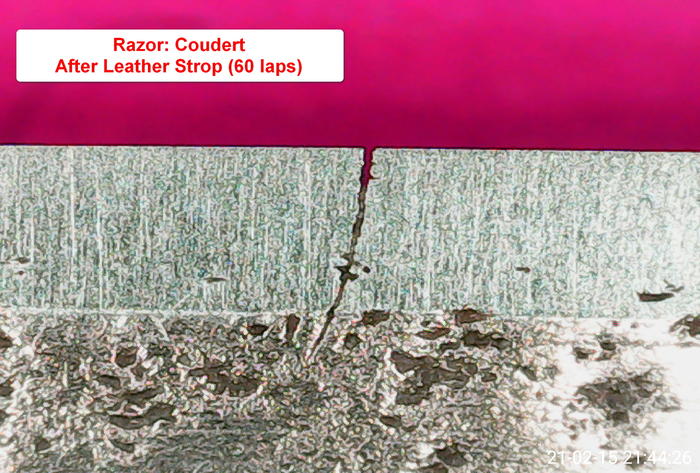
Starting a Test Series with different Naguras
One of the first thing a newbie (as I am) has to understand about Jnats, is he has to compare different naguras on different honzen stones and see how these works. Microscope can help for sure, but shaving is the final judge.
As I got a lot of Naguras, I'm starting to test each one on my Nakayama Kiita Koppa, Ozuku Koppa and (maybe) Aiiwatani Karasu too. So, working with different combinations on each stone, hopefully I'll be able to evaluate how these works and how the microscopic aspects will be related to their shaving behavior.
Just to become familiar with these Naguras I made a quick test to fine tune the operation schedule.
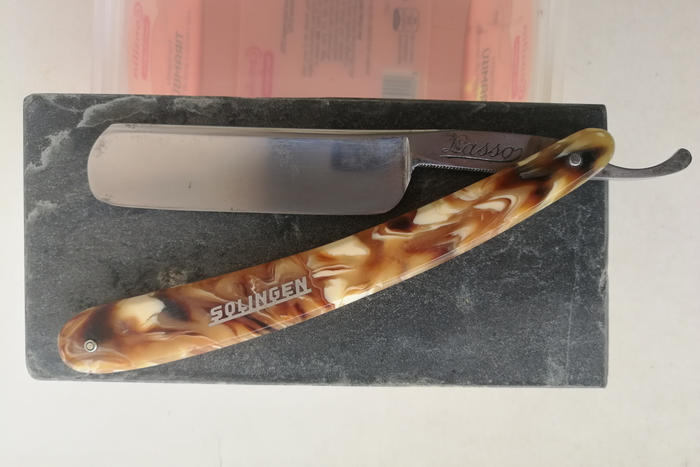
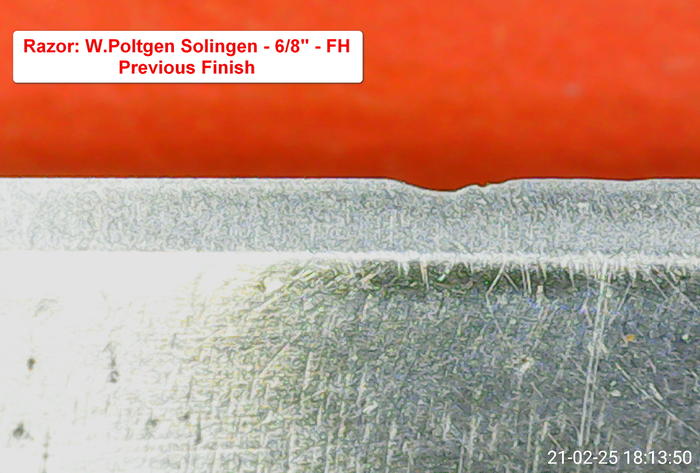
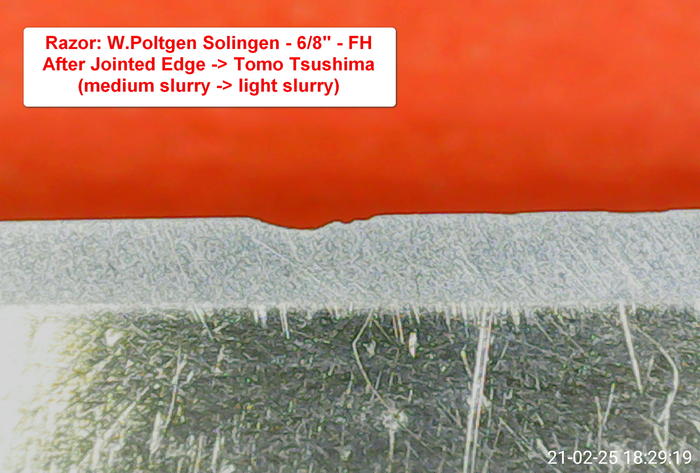
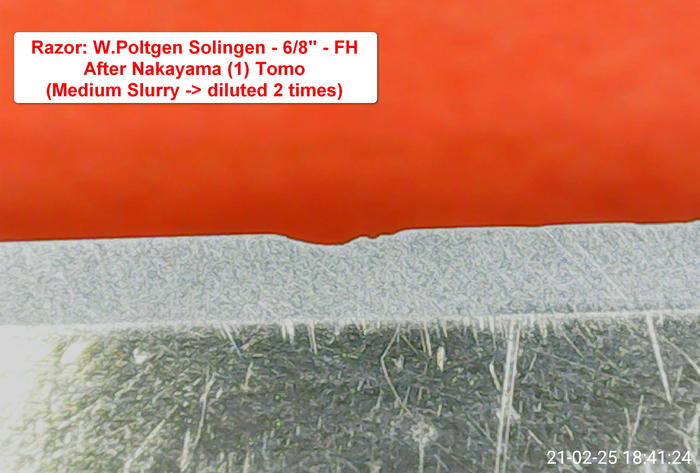
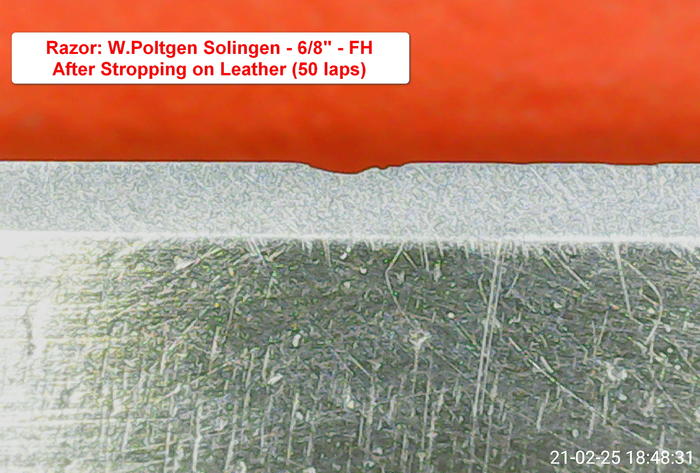
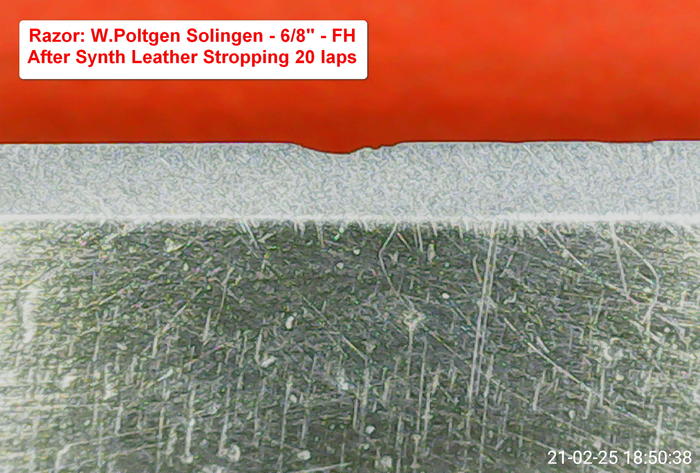
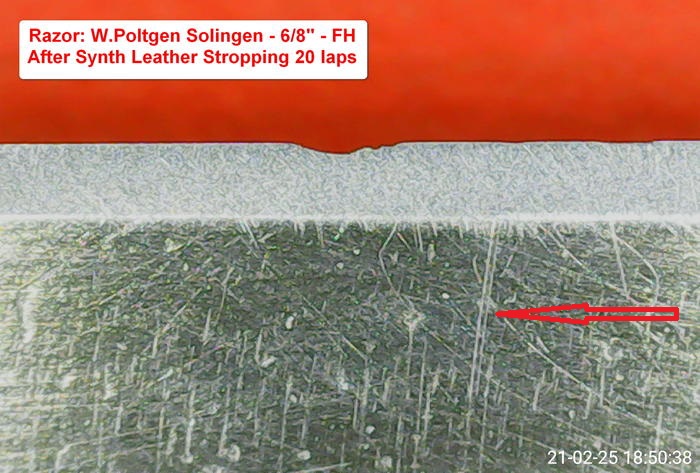
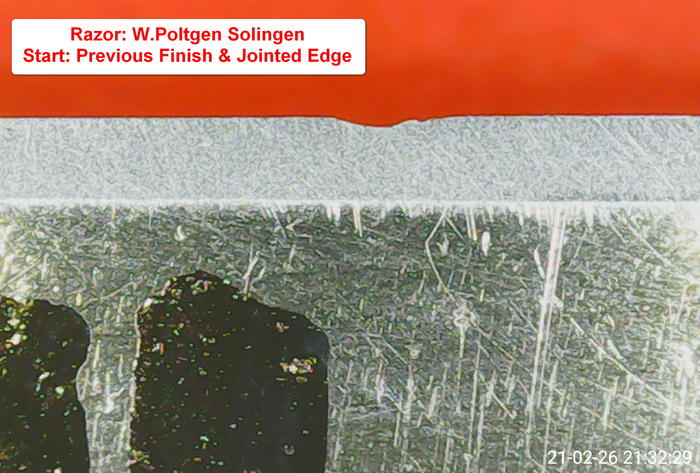
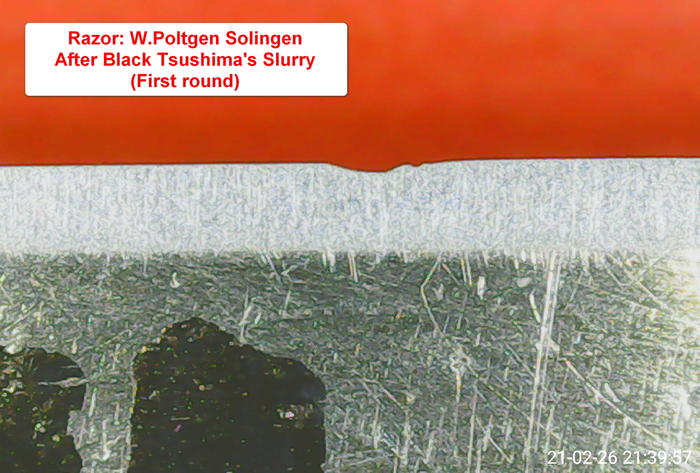
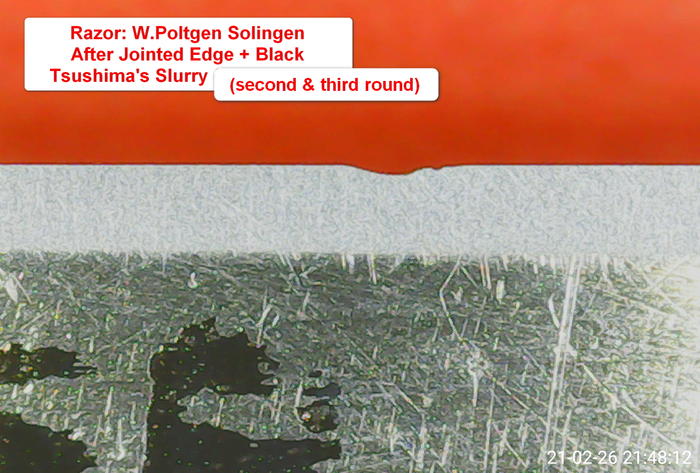
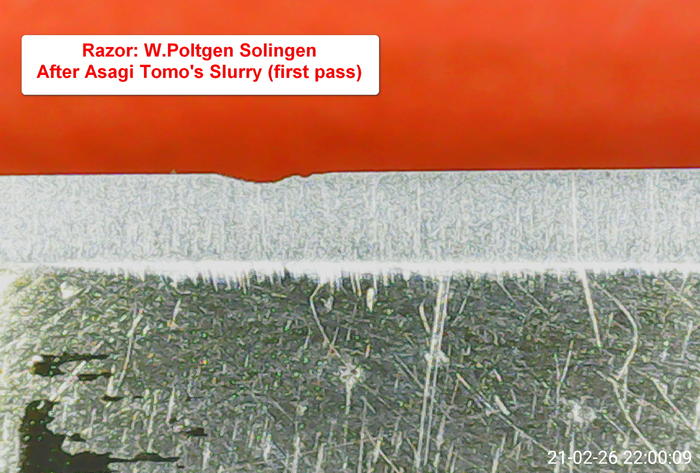
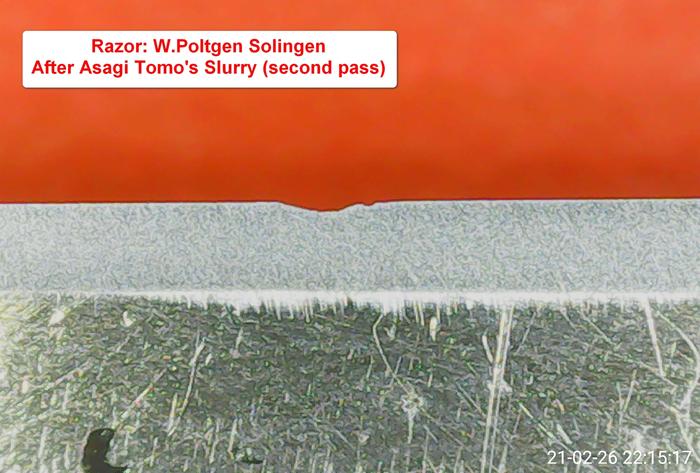
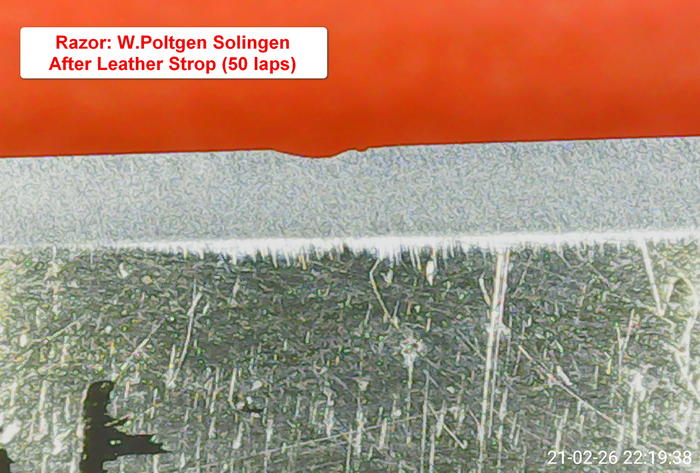
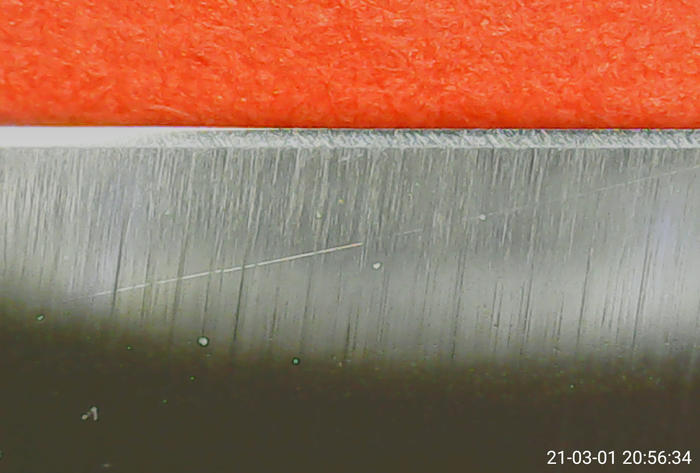
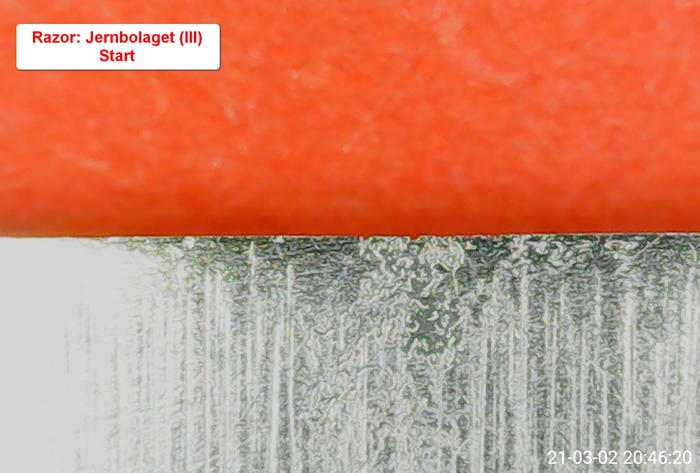
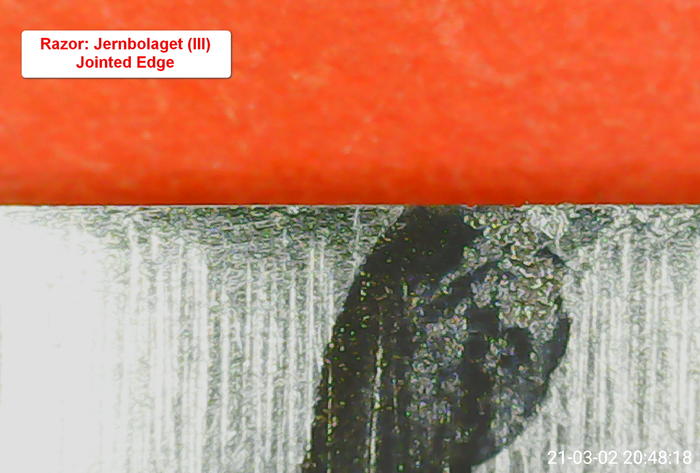
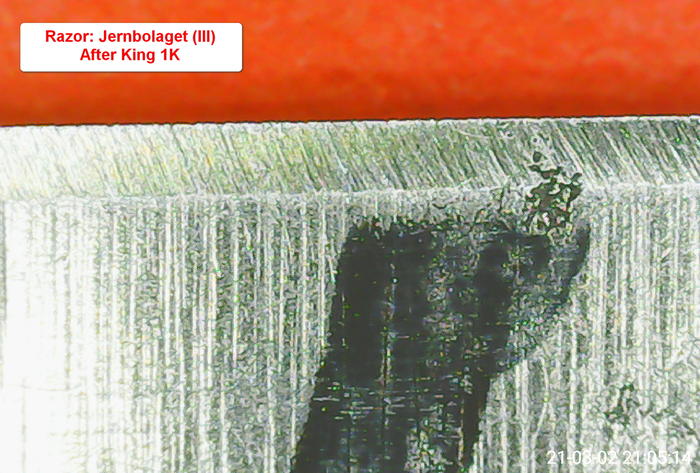
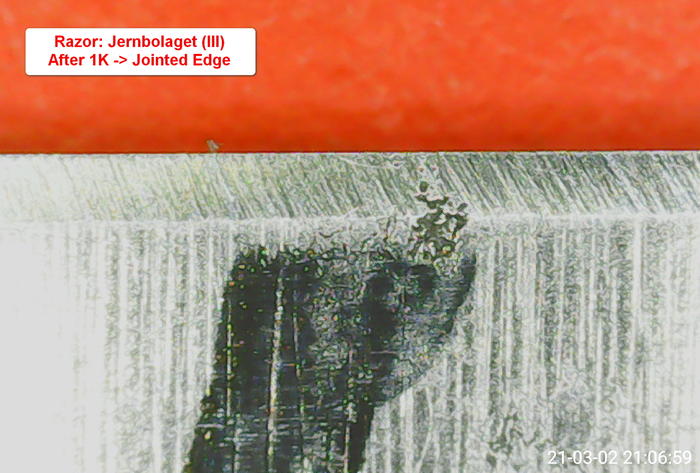
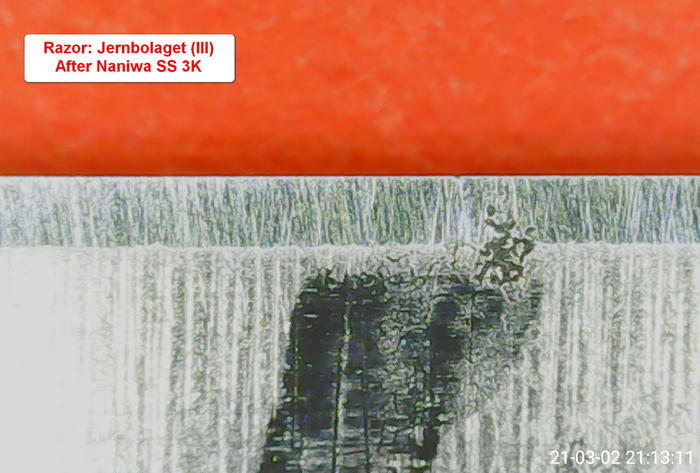
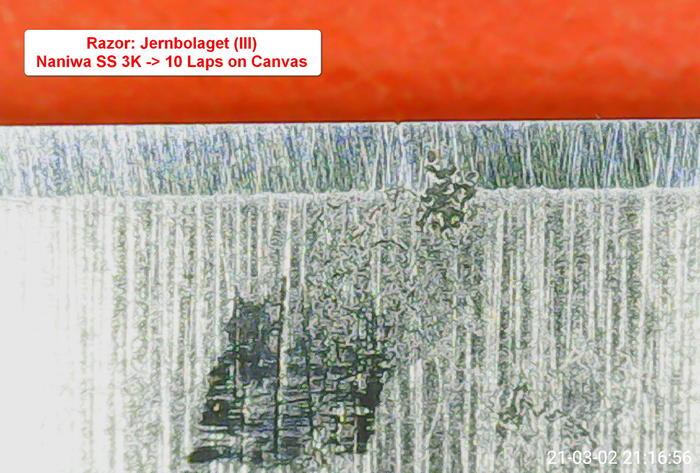
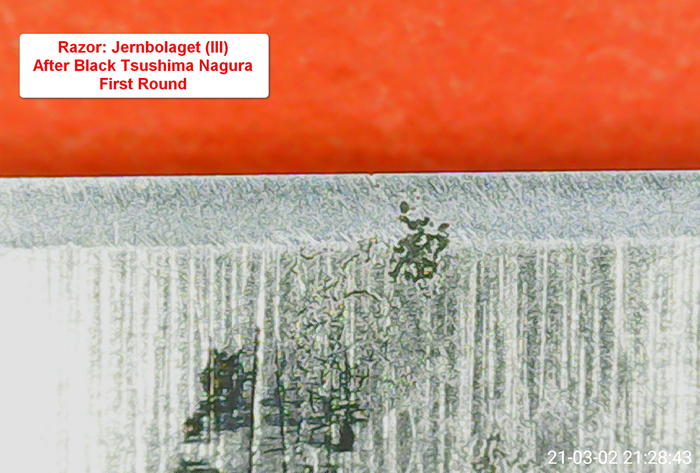
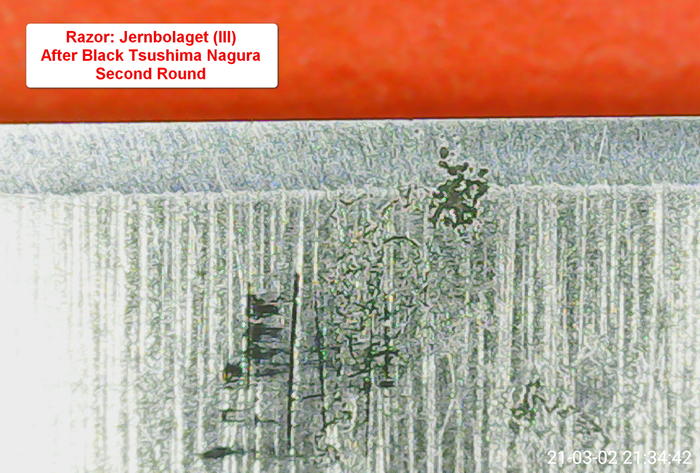
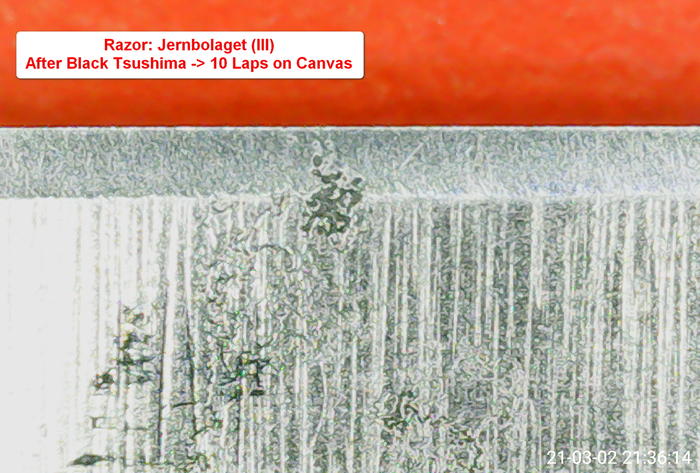
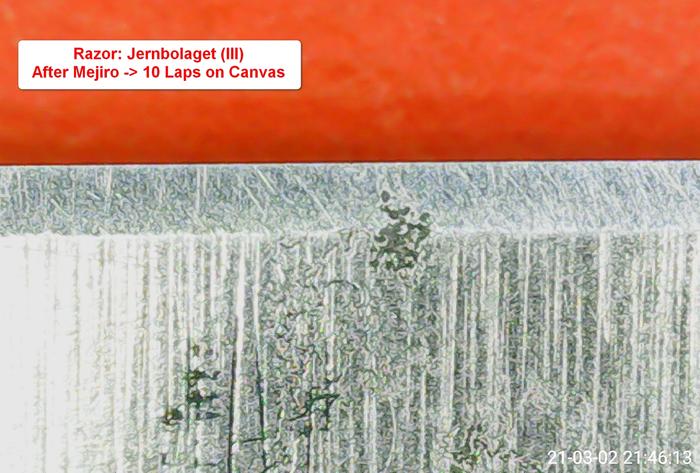
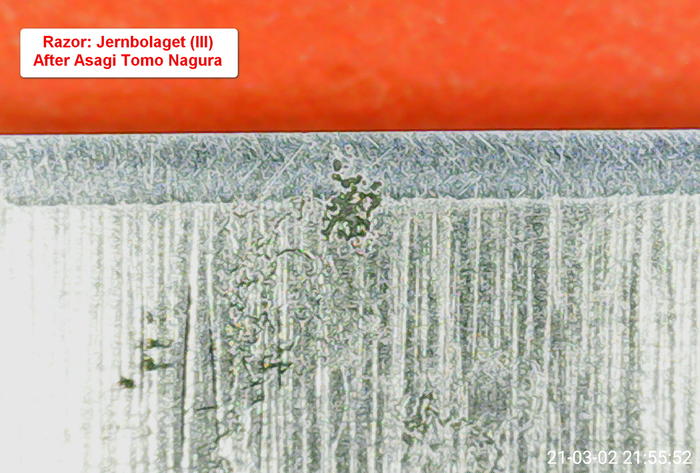
Used a Solingen Vintage Razor, 6/8" FH, the Nakayama, a Black Tsushima Nagura and a Nakayama Tomo.
The chips on the images are not noticeable at thumbnail test, but will be removed before the real Test Series will start.
Timestamp on images will help to define the approximate working time on each step.
Attachment 329978
[Edit: Below ->Tsushima Nagura instead of Tomo]
Attachment 329979
Attachment 329980
Attachment 329981
Attachment 329982
1 Attachment(s)
Something to think about...
Last monday, the postman rang twice :) and delivered two different razors.
The first one was a Japanese NOS and the second was a vintage Svedish one to clean from some rust and hone.
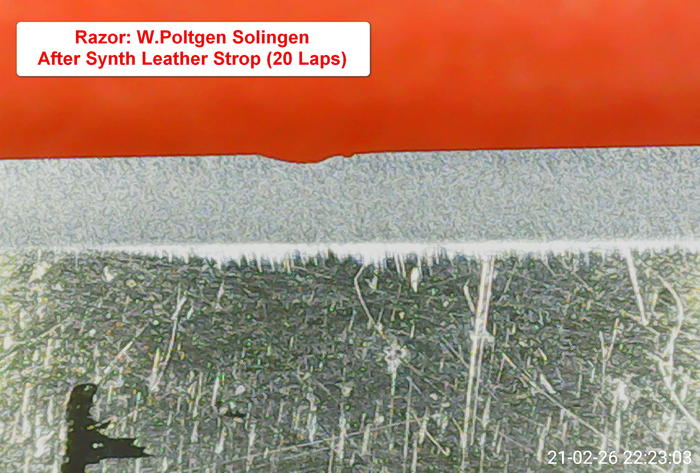
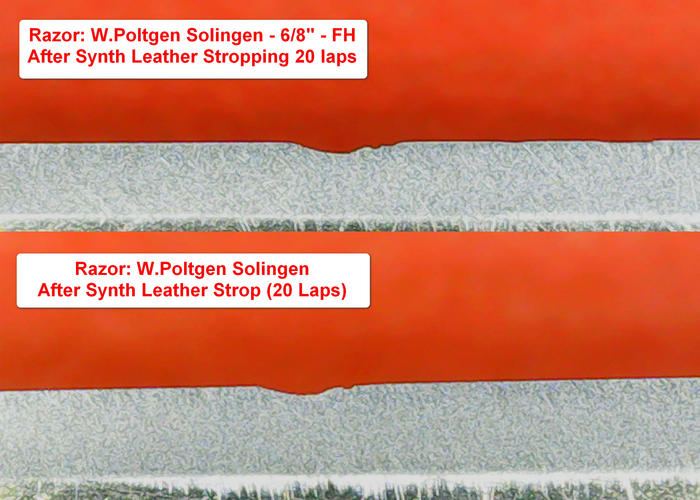
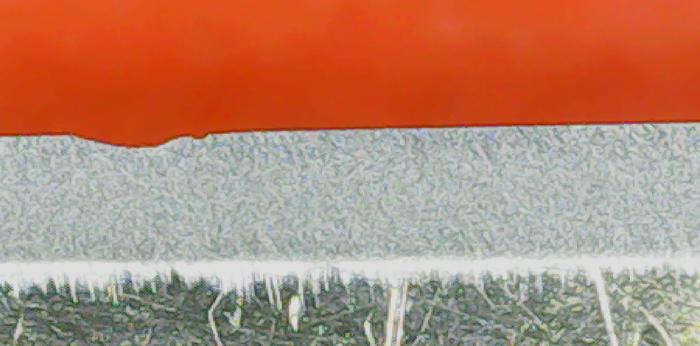
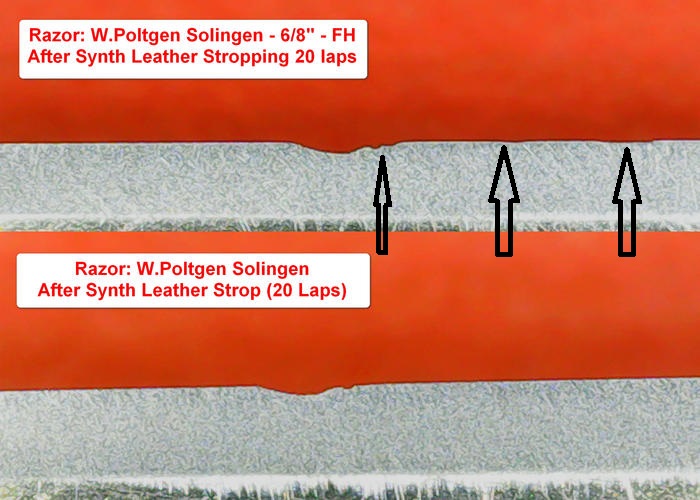
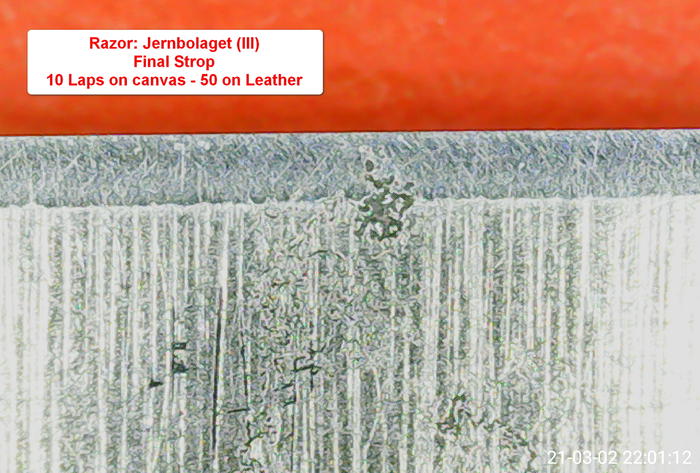
Some expert friends (and japanese razors conoisseurs) suggested to test the NOS with factory sharpening and just some stropping. They said that could have been surprisingly good. Although hesitant, I accepted the advice and shaved that way.
Well, it shaved very close and quite smooth, despite a microscopic bevel aesthetically not very reassuring.
Next post I'll talk about the other razor, but this fact made me think about the importance of the basic sharpening and the creation of the bevel. It is a component that probably reaches 90% of the entire honing sequence: a well set and cutting bevel and we can shave in a good way. I believe to be able (once the bevel is set and that's already an hard job) to add a 5% more, to get a bit smoother shave (using a lot of time, work, knoweledge & stones)... but, the biggest effort for us amateur honers ... it is being able to add the missing 5%. And there the game gets tough. It takes years to refine techniques, knowledge, dexterity and ... that pinch of magic to take that last, apparently small step, which brings us closer to perfection.
Here's the bevel of the Japanese NOS:
Attachment 330149
