Results 31 to 37 of 37
Thread: OPINIONS WANTED
-
06-25-2010, 05:31 PM #31Senior Member

- Join Date
- Feb 2010
- Posts
- 154
Thanked: 39
Thanks Paco. Now if you would out of curiosity. Just do your normal stroping on fabric and leather. Then get another pic we can see how much the blade comes back from shave damage.
Say 50 passes on fabric and leather.
I think I get most of my edge damage is by the bump on a finger nail that happens once in a while
Thanks for the pic's!
I had read on a razor box one time how important it was to use the correct shave angles. It said that the edge of even the best razors would be damaged by improper angles.
Every since then I have tried to use a heel or toe leading stroke. The result for me was the edge needed to be refreshed and honed less often.
Also if you are looking for some good Cro-ox try this place Japaneseknifesharpeningstore
They were selling dry .3 micron Cro-ox in 1.5 & 3 oz sizes, I got the 1.5 and it looked like a lifetime supply to me. They may be out of stock right now, but keep checking. They also showed you how to apply it using a spray bottle so you don't over do it. Seems like it way around $12 for 1.5.
Silver2
-
06-25-2010, 07:43 PM #32Senior Member


- Join Date
- Aug 2008
- Location
- Russellville Ar. from NEW ORLEANS, LA.
- Posts
- 1,035
Thanked: 172
Silver2;
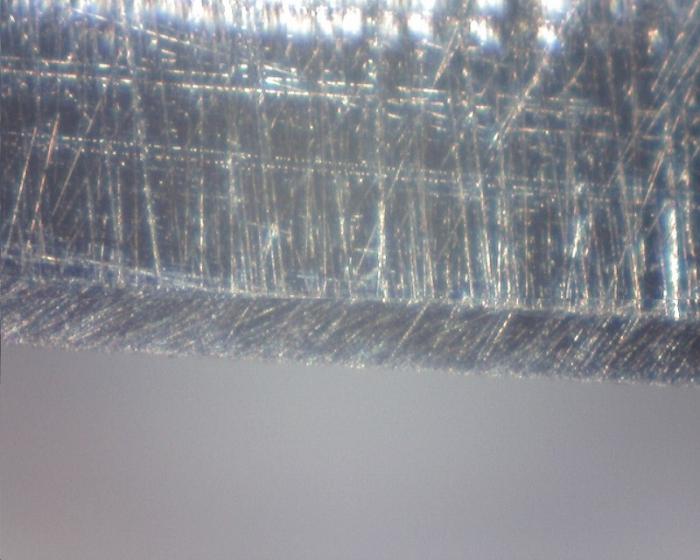
This pic is after above shave and stropped on Red Latigo Heirloom single strop,
30 laps back side which is back of the leather
50 laps front side.
Hope this gives you what your looking for.
As for the pastes what i have seems to be working, so i say,
" If it ain't broke don't fix it."
 Consider where you will spend ETERNITY !!!!!!
Growing Old is a necessity; Growing Up is Not !
-
The Following User Says Thank You to paco For This Useful Post:
Silver2 (06-26-2010)
-
06-26-2010, 03:33 PM #33Senior Member

- Join Date
- Feb 2010
- Posts
- 154
Thanked: 39
Yes Paco, that shows you put a very nice edge on the blade to start with. The shave did show it was micro mangled after words. Your stropping progression brought the edge back to say 98%.
Good job on your part.
I found it all very interesting.
On the paste I think some of the guys thought the micron size may have been all over the scale.
Of course with your camera you can look at the edge after each one and see what the scratch pattern is and how uniform it is.
I do like the powder myself because you can mix it with 91% alcohol and spray it on for a light even coat on fabric or felt. If you want it on leather you can mix it with a little neats foot oil and apply.
Now you have a nice tool to play around with.
What make is it? I may have to buy one to play with myself.
Best wishes,
Silver2
-
06-26-2010, 05:29 PM #34Senior Member


- Join Date
- Aug 2008
- Location
- Russellville Ar. from NEW ORLEANS, LA.
- Posts
- 1,035
Thanked: 172
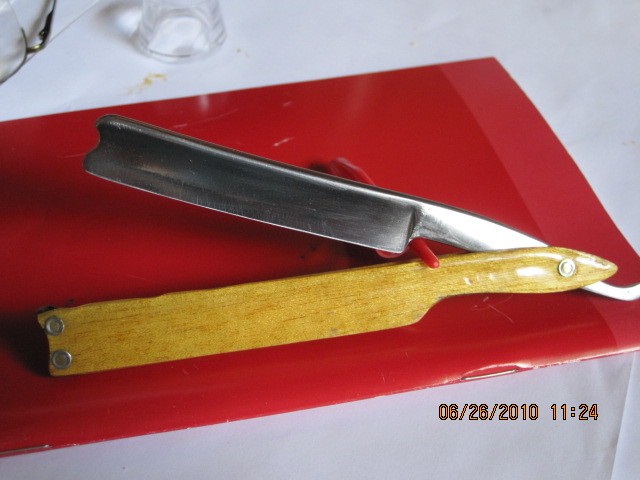
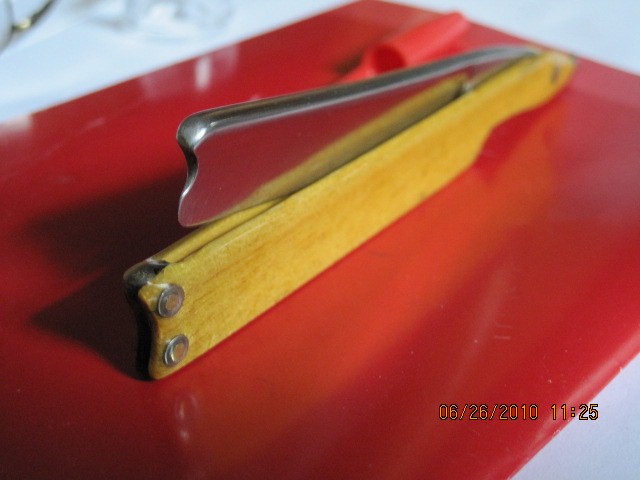
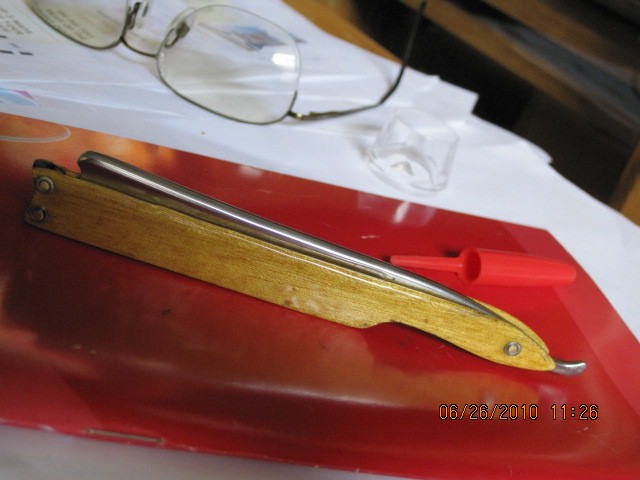
I got it in a batch of 5 junkers and it has no markings what so ever.
Had a pinhead size chip about 3/4 the way from the toe to heel.
Has what i would call a grin not smile and it was difficult for me to hone as this is the first one that was not a straight edge.
Made some scales of yellow wood and coated with epoxy.


Last edited by paco; 06-26-2010 at 05:34 PM.
Consider where you will spend ETERNITY !!!!!!
Growing Old is a necessity; Growing Up is Not !
-
06-27-2010, 11:43 PM #35

Are you sure that's 250x? I'm comparing your pics with what I see with my 60x Radio Shack scope and either the RS scope has much higher magnification than it clams...or you have a teeeeny bevel.
Goog
-
06-28-2010, 04:46 AM #36
-
07-01-2010, 03:33 AM #37Senior Member

- Join Date
- Jan 2008
- Location
- Northern California
- Posts
- 1,301
Thanked: 267
I have just a couple of small points. One is that 220 is pretty a pretty harsh grit to start with. That is equal to roughly a 50 micron particle size and one is going to have to work a lot to smooth out those scratches. Secondly, I noticed large scratches on the spine side of the bevel. When I see those on my razors it has been when I am applying to much pressure in the beginning of the bevel setting. I would assure that later in the sharpening process that you lightened up on the pressure because the edge looks pretty good. It is always a battle for me to get my pressure on the edge down to the point that there is no flexing of the blade to make sure that I am working on the very end of the blade. The beginning of the dark patina in the pic is what I look for to make sure that I am hitting only the very edge of the blade.
Take Care,
Richard
-
The Following User Says Thank You to riooso For This Useful Post:
paco (07-01-2010)


 LinkBack URL
 About LinkBacks


 Reply With Quote
