
Results 11 to 16 of 16
 3Likes
 LinkBack URL
 About LinkBacks
-
08-30-2012, 03:40 AM #11Senior Member


- Join Date
- Apr 2012
- Location
- Diamond Bar, CA
- Posts
- 6,553
Thanked: 3215
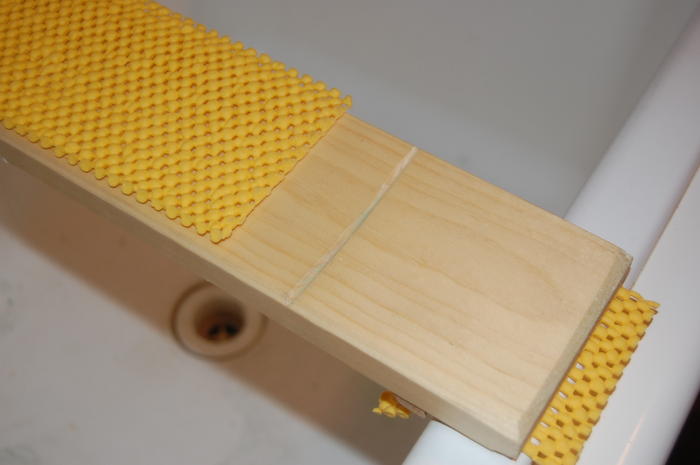
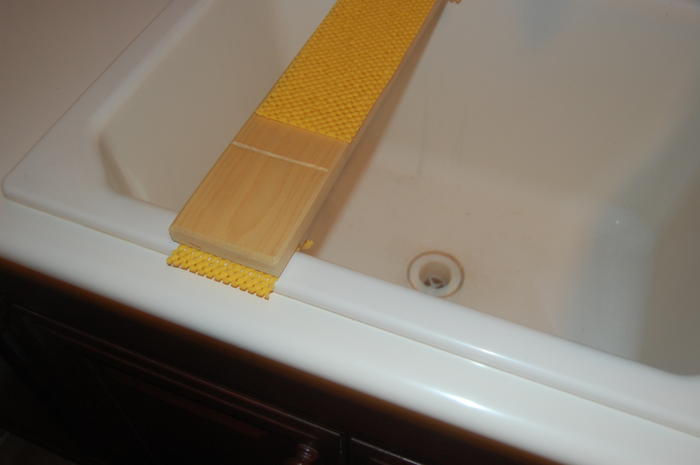
Been using this 3 pine board, measured across the sink and held in place with 2 small pieces of ¼ round molding nailed to the bottom at the sink edge.I cut two ¼ in v groves at each end with a v gouge to channel water back into the sink, but a cross cut dado with a saw would work just as well.
Beveled the edges and sprayed a coat of clear lacquer on it. Two 3 X 3 squares of rubber drawer liner protect the sink and weld it in place. Another 3 x 8 drawer liner makes a non-skid surface to hold stones.
Cost about a buck and been using it for over a year, I think it will last a while then Ill make another.
Its just a board, doesnt have to be water proof just let it dry, dont over think it.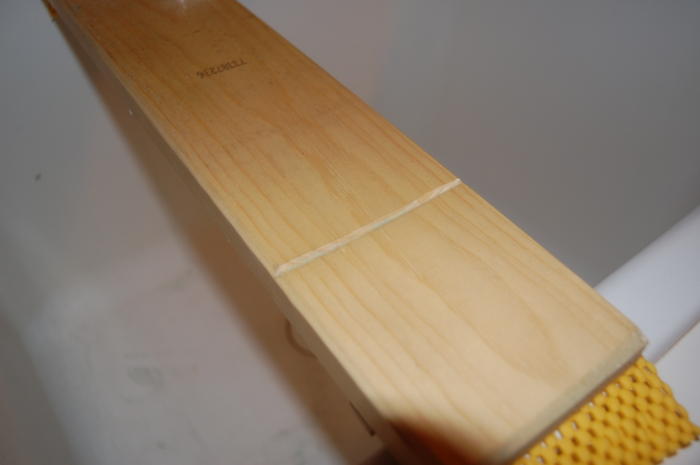
 [ATTACH=CONFIG] 105145[/ATTACH]
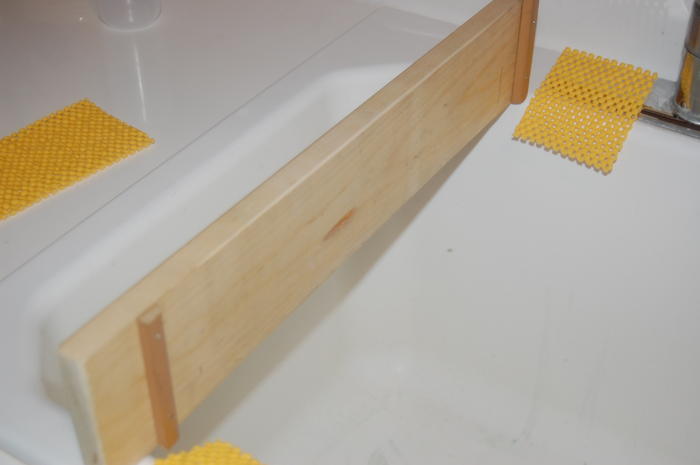
Last edited by Euclid440; 08-30-2012 at 02:06 PM.
-
08-31-2012, 06:33 PM #12Learning something all the time...


- Join Date
- Jul 2012
- Location
- Central Missouri
- Posts
- 1,690
Thanked: 247 need tips on making a sink bridge
Here is mine. I scratched the trex idea when I found this red oak scrap in my garage. Free is nice.
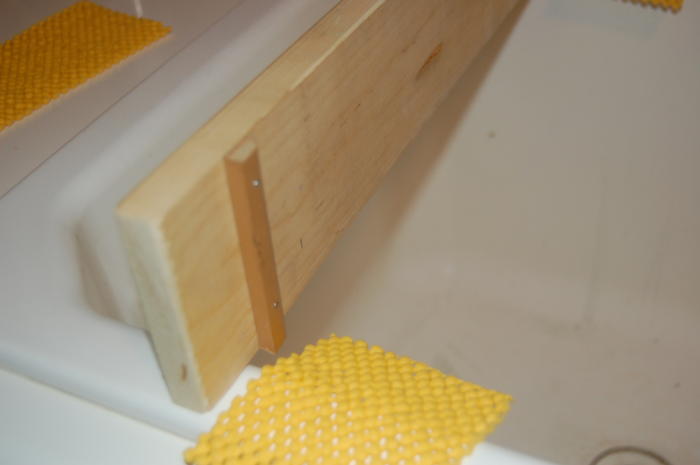
My sink has a double lip so I shaped the main board to fit then added two anchors to really make it tight. No rubber needed.
Notice how the screw point is sticking out just a bit? This lets me press it in place during a test fit.


Flip it over and screw it down.

Total build time 20 minutes. Used jig saw and cordless drill/driver.Last edited by unit; 08-31-2012 at 06:45 PM.
-
09-07-2012, 12:25 AM #13Senior Member

- Join Date
- Sep 2011
- Location
- Michigan
- Posts
- 344
Thanked: 61
Now coat that board in polyurethane, otherwise it will get moldy from the wood drying out repeatedly. You don't have to but it will help. Originally Posted by unit

-
09-08-2012, 01:43 AM #14Senior Member

- Join Date
- Jan 2008
- Location
- Sweden, Gotland, Visby
- Posts
- 1,888
Thanked: 222
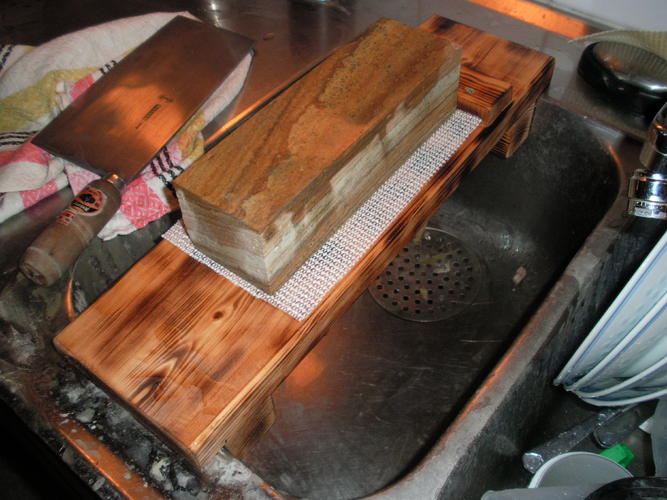
Here is mine, during a quick fix of an Chinese cleaver on a Amakusa red 800.
-
09-09-2012, 03:44 PM #15Senior Member
- Join Date
- Apr 2012
- Location
- Diamond Bar, CA
- Posts
- 6,553
Thanked: 3215
Whoa, now that is a great looking rock, love that grain. Is that like a Chinise Washita? is it a fast cutter? I must admit, I have bought some Arks mostly for thier beauty. I love those rust and purple marbled stones.
A small grove on the front side will channel water and slurry in to the sink and prevent it rolling back on you. A 1/16 in. chisel or a hand saw kerf is all you need.
Nice bridge, one of the thing I found is with a wide bridge my hands hit the bridge with thin stones, so I had to raise the stone with a holder or narrow the bridge, not a problem you will have with that cinder block.Last edited by Euclid440; 09-09-2012 at 03:47 PM.
-
09-09-2012, 03:53 PM #16'tis but a scratch!


- Join Date
- Oct 2010
- Location
- Durango, Colorado
- Posts
- 2,080
- Blog Entries
- 2
Thanked: 443
Euclid, your bridge reminds me of Einstein's wonderful quote: "Everything should be made as simple as possible, but no simpler." Very nice, very elegant. Originally Posted by Euclid440
"These aren't the droids you're looking for." "These aren't the droids we're looking for." "He can go about his business." "You can go about your business."
-
The Following User Says Thank You to roughkype For This Useful Post:
Euclid440 (09-09-2012)


 Reply With Quote