
Results 1 to 10 of 10
 2Likes
Thread: The razor that wont get sharp...
 LinkBack URL
 About LinkBacks
-
05-19-2013, 10:42 PM #1Senior Member


- Join Date
- Feb 2012
- Location
- Charleston, SC
- Posts
- 236
Thanked: 29 The razor that wont get sharp...
Ok guys, looking for some help here.
I have honed about 150 razors so far and with one exception (a W&B Frenchpoint, which I ultimately got super sharp) have never had a problem getting a razor shave ready. But today, I am having some issues and don't what else to do.
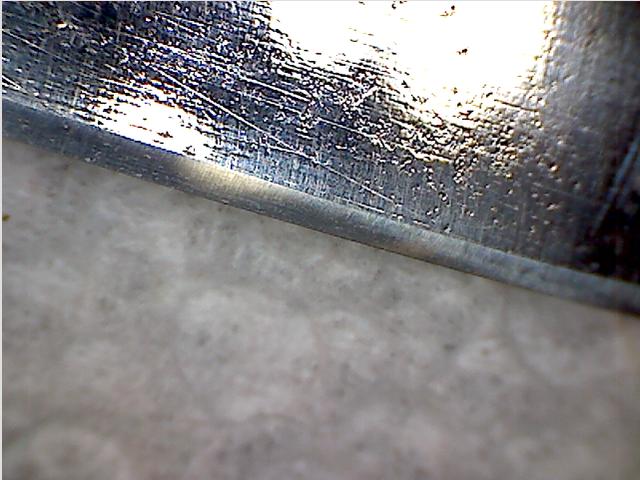
This is a Gilchrist 6/8 Frameback that I picked up from Ebay. I have sanded, tumbled and buffed this razor to clean it up, and built a nice set of scales and am now trying to hone it. When i first looked at it under magnification, the bevels were all over the place. In some areas, it looked like there wasn't a bevel; in other areas it had a triple bevel.
I used two pieces of tape to bevel and used my Naniwaa 1000 to set the bevels (pictures below). I then went to one piece of tape and took it to my 5000 and then 8000 alternating in the pyramid. When i took it off the 8000, i tried to pop some hairs off of my arm and nothing came off. I then started back at setting bevels again (2 pieces of tape) and then progressed to the 5000 and 8000 (this time using 2 pieces of tape). Upon completion, again this razor will not pop any hairs on my arm.
Other than going to three pieces of tape (I really hate that visible of a bevel), any other suggestions?
PS: Don't mind the discoloration on the bevel, I just didnt wipe the razor down to well after the 8000.
-
05-19-2013, 10:52 PM #2Senior Member


- Join Date
- Dec 2010
- Location
- Virginia
- Posts
- 3,362
Thanked: 581
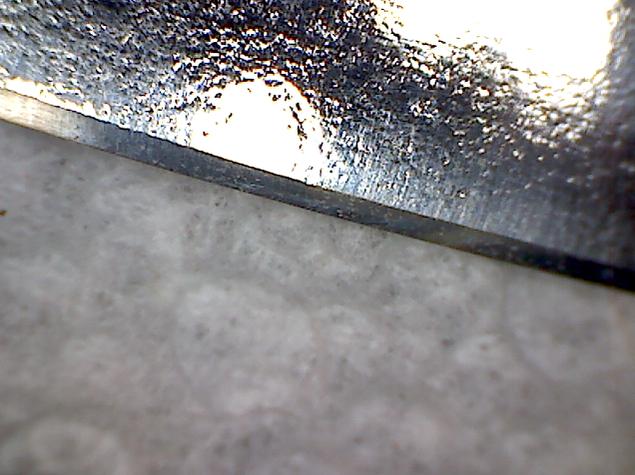
The blade seems heavily pitted, and it appears that that pitting extends into the bevel and edge. I have a Wostenholm that has that issue, and I have given up on putting a good edge on it. My experience has been that additional layers of tape reduce instead of extending the height and visibility of the bevel.
gssixgun likes this.
-
The Following User Says Thank You to ace For This Useful Post:
Silents (05-19-2013)
-
05-19-2013, 10:54 PM #3Senior Member
- Join Date
- Feb 2012
- Location
- Charleston, SC
- Posts
- 236
Thanked: 29
Would continuing the honing eventually get rid of the pitting?
-
05-19-2013, 11:00 PM #4Huh... Oh here


- Join Date
- Oct 2011
- Location
- Tri-Cities TN
- Posts
- 2,270
Thanked: 358
Depends on the devils spit, Originally Posted by Silents

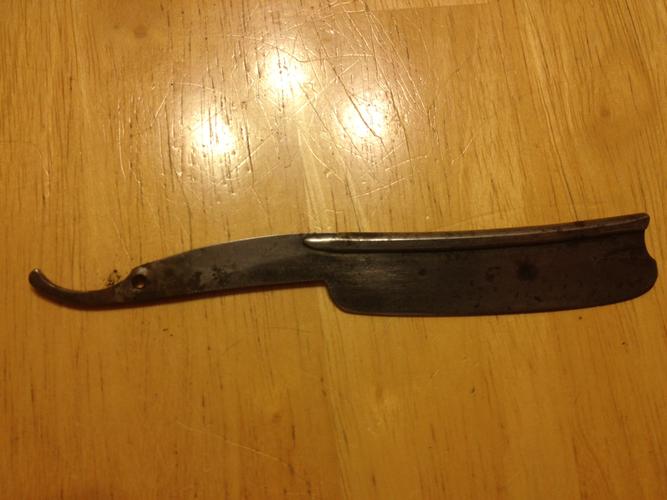
other than the one picture that looks iffy (#3) it looks like you could.
From that picture alone it looks as though you will need to remove at least another full bevel height of material to get to some decent steel.It is just Whisker Whacking
Relax and Enjoy!
-
The Following User Says Thank You to pfries For This Useful Post:
Silents (05-19-2013)
-
05-19-2013, 11:17 PM #5Senior Member
- Join Date
- Feb 2012
- Location
- Charleston, SC
- Posts
- 236
Thanked: 29
Thanks everyone!
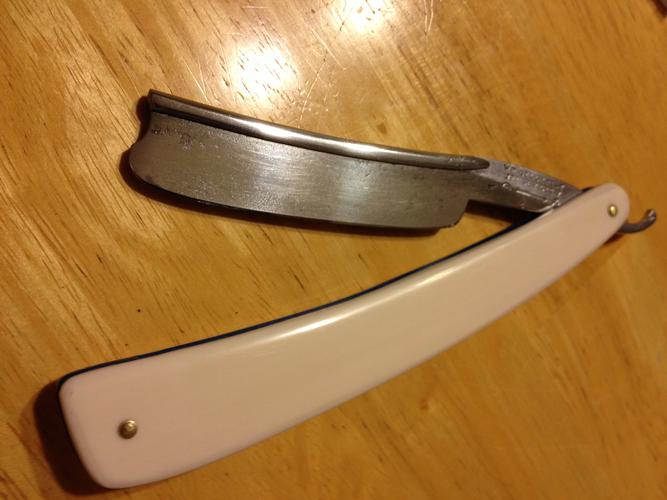
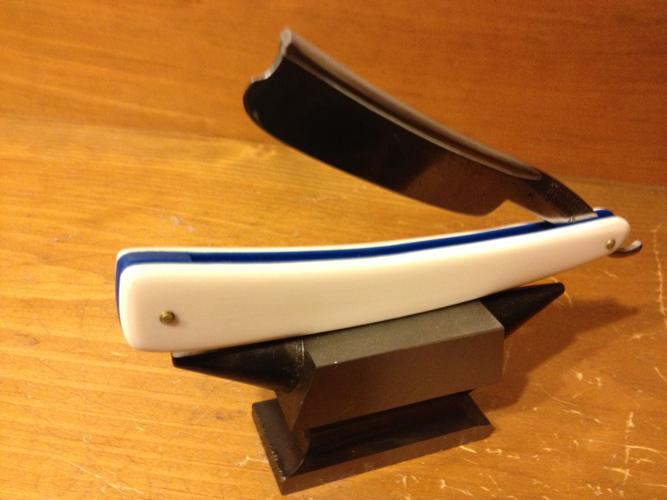
I did do another bevel, as recommended by pfries, and it looks like i have good steel now. I just took it off the first progression of the 5000, and it's cutting!
I'd really like to save this old razor. I received it in pretty bad shape (see below for a before and after). Obviously, the razor hadnt been honed yet as I took the picture.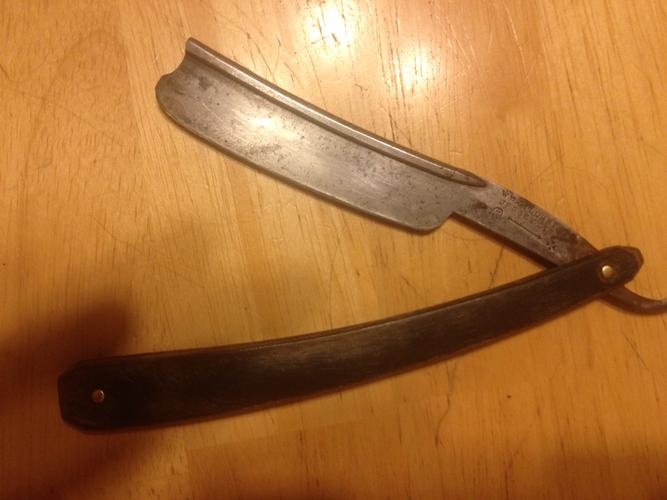
-
05-20-2013, 01:33 AM #6Member
- Join Date
- May 2013
- Posts
- 30
Thanked: 8
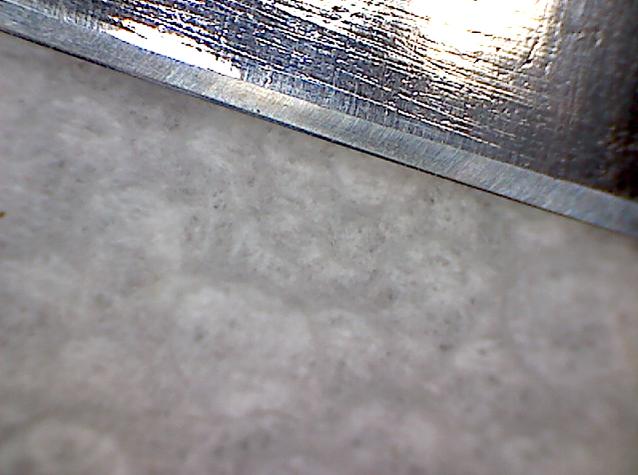
Looking at the second image it does not appeat you are hitting the edge of the edge.
Could be the angle or the lighting but the scratches stop short of the very edge.
-
05-20-2013, 02:45 AM #7Senior Member

- Join Date
- Feb 2013
- Location
- McAdoo, PA
- Posts
- 370
Thanked: 57
Have you tried the marker test to see if your bevel is fully set? In some of the images it looks like there may be a bit where your not all the way there.
-
05-20-2013, 02:56 AM #8Huh... Oh here
- Join Date
- Oct 2011
- Location
- Tri-Cities TN
- Posts
- 2,270
Thanked: 358
Originally Posted by ElDoctor
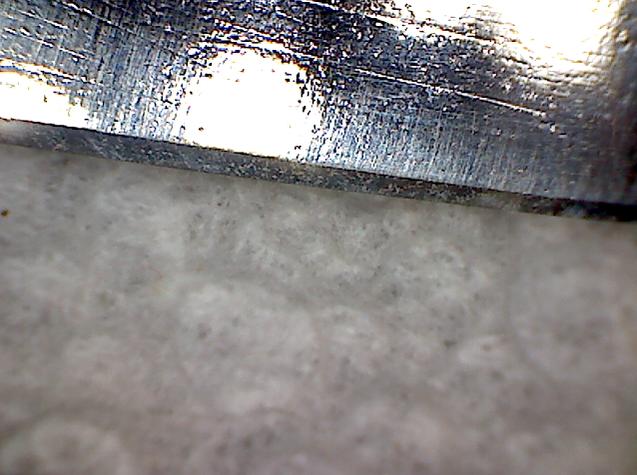
There are multiple bevels started. Originally Posted by meleii
if you look back to the OP he added tape after the 1k and later went back and added another layer.
You can see three bevels in the pictures, I did not think it was lighting from what had been said in Silents original post.
All of which was a mute point as he was not down to solid steel yet.
Keep in mind a layer or two of tape can make for a very narrow bevel pending the blades geometry.It is just Whisker Whacking
Relax and Enjoy!
-
05-21-2013, 01:23 PM #9Senior Member
- Join Date
- May 2013
- Location
- Berlin, Germany
- Posts
- 286
Thanked: 39
Don't know if it is a progression over time or different pictures taken at the same time. As stated by two others, the second image shows a second bevel, so You're probably not getting to the very edge in Your progression.
Alas, the pitting in the edge looks like remainders of oil or water. ... Go for the bevel
-
05-22-2013, 05:37 AM #10Senior Member

- Join Date
- Sep 2011
- Location
- Michigan
- Posts
- 344
Thanked: 61
You said you set the bevel using 2 layers of tape. Then at 5000 grit you only use one, there's your problem. Also the reason for multiple bevels. What's happening is you are polishing the top half of the bevel no where near the edge.
1holegrouper likes this.


 Reply With Quote