
Results 1 to 3 of 3
 10Likes
Thread: Top Opening 2 Razor Box Tutorial
 LinkBack URL
 About LinkBacks
Threaded View
-
12-01-2014, 12:42 AM #1Senior Member


- Join Date
- Dec 2011
- Location
- Omaha, Ne
- Posts
- 482
Thanked: 263 Top Opening 2 Razor Box Tutorial
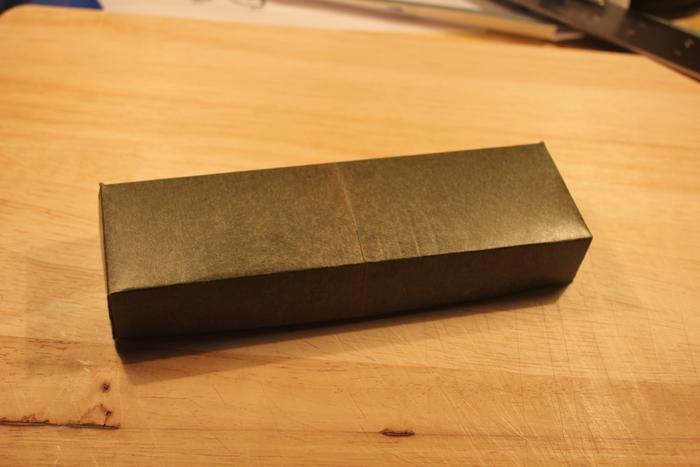
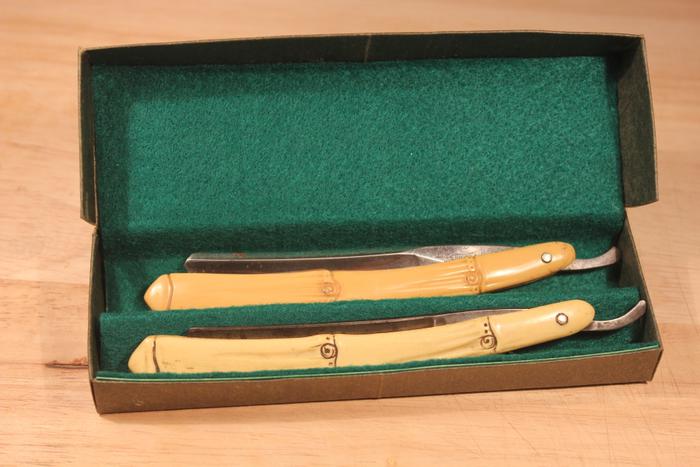
I was recently asked to design a top opening, paper carton that would hold 2 razors. This is my design and tutorial for that carton, it displays the razors at an angle and is felt lined.
First, a few pics of the final product:
Disclaimers:
This is a storage/display box and not a heavy duty shipping box. Heavier, stiffer paper could be used but the design would need modifications to accommodate the thickness of different material. I cannot guarantee the fit or suitability of this design for a given project.
Upon request, I will supply a .dxf file to any CAD users if they wish to modify the design.
As you read through the tutorial you'll notice many of the photographs are not of the final box shown above. Several prototypes were made to iron out details and to improve the design and pics from those were used in the tutorial.
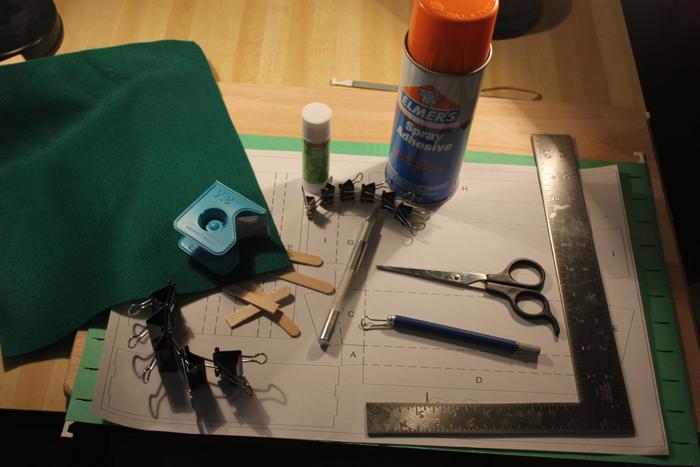
I will discuss tool and material options in more detail as they are used, but for now here is a list of each.
Materials needed:
Heavy paper, at least 10 x 11 inches
Pattern (pdf printed on 11 x 17 paper)
Scissors
Paper or painters tape
Glue stick
Felt
Adhesive spray
Tools needed:
Exacto type knife
Cutting board
Straight edge
Creasing tool
Binder clips
Craft sticks
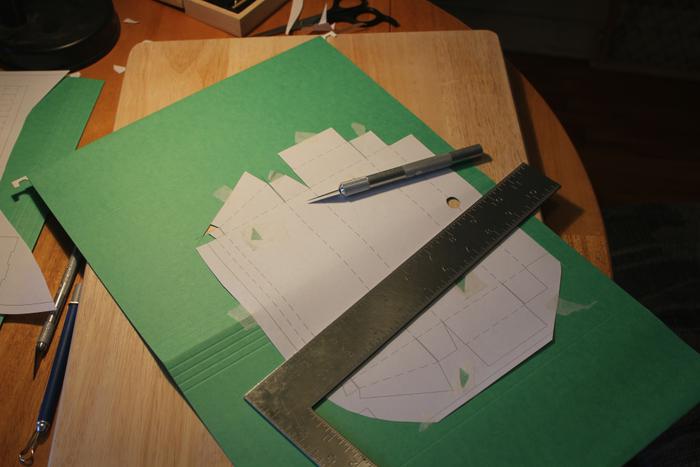
The first step is to cut the carton pattern away from the other pieces and cut several triangles, as in the photo, with the knife, this allows you to tape the pattern down in several places in the middle, instead of outside edges only.
The paper Im using is a hanging file folder, it has several scores at the bottom and Im incorporating those as a decorative feature for my carton.
Position the pattern on the paper and tape it down over the triangles. Here, Ive used paper medical tape (Ive found that cellophane tape will often pull up paper fibers when being removed) but a painters tape should work just as well.
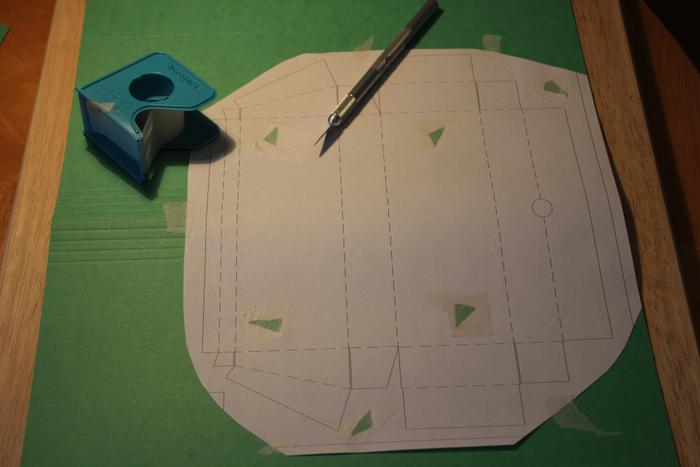
Cut out the perimeter using a straight edge and knife, be very careful not to overcut into other parts of the carton. Separate from the rest of the paper, in some of the tighter areas you may need to carefully use your knife to make any additional cuts. Do not remove the pattern yet.
Continued in Post 2.
-
The Following User Says Thank You to joamo For This Useful Post:
Substance (06-22-2015)


 Reply With Quote