
Results 61 to 70 of 356
 880Likes
Thread: Bruno's Blade Club
 LinkBack URL
 About LinkBacks
-
04-13-2014, 08:59 PM #61Senior Member


- Join Date
- Dec 2013
- Location
- missouri
- Posts
- 125
Thanked: 7
I like the bone scales. Awesome job all around.
dexter90723 likes this.
-
The Following User Says Thank You to showmeshiner For This Useful Post:
UKRob (04-14-2014)
-
04-13-2014, 09:00 PM #62Senior Member


- Join Date
- Jun 2013
- Location
- Gladstone QLD AUSTRALIA
- Posts
- 3,245
Thanked: 804
very nice Rob what size is it now
I have done the same with mine & need to breadknife it a bit also to reset it so I know it will be fun to hone as well
where did you get the bone from ?Saved,
to shave another day.
-
04-14-2014, 08:17 AM #63Senior Member

- Join Date
- Feb 2012
- Location
- West Midlands, UK
- Posts
- 1,263
Thanked: 360
Thanks for the comments - the blade is still near enough 7/8" - the original bevel thinned towards the centre which is an indication that I'd removed more metal there than the ends. The bevel is now even but still quite wide - even though I used 4 layers of tape, but that's because the blade is probably less than half hollow ground. Originally Posted by Substance

The camel bone came from a supplier called Highland Horn in Scotland - he contacted me after I ordered some to let me know that he had some larger pieces available. Also excellent for top quality (spectagles grade) horn as he carries 4 shades - white, light, brown and black. I don't know whether he ships to the USA but drop him an email via the website if you are interested.Substance likes this.
-
The Following User Says Thank You to UKRob For This Useful Post:
Trimmy72 (04-14-2014)
-
04-14-2014, 08:20 AM #64Senior Member

- Join Date
- Aug 2013
- Location
- New Zealand
- Posts
- 268
Thanked: 75
Excellent job, Rob! Love the look of the bone. Thanks for posting, you guys have set the bar high. I'm excited but a little nervous about completing my own.
-
The Following User Says Thank You to Suavio For This Useful Post:
UKRob (04-14-2014)
-
04-14-2014, 11:26 AM #65Senior Member
- Join Date
- Feb 2012
- Location
- West Midlands, UK
- Posts
- 1,263
Thanked: 360
Here's a little tip for recovering from several potentially wasted hours of work. After cutting, shaping, sanding and fitting the wedge - I flexed the scales too far when fitting the pivot and broke the rear scale at the pivot hole. Rather than start again, I cut two pieces of the liner that was used on the wedge and used CA to glue them to the insides of the scales, then re-drilled the pivot hole when set. You can just about make out the small patches on the last photo. Most durable material will do, in this case it's a rubberised paper used in knife making for spacers. I'm guessing that it would take years of use before it wears away, but in any case I'm no worse off. Originally Posted by Suavio
-
04-14-2014, 03:43 PM #66Senior Member
- Join Date
- Nov 2010
- Location
- Pequea, Pennsylvania
- Posts
- 2,290
Thanked: 375
Getting excited my Bruno Blade is in the US
dexter90723 likes this.CHRIS
-
04-14-2014, 09:10 PM #67Senior Member
- Join Date
- Jun 2013
- Location
- Gladstone QLD AUSTRALIA
- Posts
- 3,245
Thanked: 804
I did see that square edge in the 2nd last shot then in the last shot the shape & black liner on the back of the pivot, I just thought you just made it that way the match the wedge. Originally Posted by UKRob
nice save in deedSaved,
to shave another day.
-
04-20-2014, 03:38 AM #68Senior Member
- Join Date
- Nov 2010
- Location
- Pequea, Pennsylvania
- Posts
- 2,290
Thanked: 375
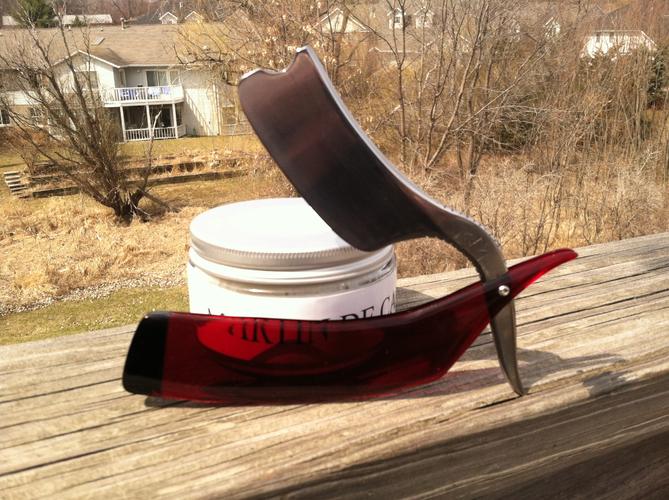
Here's my Bruno blade
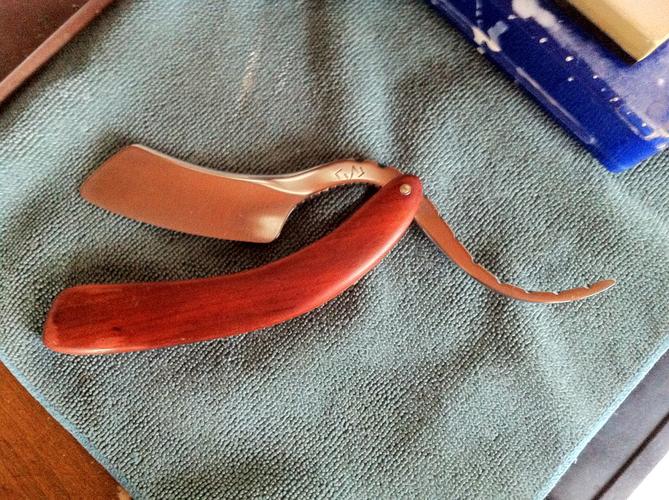
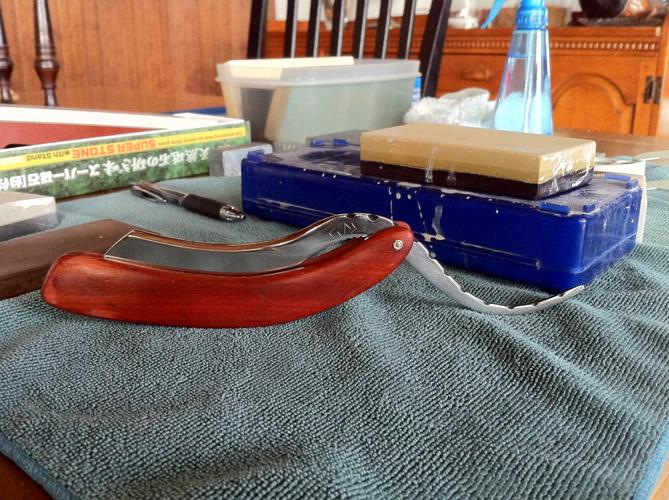
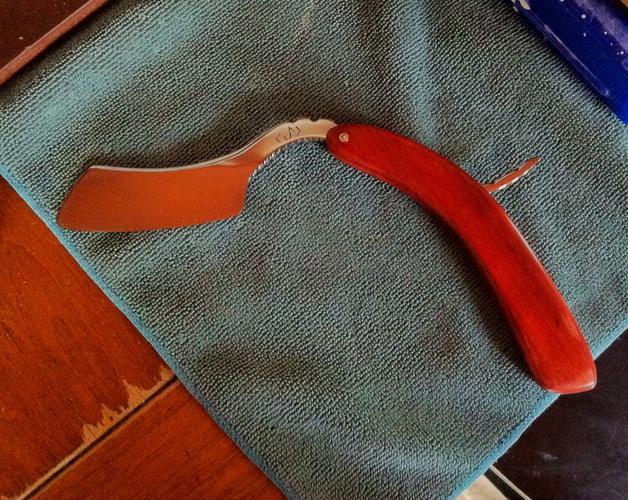
Finished honing my razor last night after posting the pic's. Plan to shave with it today and post an SOTD, if you don't see it some more honing was needed
Last edited by Trimmy72; 04-20-2014 at 01:10 PM.
CHRIS
-
04-20-2014, 04:12 AM #69Senior Member
- Join Date
- Aug 2013
- Location
- New Zealand
- Posts
- 268
Thanked: 75
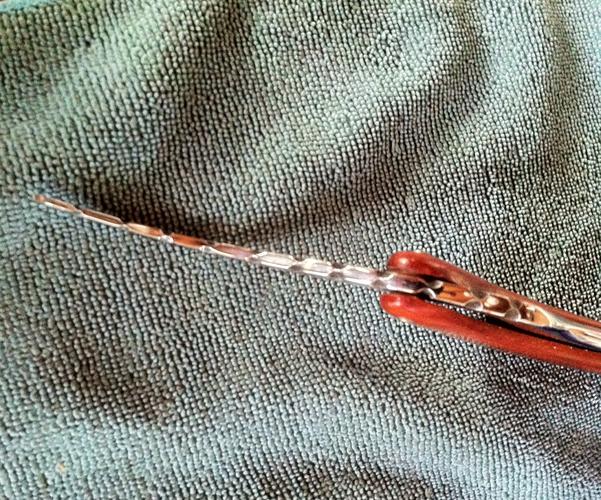
Wow, I love the tail on that blade - stunning and unique! Very nicely finished and great choice in scale shape. Very nicely done sirs.
-
04-20-2014, 05:04 AM #70Senior Member


- Join Date
- Dec 2013
- Location
- Riverview, FL
- Posts
- 787
Thanked: 202
I've decided the red acrylic weren't doing justice, so they're history. Originally Posted by entropy1049
BRB when I figure out what to try next !! Enjoy the exquisite taste sharpening sharpening taste exquisite smooth. Please taste the taste enough to ride cutlery.
Mike


 Reply With Quote