Results 1 to 7 of 7
 11Likes
Thread: How to delete a large edge on a blade ?
-
08-14-2015, 07:19 PM #1
 How to delete a large edge on a blade ?
Hi everyone,
the title may not be so clear because i was not sure how to name it. so here a pic for exemple of it
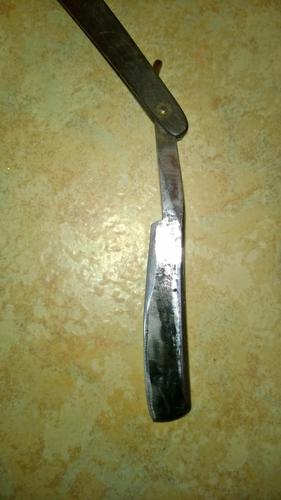
sometime, it arrives to me have a large bevel because of frictions, when it's an old razor and if i did not find the right angle to hone. once that arrives, it's just annoying to see that. i would like to know if there is any way or tips to delete this large bevel from the blade by using sandpapers or a dremel (with what kind of heads of dremel?) for those who are not expert ?
if you know its way and tell me, i will be appreciated. or even a tuto. i like these kind of blades, even i love them. but when it arrives while i trying to find right way to hone them, i found myself with big bevels which are very ugly to see and know you will keep that.
thanks in advance for your help guys...Last edited by Oustoura; 08-14-2015 at 07:39 PM.
-
08-14-2015, 07:39 PM #2

All depends how bad it is, but here's my way of removing a large uneven bevel from some older razors with a fare amount of honeware and previous honing problems, firstly I will unpin the razor take it to my bench polisher now using close stich coloured mop wheels starting with 150 grit compound then moving on to 300 grit then sisal then polishing compounds finished, this usually results in no noticeable bevel left to see especially on wedge type blades with plenty of steel, right reassemble the razor and use three layers of tape and mark your edge with a permanent maker pen both sides of razors edge, now do a few passes on your 1K hone take a good look at where you are at and if everything seems OK then proceed with the bevel set. PS I should also mention keep dipping your blade into a pan or bucket of cold water every couple of seconds keeping the blade cool as not to overheat the blade and possibly lose the steel temper.
Last edited by celticcrusader; 08-14-2015 at 07:49 PM.
“Wherever you’re going never take an idiot with you, you can always find one when you get there.”
-
08-14-2015, 08:41 PM #3

Maybe I'm wrong, but it you remove that you're going to have a very narrow blade.
Just call me Harold
---------------------------
A bad day at the beach is better than a good day at work!
-
08-14-2015, 10:28 PM #4

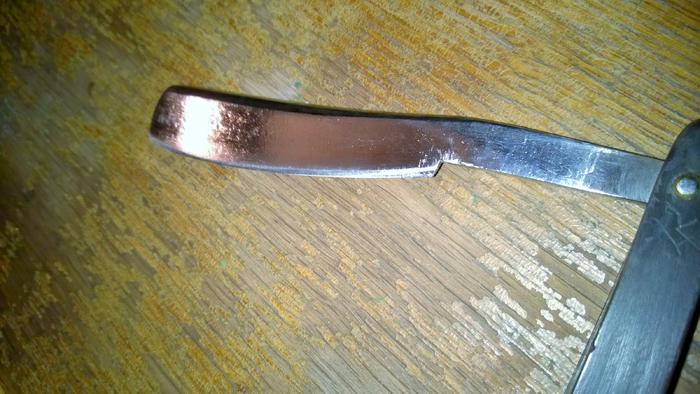
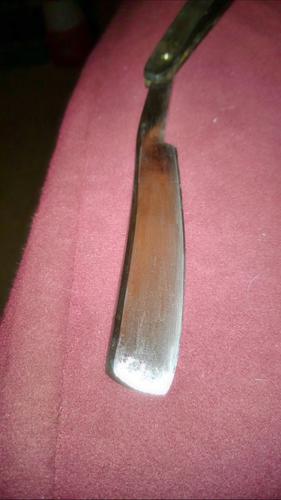
Actually this sample is an old case, I saved this blade by using a fine grout of stone on dremel. But as you as the polish is not very good. That's why I wanted to know if there's a way to delete the unnecessary large if the bevel without touching to whole blade.
Here the pic after I corrected this blade, as you see it's not perfect
-
08-14-2015, 10:44 PM #5

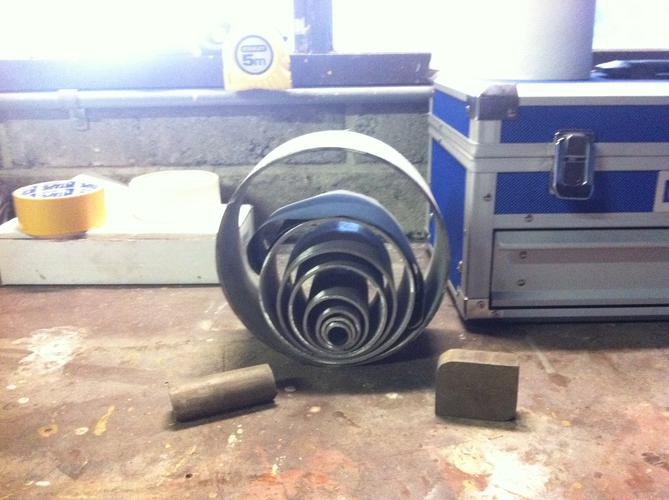
only by hollowing the blade I think either regrind or the hard way using sand paper with a hard backing to retain the shape
I use pieces of stainless pipe as a backing that works well
but looking at the hone wear you will have a bit of work to do on the first blade the second would work better but still take a bit
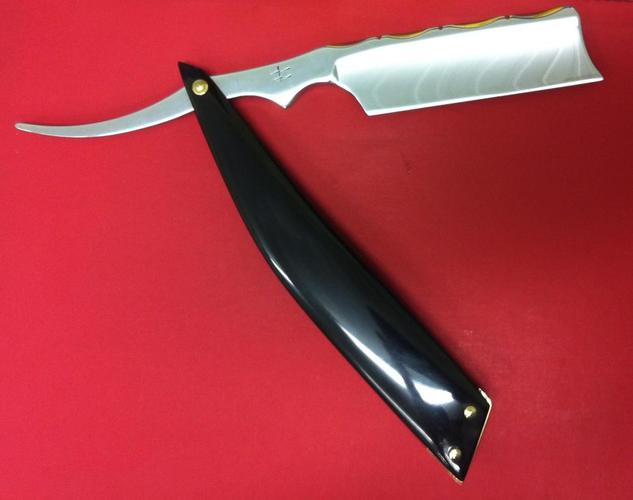
I spent 20 hours about hand sanding my Bruno Blade and it was from 80grit of the grinder

Last edited by Substance; 08-14-2015 at 10:51 PM.
Saved,
to shave another day.
-
08-14-2015, 10:49 PM #6
-
08-15-2015, 12:33 AM #7

Answers above are good!
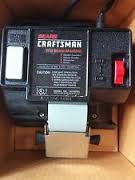
I have used one of these cheap wet grinders for a few years as it is high grit and slow. They were made for many different retailers. Now on the 'bay for cheap.
~RichardBe yourself; everyone else is already taken.
- Oscar Wilde
-
The Following User Says Thank You to Geezer For This Useful Post:
Oustoura (08-15-2015)


 LinkBack URL
 About LinkBacks


 Reply With Quote


