
Results 1 to 10 of 23
 41Likes
Thread: Red Imp No.132 makeover
 LinkBack URL
 About LinkBacks
-
07-31-2015, 12:45 AM #1Senior Member


- Join Date
- Mar 2015
- Location
- Fairfield, California
- Posts
- 341
Thanked: 60 Red Imp No.132 makeover
Over the last two days, I've been saying, that I wanted to redue the bluing on my IMP. Some have posed interest in a how to or "I'd like to see that".
Well, here we go. Sorry some of the photos are somewhat crummy. And I didn't get any shots of the steel wool step. Nor a shot of me actually bluing, but I digress. (Use your imagination, God gave it to you, don't waste it. )
)
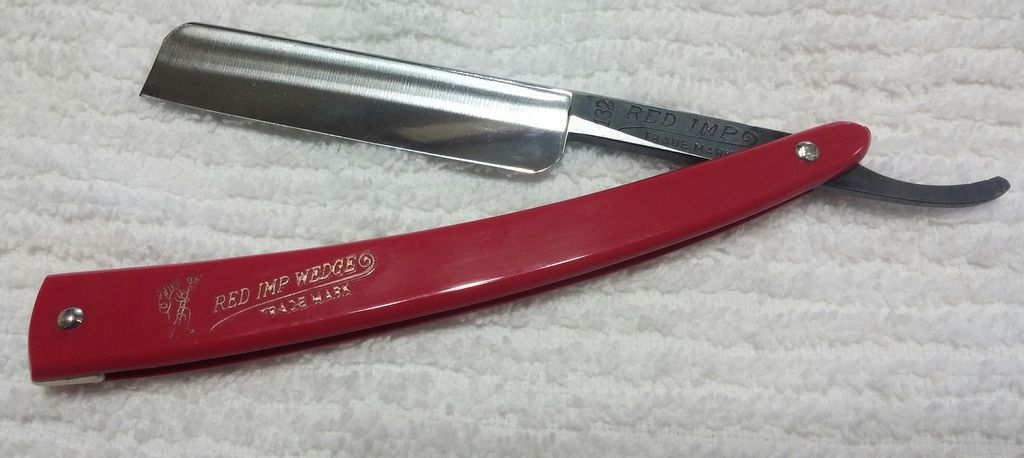
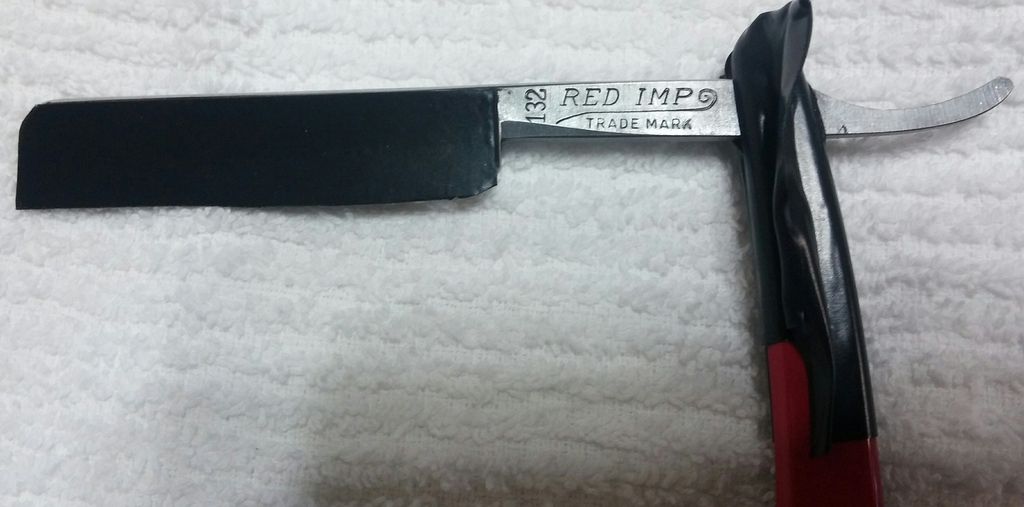
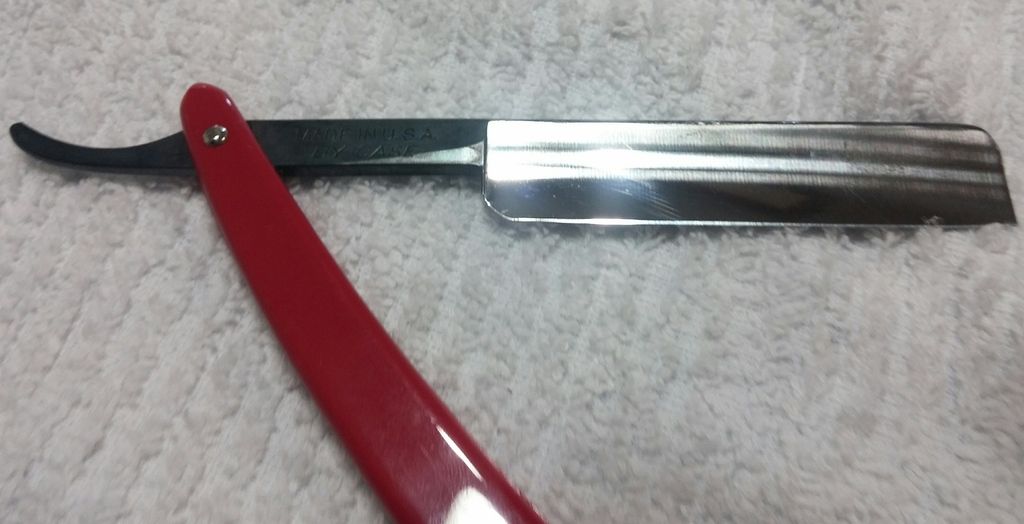
BEFORE PHOTOS:
Last edited by lethalgraphix; 07-31-2015 at 12:58 AM.
-
07-31-2015, 12:50 AM #2Senior Member
- Join Date
- Mar 2015
- Location
- Fairfield, California
- Posts
- 341
Thanked: 60
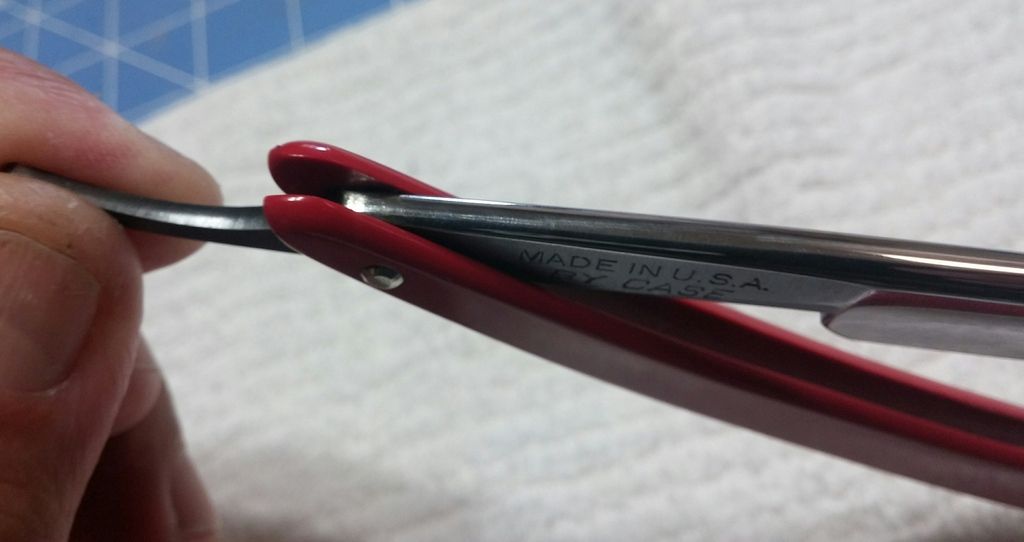
THIS IS THE TAPING PROCESS:
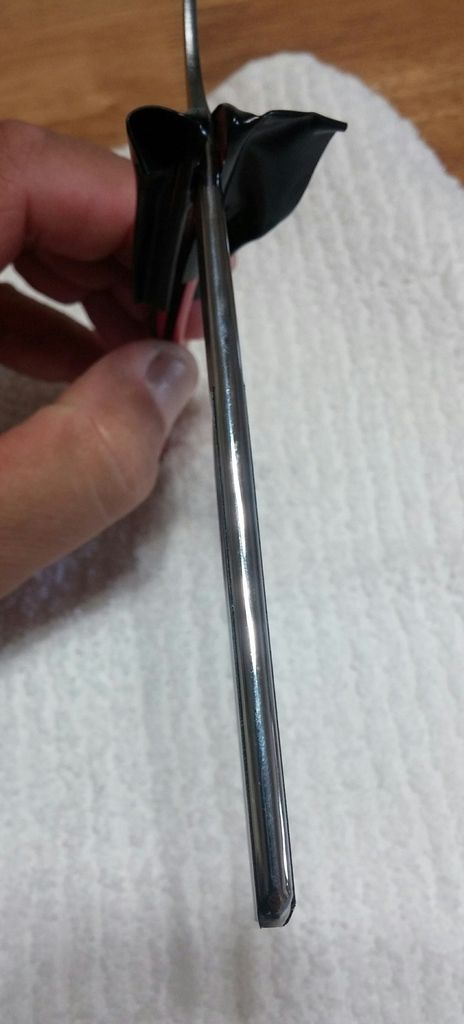
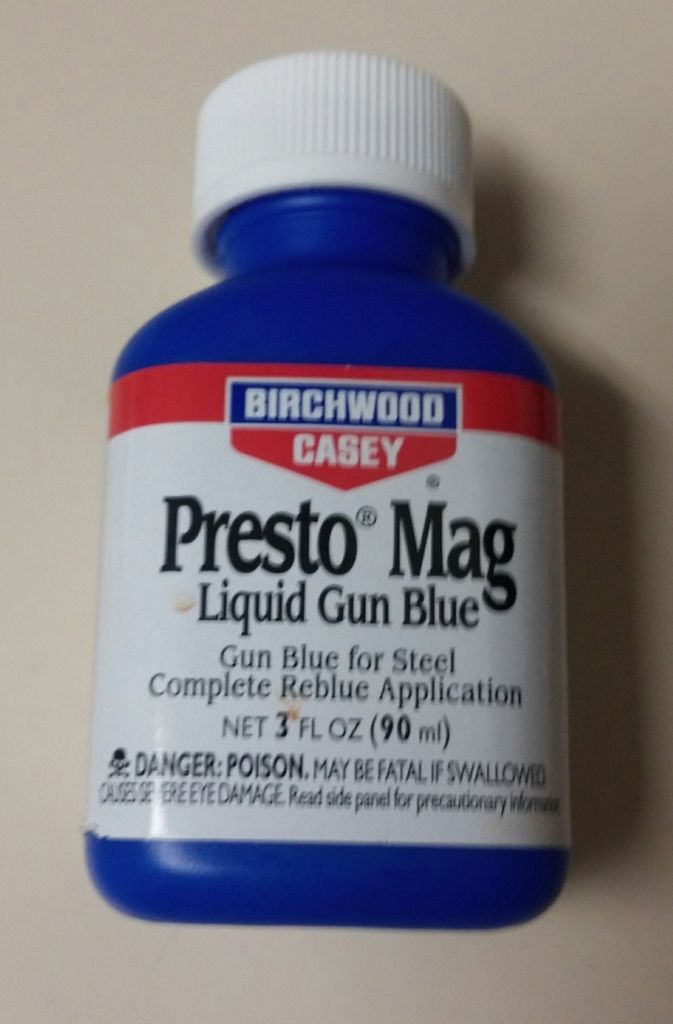
Degrease and soap wash all surfaces to receive bluing. Rewash with a citrus based cleaner and dry.
Protect areas and items you don't want to blu.
Use #0000 steelwool to prep the surfaces to receive bluing.
Wear rubber or latex gloves to protect sensitive skin, or "man up"
I wore gloves.
Apply bluing with sponge dobber or the likes. Allow to set 30 seconds. Rinse with cold water.
If you wish a darker blu, repeat blu & rise cycle til pleased.
Lightly use #0000 on blued surfaces to smooth.Last edited by lethalgraphix; 07-31-2015 at 01:09 AM.
-
07-31-2015, 12:55 AM #3Senior Member
- Join Date
- Mar 2015
- Location
- Fairfield, California
- Posts
- 341
Thanked: 60
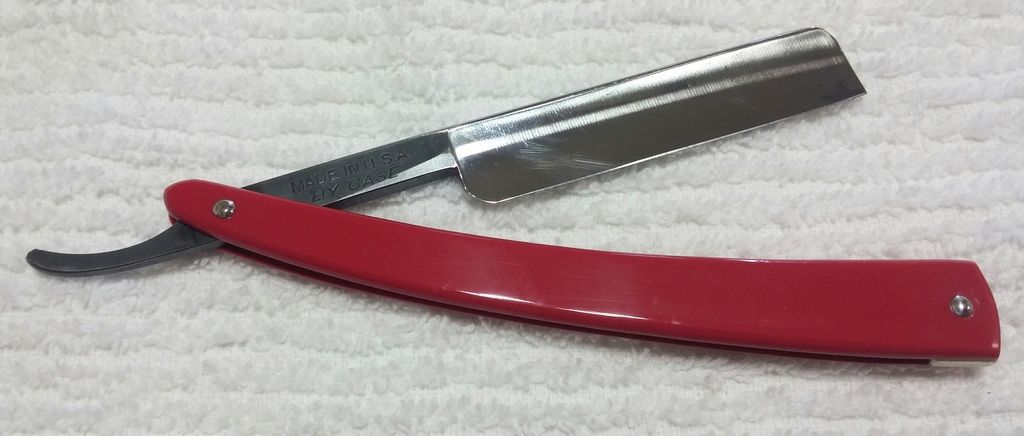
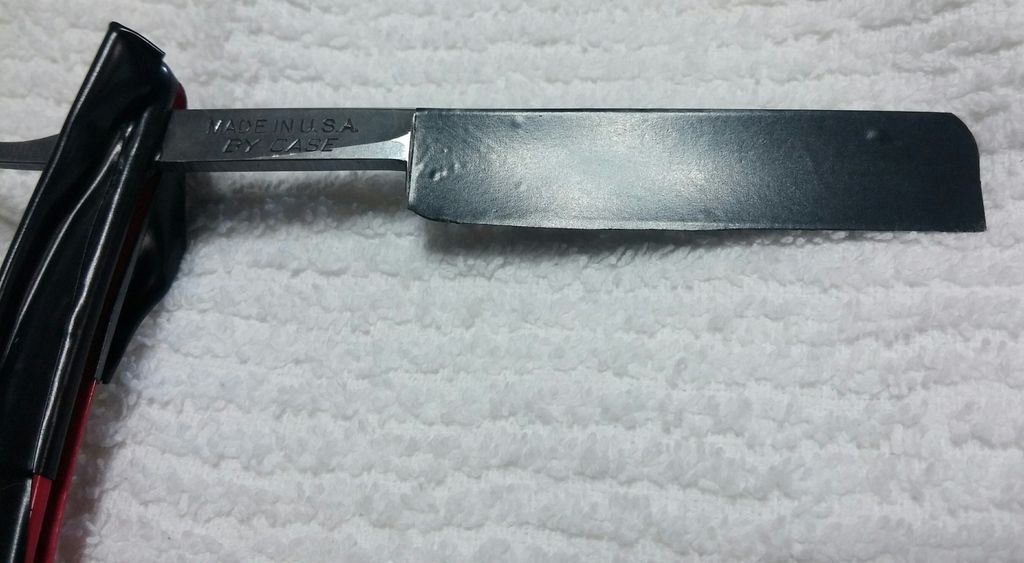
AFTER:
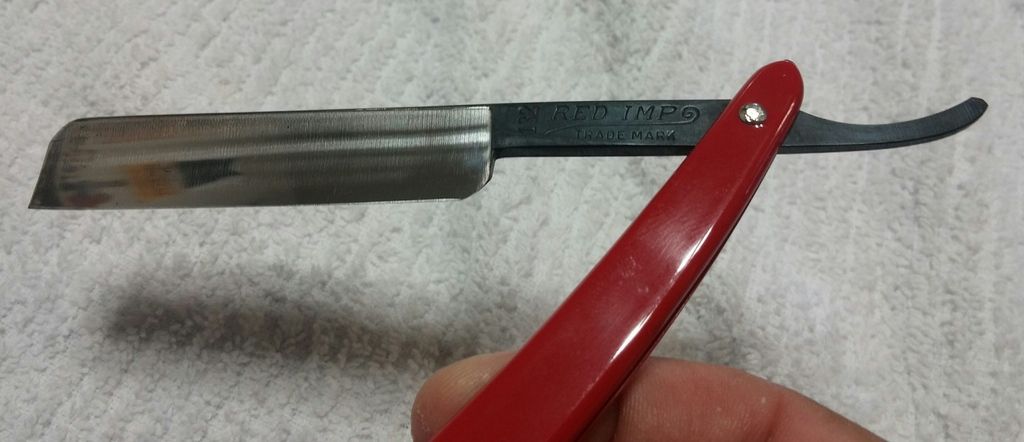
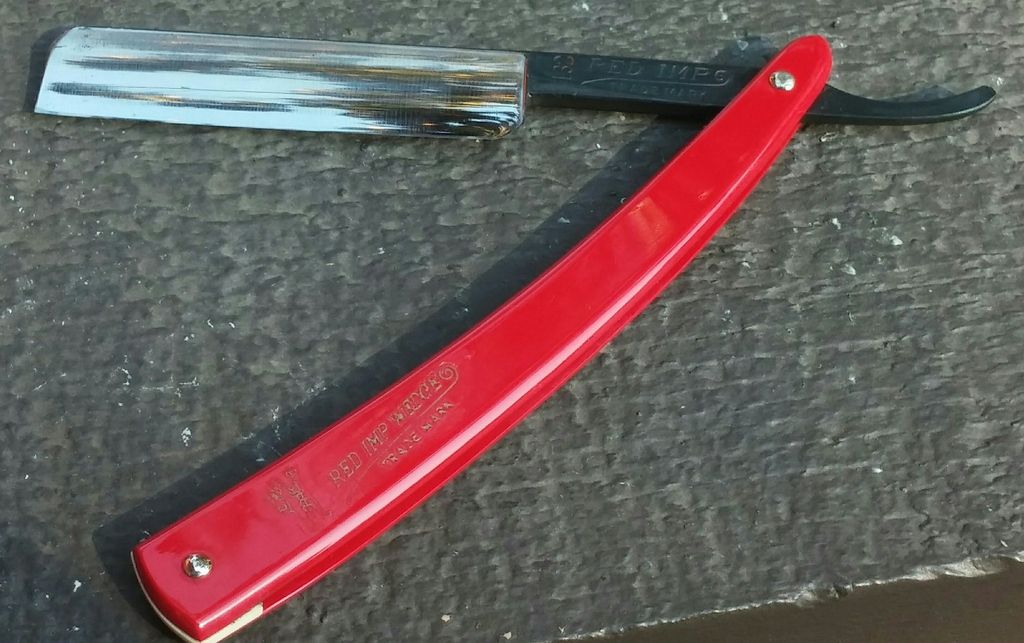
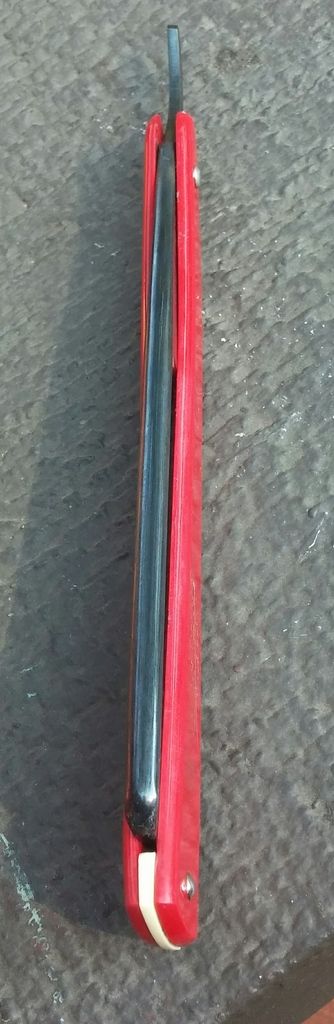
TA-DA!!!!!!!!
Now, I'm on the lookout for some RED enamel to fill the letters, and some gold, to hopefully redue the devil.
Thanks for lookingLast edited by lethalgraphix; 07-31-2015 at 01:10 AM.
-
The Following 5 Users Say Thank You to lethalgraphix For This Useful Post:
Geezer (08-08-2015), Hart (08-08-2015), markbignosekelly (07-31-2015), sharptonn (08-09-2015), tintin (07-31-2015)
-
08-08-2015, 04:00 AM #4white lightning

- Join Date
- Oct 2013
- Location
- Vancouver
- Posts
- 194
Thanked: 33
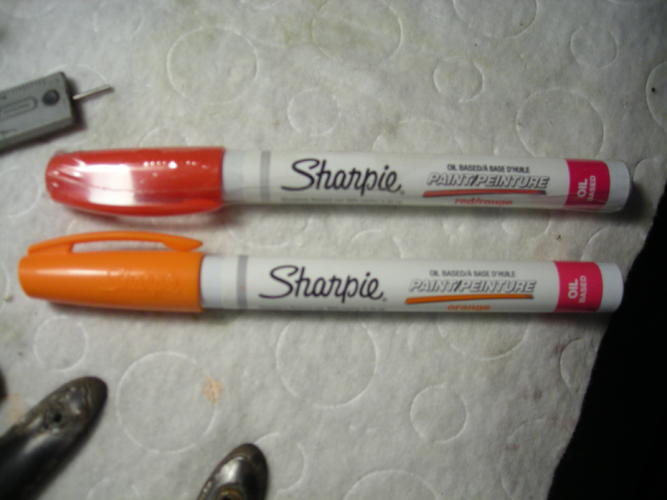
Nice writeup. Try local hobby shops for red model paint.
instagram - @suckerpunch_daycare
-
08-08-2015, 04:28 AM #5Senior Member

- Join Date
- Dec 2013
- Location
- Texas
- Posts
- 1,568
Thanked: 269
Looks nice, good job! That imp of yours has a wicked spike, have you shaved with it yet?
-
08-08-2015, 03:21 PM #6Senior Member
- Join Date
- Mar 2015
- Location
- Fairfield, California
- Posts
- 341
Thanked: 60
Got it last week Originally Posted by recklessabandon

-
08-08-2015, 03:23 PM #7Senior Member
- Join Date
- Mar 2015
- Location
- Fairfield, California
- Posts
- 341
Thanked: 60
Yup, AWSOME shave. Onpar with my Joseph Rogers near wedge and my Eric Anton.
-
08-08-2015, 03:27 PM #8Senior Member
- Join Date
- Mar 2015
- Location
- Fairfield, California
- Posts
- 341
Thanked: 60
Like I mentioned above, I got some gloss RED enamel from the hobby shop. Some nice teeny tiny brushes and some Rub n Buff gold (for the devil) that someone mentioned about using.
Will post results here when complete.Chevhead and recklessabandon like this.
-
08-08-2015, 06:18 PM #9Shave This

- Join Date
- Jan 2014
- Location
- Pickering, Ontario
- Posts
- 1,036
Thanked: 183
Great restore, thanks for the details.
Than ≠ Then
Shave like a BOSS
-
08-09-2015, 02:21 AM #10Razor Vulture


- Join Date
- Oct 2010
- Location
- Lone Star State
- Posts
- 26,211
Thanked: 8626
Looks great! 1+ on the RubnBuff! I have liked using these oil-based Sharpie paint pens for tang stamps. Either way, a DE blade will slice off the paint on top of the stamps, leaving it in the recesses.
 "Don't be stubborn. You are missing out."
I rest my case.


 Reply With Quote


