
Results 1 to 10 of 51
 148Likes
Thread: Rusty Anchor
 LinkBack URL
 About LinkBacks
Hybrid View
-
10-11-2015, 06:45 PM #1Fatty Boom Boom


- Join Date
- Jul 2012
- Location
- Rockville
- Posts
- 3,258
Thanked: 638
No need to apologize for the rosette photograph Voidmonster....you can see a hellish amount of lint as well as the difference in collars.
sharptonn and Voidmonster like this."Call me Ishmael"
CUTS LANE WOOL HAIR LIKE A Saus-AGE!
-
The Following User Says Thank You to WW243 For This Useful Post:
Voidmonster (10-11-2015)
-
10-11-2015, 07:13 PM #2Captain ARAD.


- Join Date
- May 2011
- Location
- Pacifica, CA
- Posts
- 2,474
Thanked: 2226
My guess is everybody got their tools struck off the same mold, or even from the same original manufacturer (even the guys that made tools had to buy tools to make tools). Originally Posted by Wolfpack34

170 year old velvet lined boxes really do ONE particular thing VERY well... Can you guess what it is? Originally Posted by WW243
 -Zak Jarvis. Writer. Artist. Bon vivant.
-
11-28-2015, 10:45 PM #3Senior Member


- Join Date
- Apr 2011
- Location
- California
- Posts
- 1,596
Thanked: 865
Here you go Dave!
Getting this one done has been a real project to be sure and for certain! Dave's been as patient as Job with me, BUT in my defense taking on a project like this one is a challenge and you really have to go slow as you go.
Anyway...here is a picture tutorial of this project. All that's left to be done is for Dave to pick out the collars (either brass bulls-eye, or Domed SS) that he thinks will look the best for him and get it pinned up and honed up.
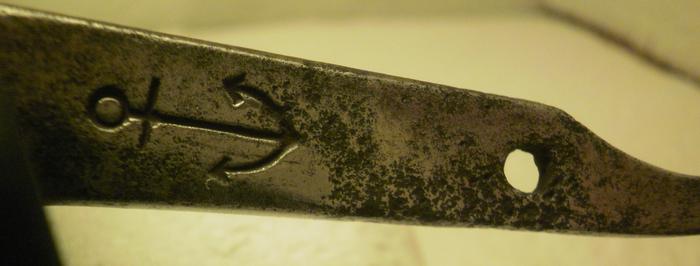
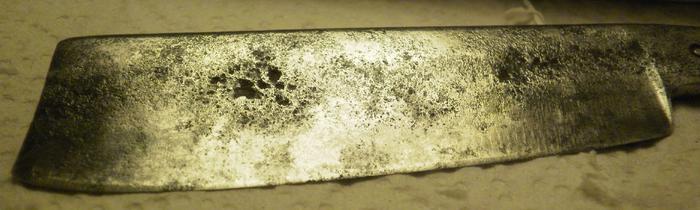
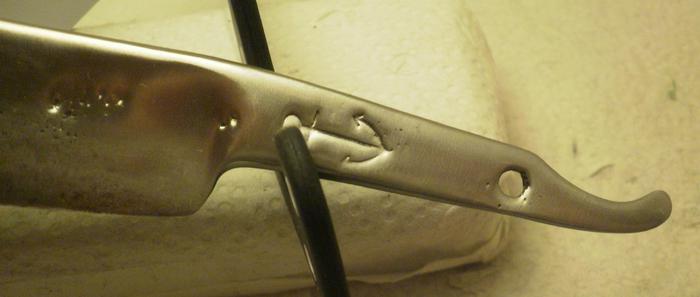
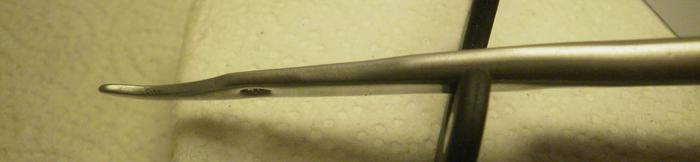
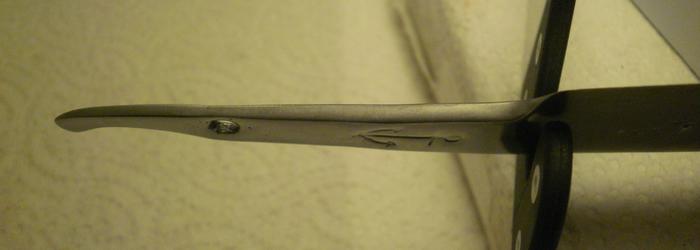
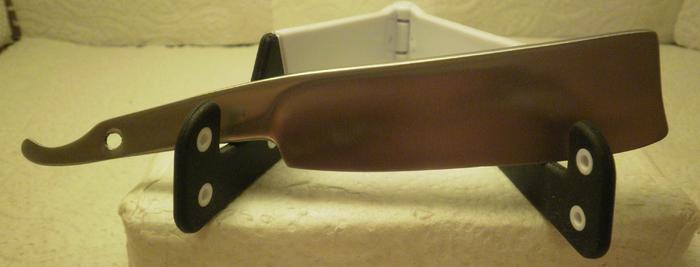
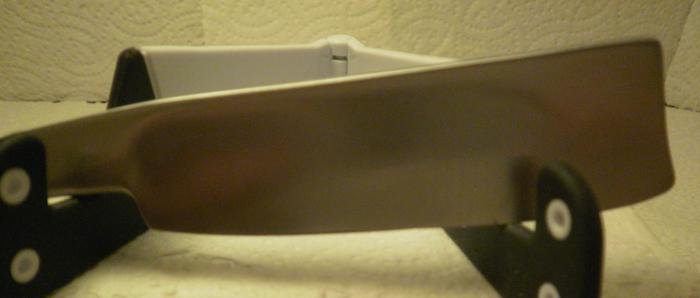
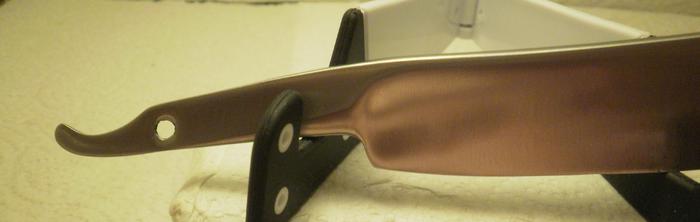
Here's the way the razor looked when it arrived:
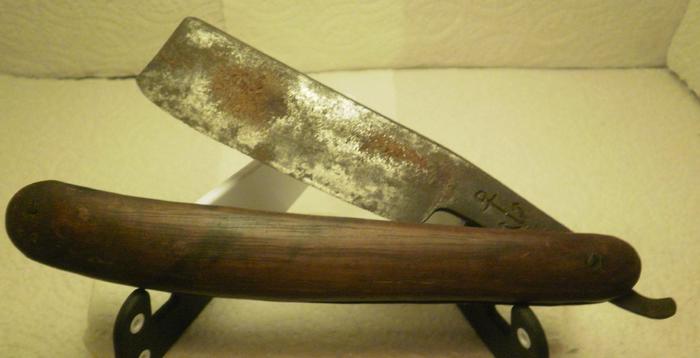
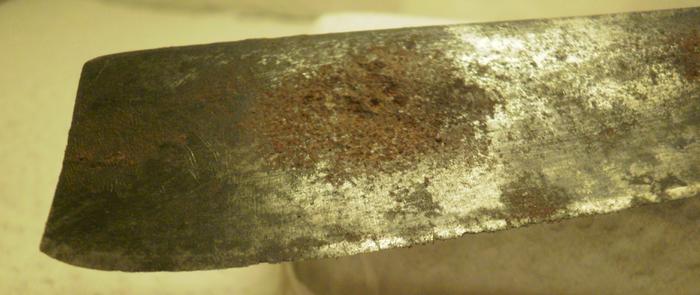
 Lupus Cohors - Appellant Mors !
-
11-28-2015, 10:45 PM #4Senior Member
- Join Date
- Apr 2011
- Location
- California
- Posts
- 1,596
Thanked: 865
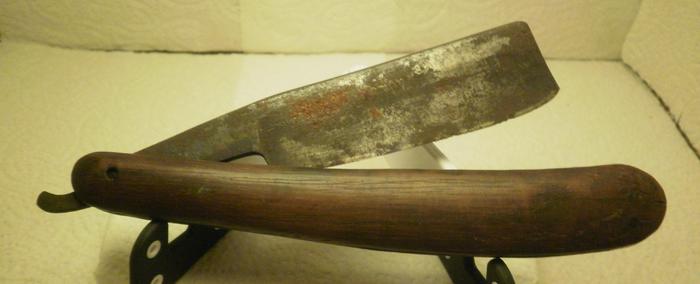
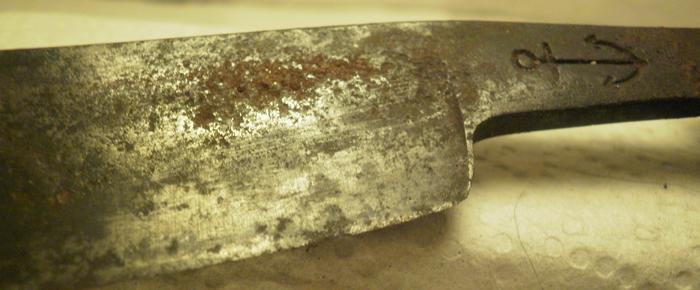
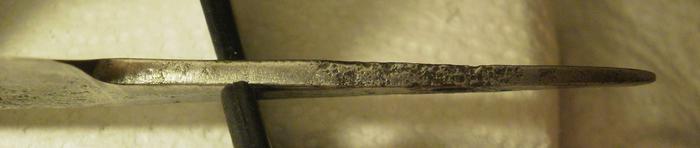
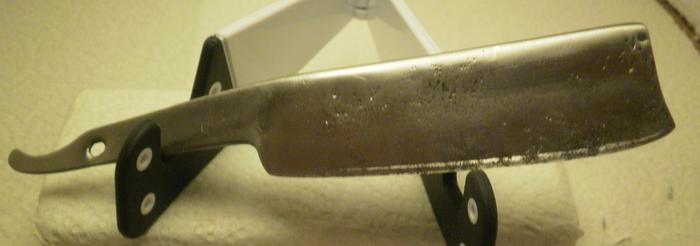
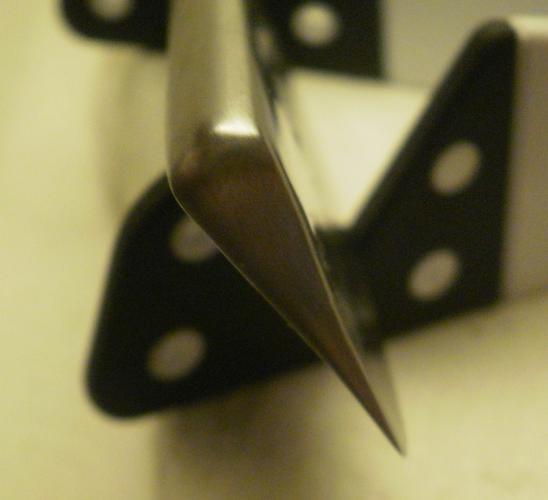
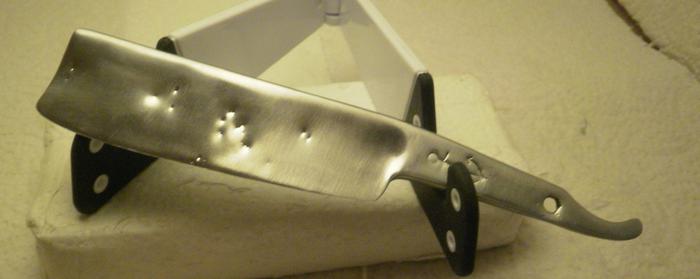
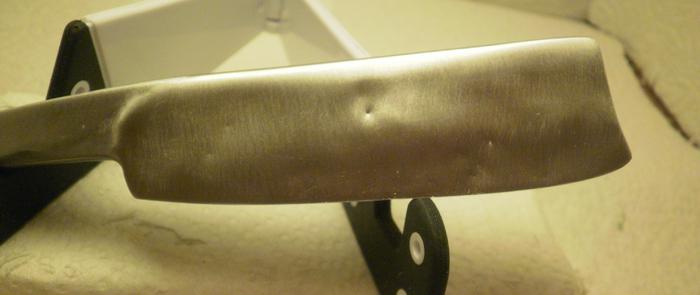
And heres is what the razor looked like after all the red surface rust and the black discoloration (what some would call PATINA ! ) had been removed to show what and how bad the pitting damage was before beginning the restoration project

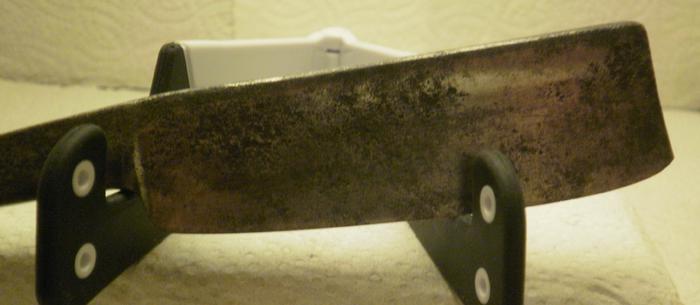

 MORE PICTURES:
Last edited by Wolfpack34; 11-28-2015 at 10:52 PM.
Lupus Cohors - Appellant Mors !
-
11-28-2015, 10:46 PM #5Senior Member
- Join Date
- Apr 2011
- Location
- California
- Posts
- 1,596
Thanked: 865
MORE PICTURES:
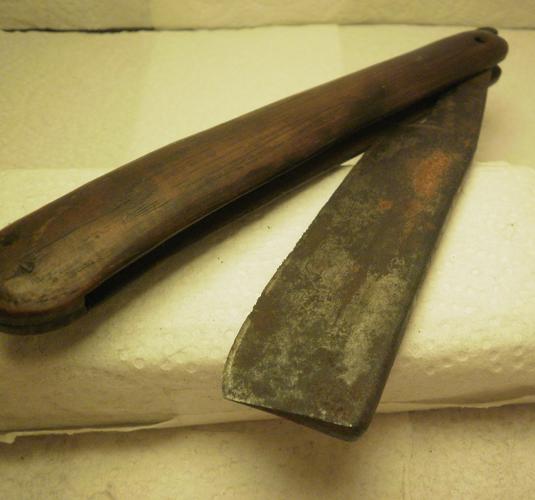
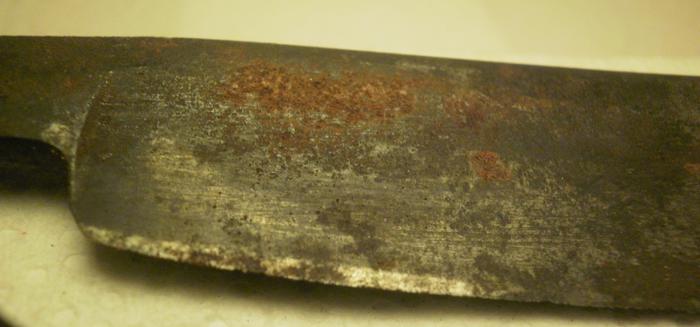
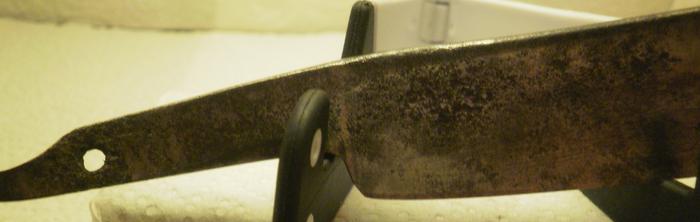
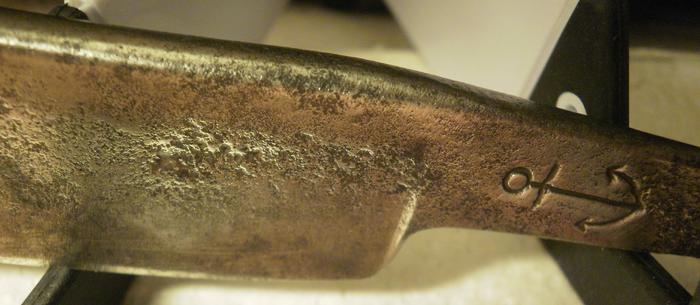
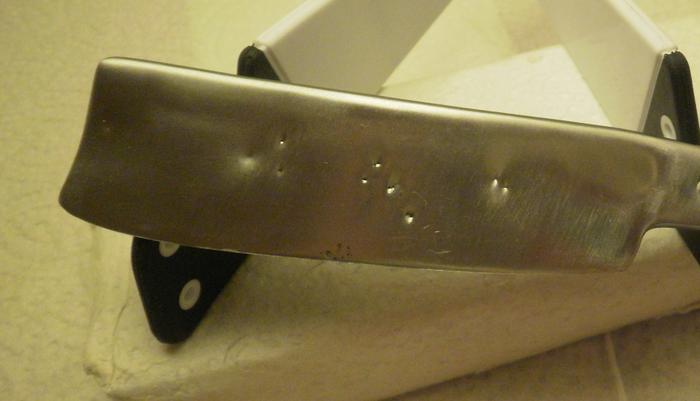
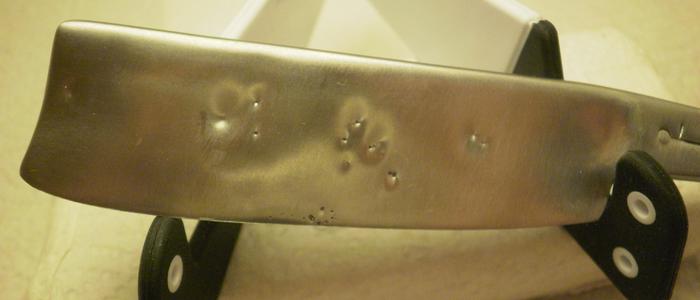
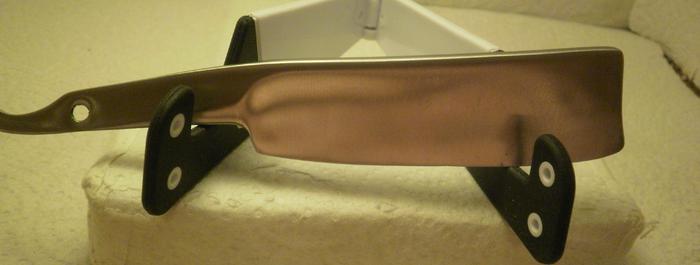
After a lot of the initial sanding was done…the tang top bottom and sides as well as the spine and toe have been cleaned up a good bit, but major pits still remain on the blade faces. BUT… I am starting to see a way forward…
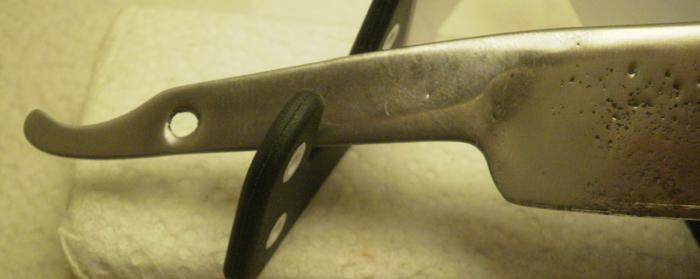
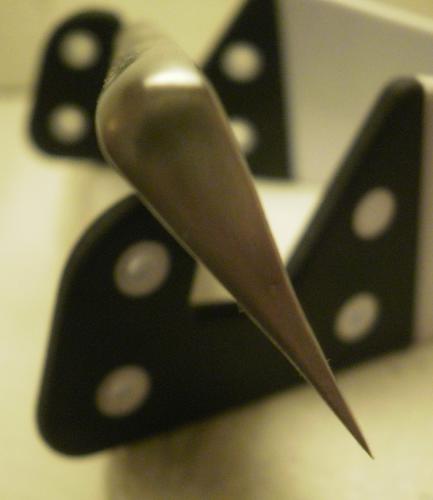
Last edited by Wolfpack34; 11-28-2015 at 10:55 PM.
Lupus Cohors - Appellant Mors !
-
11-28-2015, 10:46 PM #6Senior Member
- Join Date
- Apr 2011
- Location
- California
- Posts
- 1,596
Thanked: 865
MORE PICTURES:
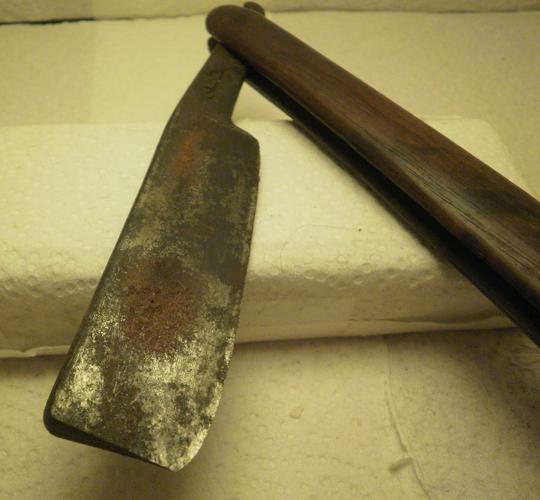
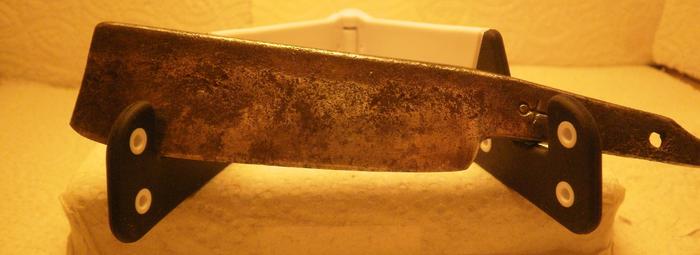
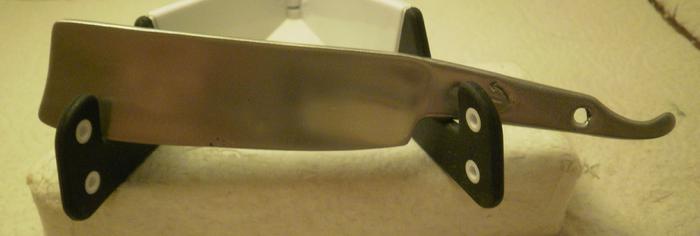
Continuing the sanding progress…still working with coarser grits to remove the pits…
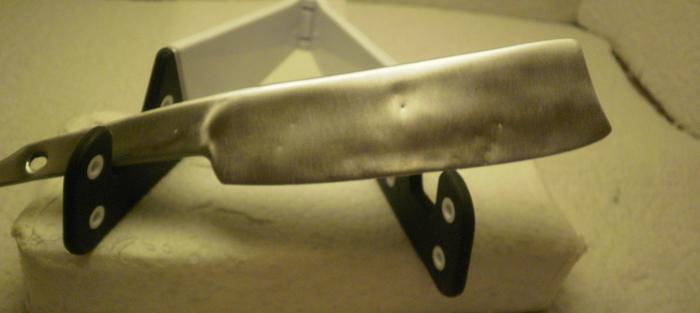
Last edited by Wolfpack34; 11-28-2015 at 10:56 PM.
Lupus Cohors - Appellant Mors !
-
11-28-2015, 10:47 PM #7Senior Member
- Join Date
- Apr 2011
- Location
- California
- Posts
- 1,596
Thanked: 865
MORE PICTURES:
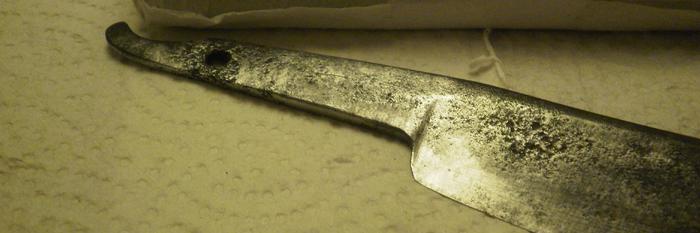
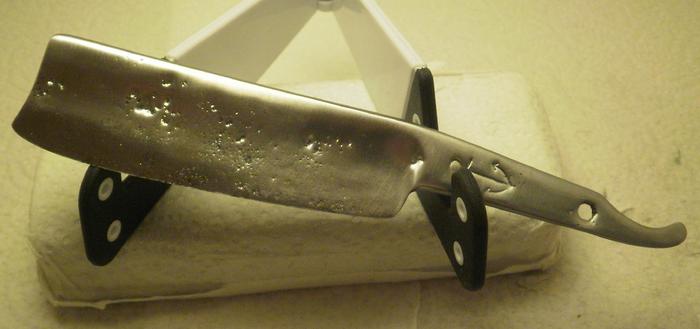
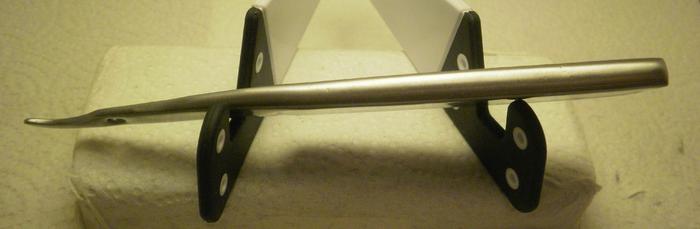
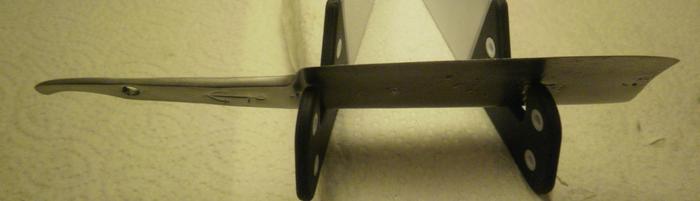
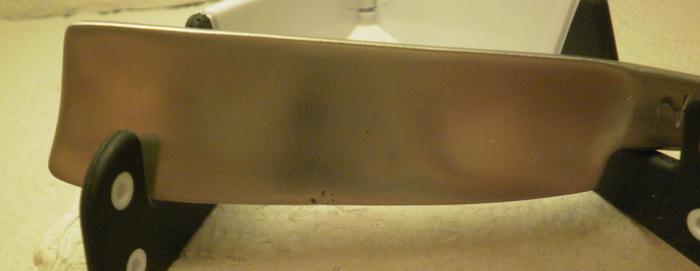
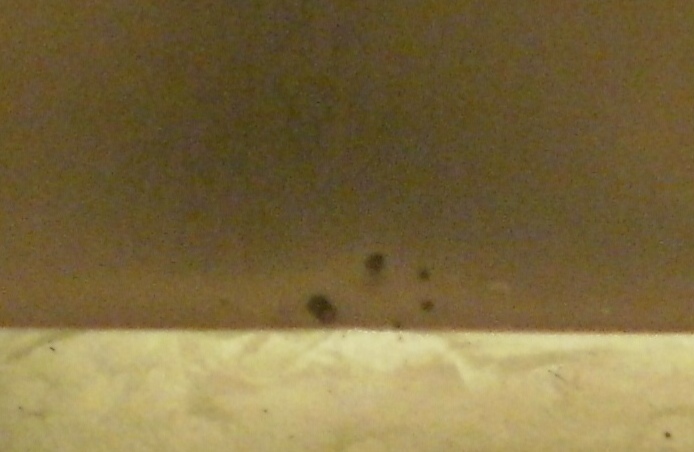
The pits are almost completely gone except for a few near the edge. The blade is really starting to take shape now…Careful sanding and continuously bread-knifing the edge to keep it from getting to thin and losing too much of the blade width…
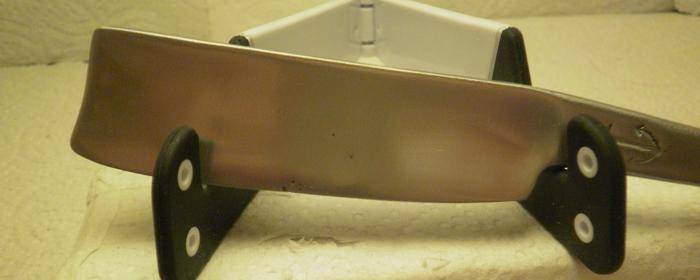
Last edited by Wolfpack34; 11-28-2015 at 10:58 PM.
Lupus Cohors - Appellant Mors !


 Reply With Quote