
Results 1 to 10 of 14
 LinkBack URL
 About LinkBacks
-
08-03-2009, 02:45 AM #1Senior Member


- Join Date
- Sep 2008
- Location
- PDX
- Posts
- 1,568
Thanked: 203 7/8 Herder in Burgundy Micarta - Oldengarde Special
Here it is. I wasn't slacking, it has just been 105 for most of the week and I did not like the way the other models turned out.
Here it is.
Let me know if there is anything that I could change.
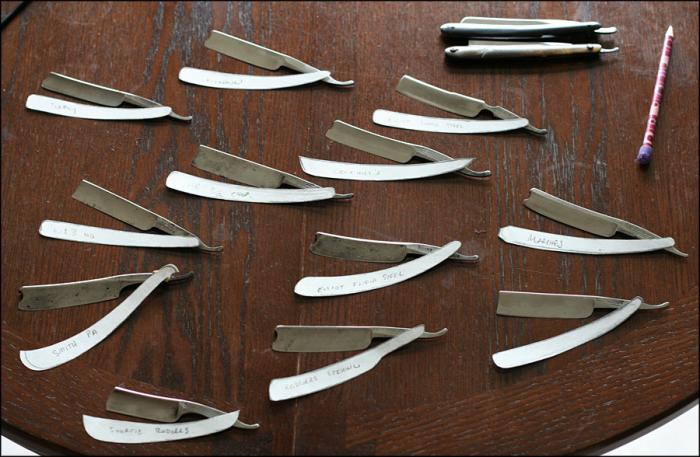
[IMG] [/IMG]
-
08-03-2009, 02:46 AM #2Senior Member
- Join Date
- Sep 2008
- Location
- PDX
- Posts
- 1,568
Thanked: 203
I still need to round off some of the ends and give it an overall sanding. That being said let me know.

-
08-03-2009, 05:19 PM #3I shave with a spoon on a stick.


- Join Date
- Jan 2009
- Location
- Stay away stalker!
- Posts
- 4,578
- Blog Entries
- 1
Thanked: 1262
I agree with this. Originally Posted by singlewedge

-
08-03-2009, 07:10 PM #4Senior Member
- Join Date
- Sep 2008
- Location
- PDX
- Posts
- 1,568
Thanked: 203
Thanks Slarti.
Since this is a giveaway razor I would like some input from the peanut gallery. I mean this is my first scale job. So, please no egos here, let me know.
-
08-03-2009, 07:57 PM #5Senior Member


- Join Date
- Oct 2007
- Posts
- 4,445
Thanked: 834
Are you going to have washerless pins on both sides of the scales then? Are those brass brads of some kind?
I like the idea of washerless pins. There are many vintage razors that were pinned without washers and such a look adds for some nice variety.
I'll be interested in seeing how the finished scales look. Thanks for posting this.
Chris L"Blues fallin' down like hail." Robert Johnson
"Aw, Pretty Boy, can't you show me nuthin but surrender?" Patti Smith
-
08-03-2009, 10:34 PM #6Brad Maggard

- Join Date
- Jan 2009
- Location
- Adrian, Michigan
- Posts
- 879
Thanked: 693
I'll be the first to give you some criticism..
The first thing I thought when I saw these scales was:
Ah, he posted an in progress picture.
The second thing I thought was:
Wait a minute, that blade is pinned to those.
The third thing I thought was:
Oh man... I've had rough cuts off the bandsaw that looked nicer than that set of scales.
Now..criticisms aside... you've picked yourself a doosie of a material for a beginner who is re-scaling. Micarta is exceedingly hard, and very messy to work with.
Heres my recommendations, for this razor and future ones:
#1) draw your scales on a piece of paper, and then cut them out to see how they will look on your razor. like this:
#2) Once you have a design that looks good, trace it onto your scale material using a sharpie or marker, or pen, or pencil -- whatever works and allows you to actually see the trace. Remember, it doesnt matter what you use -- you'll be sanding it off later. go ahead and cut it out of your scale material. do this for both scales.
#3) temporarily bond the two scales together using double sided tape or other temporary adhesive. once they are attached together, drill your pin holes while the scales are still nice and flat. leave them bonded together for the entire shaping process.
#4) shape the scales to your traced outline using sandpaper or a belt sander. With micarta, this step is nothing to sneeze at -- it could take you HOURS.
#5) once you've got your edges to your original trace, you might think..whew, I'm done. Not so! The beauty of micarta only appears when you round off all the edges. Sand the living daylights out of the micarta until you end up with scales that look like this (| |)
#6) The most important part of finishing micarta is the insane amounts of sanding at various grits in order to produce a mirror finish. Sand at 220, 400, 600, 1000, and 1500/2000.
#7) After 2000grit, use some rubbing compound, rub the crap outta them with a rag to bring out that mirror finish. you can also use a buffer for this step if you have one.
#8) Finally, seperate the scales from each other, and give the insides the same 220,400,600,1000, 1500 sanding treatment and polish.
#9) Spacer time. pick your material, rough cut, sand it to the wedge you need, drill a hole in it, affix it to your scales temporarily (use some micro size nuts and bolts) and sand it down to meet the scales using all the grits of sandpaper, and then buff/rubbing compuond it as well.
#10) You are FINALLY ready to pin. Pinning is always the absolute last step!
-
The Following 6 Users Say Thank You to Undream For This Useful Post:
Big Red (08-04-2009), Del1r1um (08-17-2009), keenedge (08-04-2009), moostashio (05-10-2014), singlewedge (08-04-2009), wheelz74401 (08-05-2009)
-
08-04-2009, 02:58 PM #7Senior Member
- Join Date
- Sep 2008
- Location
- PDX
- Posts
- 1,568
Thanked: 203
Yes they are washerless pins. I liked the look so I went for it.
I have no bandsaw those cuts were made with a coping saw.
I will do what I can with what I have and see how they come out. Worst case scenario is that I start over right?
-
08-04-2009, 03:05 PM #8I shave with a spoon on a stick.
- Join Date
- Jan 2009
- Location
- Stay away stalker!
- Posts
- 4,578
- Blog Entries
- 1
Thanked: 1262
Originally Posted by singlewedge
You can do it. i believe.
-
08-04-2009, 05:41 PM #9Senior Member

- Join Date
- Oct 2007
- Location
- Fresno, CA
- Posts
- 1,068
Thanked: 130
Thanks undream, it sounds like micarta is a material I'll stay away from!!

I like the paper scale template idea. I cut out a set, rough shape, but then decided I'm going to put them on a different blade and it is a little shorter, so I'm going to have to play with it, better on paper than on the scales themselves.
Red
-
08-04-2009, 05:50 PM #10Brad Maggard
- Join Date
- Jan 2009
- Location
- Adrian, Michigan
- Posts
- 879
Thanked: 693
Originally Posted by singlewedge
Coping saw + micarta is tough! I commend you for how well you were able to cut it... I probably woulda done worse!
I really do like the idea of washerless pins. Micarta is a great material for this..as I think it is tougher than most brass washers. I think that was a great idea, and it looks like you did a fine pinning job.


 Reply With Quote