
Results 1 to 7 of 7
 3Likes
Thread: Cleaned Up W&B
 LinkBack URL
 About LinkBacks
-
01-18-2012, 01:56 AM #1Senior Member


- Join Date
- Aug 2011
- Location
- Lawrenceville, GA
- Posts
- 158
Thanked: 15 Cleaned Up W&B
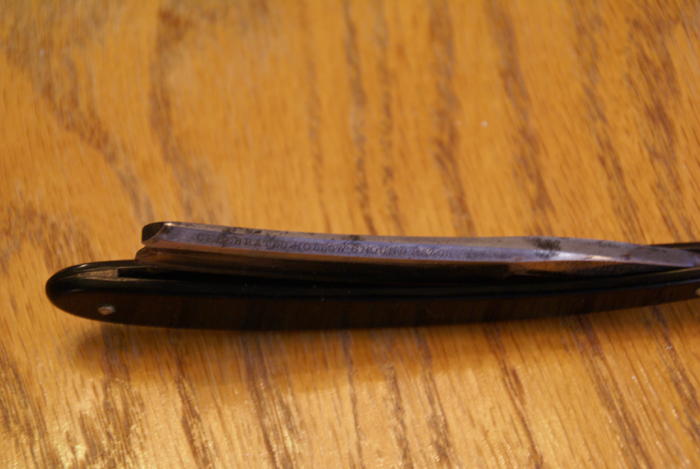
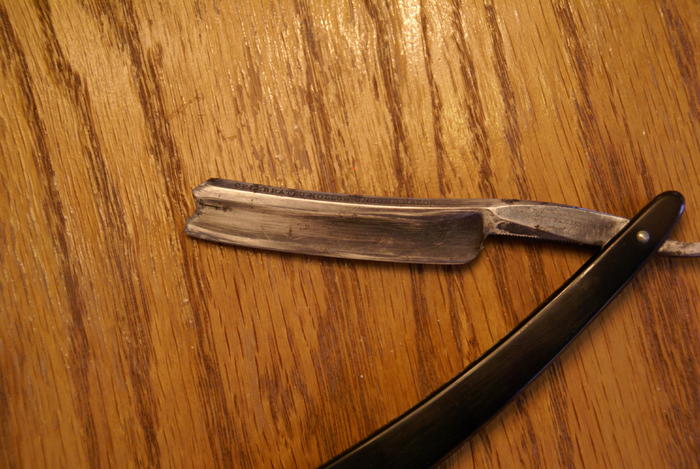
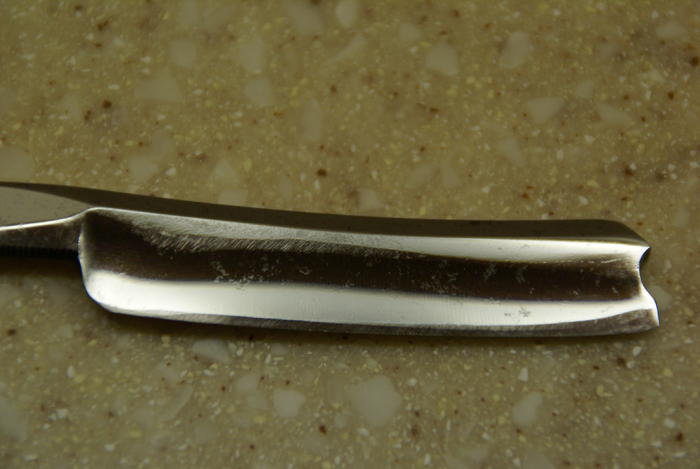
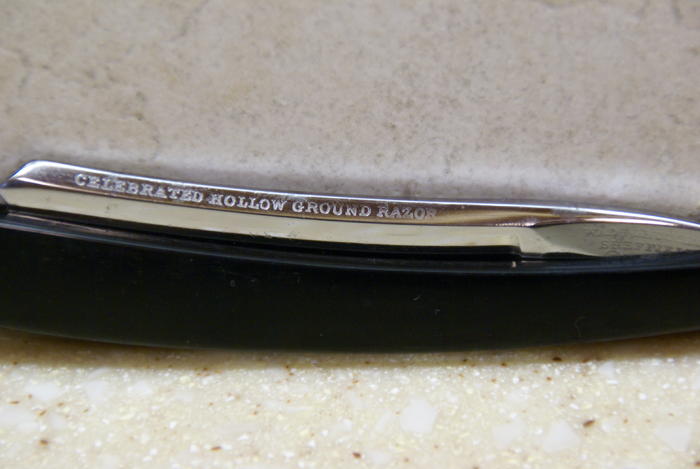
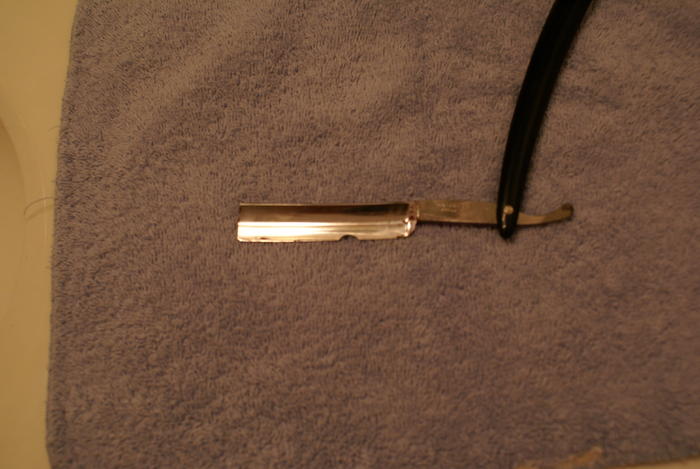
I picked this W&B up about 2 months ago. I finally got the time to clean it up. There are still a few flea bites and light pitting, but it turned out pretty good without sanding it down.
/
-
01-18-2012, 01:10 PM #2Senior Member


- Join Date
- Sep 2011
- Posts
- 1,650
Thanked: 1341
Very nice! What was your process?
-
The Following User Says Thank You to ScienceGuy For This Useful Post:
TonyN (01-18-2012)
-
01-18-2012, 03:14 PM #3Senior Member
- Join Date
- Sep 2011
- Location
- West-Flanders, Belgium
- Posts
- 171
Thanked: 14
Very nicely done

-
The Following User Says Thank You to fragalot For This Useful Post:
TonyN (01-18-2012)
-
01-18-2012, 04:15 PM #4Just a guy with free time.
- Join Date
- Oct 2011
- Location
- Mid state Illinois
- Posts
- 1,448
Thanked: 247
Yes, I'm interested as well in how you acheived this without sanding. Looks quite good.
-
01-18-2012, 04:51 PM #5Senior Member
- Join Date
- Aug 2011
- Location
- Lawrenceville, GA
- Posts
- 158
Thanked: 15
Thank you. I appreciate it. Originally Posted by fragalot

Originally Posted by ScienceGuy
Originally Posted by regularjoe
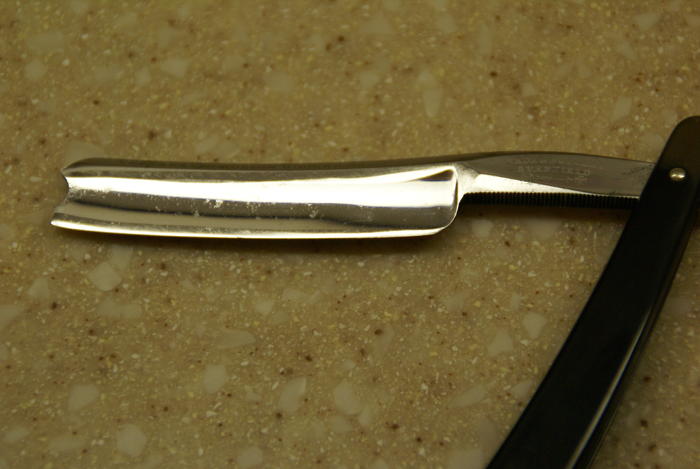
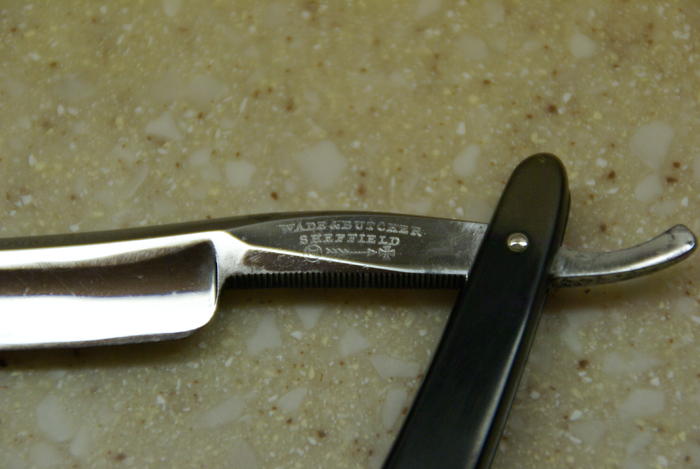
Thank you. I wound up starting to polish it out with Flitz. The Flitz wasn't doing a great job of cleaning and polishing it out, so I moved on to Met-All Aluminum Polish which I used with a Dremel on the lowest speed. To get into the nooks and crannies I used an electric tooth brush. I took it slow and would clean it up periodically with dish detergent and hot water and then start over again. I guess I went through about 4 of the 1/2" Dremel polishing wheels. To clean the gunk out of the ridges in the bottom of the shank I wound up using the Dremel with a wire brush.
A big consideration when polishing these out is to be sure to wear eye protection and be careful around the edge of the blade. Otherwise you can damage the edge of the blade and the piece will go flying. What was once a nice Challenge straight is no more!
-
01-18-2012, 09:13 PM #6Senior Member
- Join Date
- Sep 2011
- Location
- West-Flanders, Belgium
- Posts
- 171
Thanked: 14
The dreaded dremel pling :/ Everyone's been there.. it's the only way to learn really, nomatter how many times someone tells you to be carefull... :<
Another thing to watch out for that many people forget is heat buildup when polishing with powertools, it's a nice way to silently kill the temper.Wullie likes this.
-
The Following User Says Thank You to fragalot For This Useful Post:
TonyN (01-18-2012)
-
01-18-2012, 09:51 PM #7Just a guy with free time.
- Join Date
- Oct 2011
- Location
- Mid state Illinois
- Posts
- 1,448
Thanked: 247
Pretty impressive I'd say. I'll stick to sandpaper and stitches. :P
-
The Following User Says Thank You to regularjoe For This Useful Post:
TonyN (01-18-2012)


 Reply With Quote