
Results 51 to 60 of 66
 16Likes
 LinkBack URL
 About LinkBacks
Threaded View
-
05-07-2009, 02:52 AM #1There is no charge for Awesomeness


- Join Date
- Aug 2006
- Location
- Maleny, Australia
- Posts
- 7,977
- Blog Entries
- 3
Thanked: 1587 How To Make a (Very) Home-made Strop: A life in pictures.
Last time I made some 'roo strops I promised Robin (BeBerlin) that I would put together a little photo tutorial if I were to ever do it again. Well, I have done it again and, true to my word, here is a little photo tutorial.
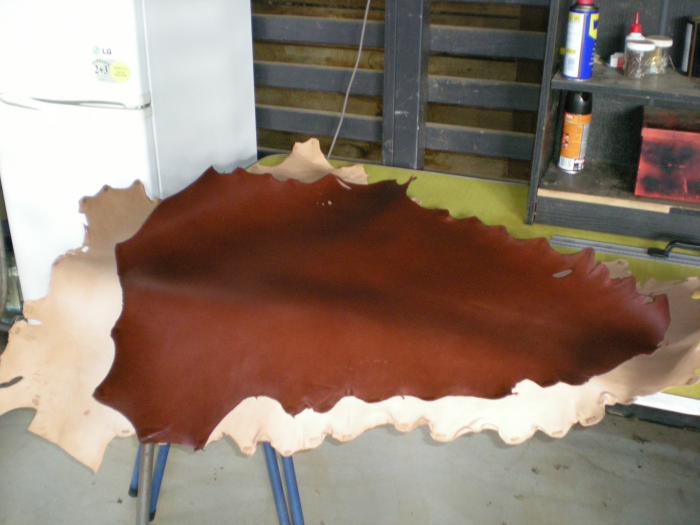
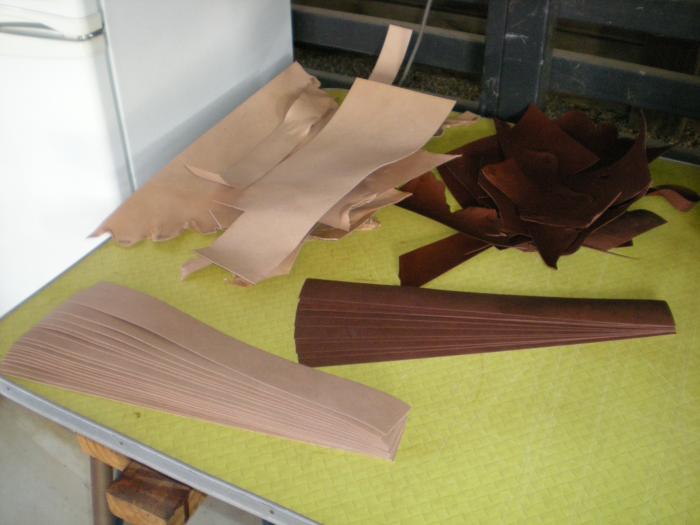
Step 1. Get some leather.
The choice is yours really. If you are only going to make a strop for yourself you probably just want to get hold of a nice single piece from a leather retailer (perhaps already cut to size and maybe a bit larger than you want - see below). I on the other hand want to make my strops out of Kangaroo, and as far as I know you cannot just buy a single piece. So I have bought a couple of hides - both veg tanned, one natural colouring and one dyed chocolate.
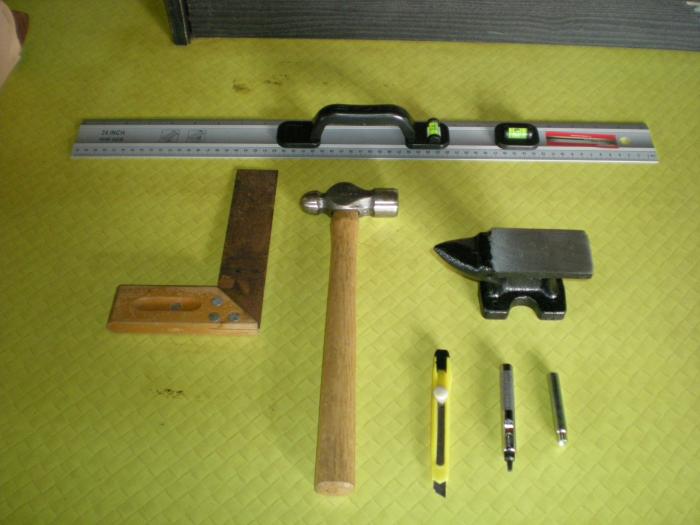
Step 2. Get the stuff.
- Straight edges: a metal ruler and a set square;
- A Stanley knife (for cutting with
 );
); - A hammer to really get those corners at right-angles with a gentle tap (just kidding - for punching holes and setting rivets);
- A small anvil (solid surface for hole punching and rivet setting);
- Leather punch of a size appropriate to your rivets;
- A rivet peener;
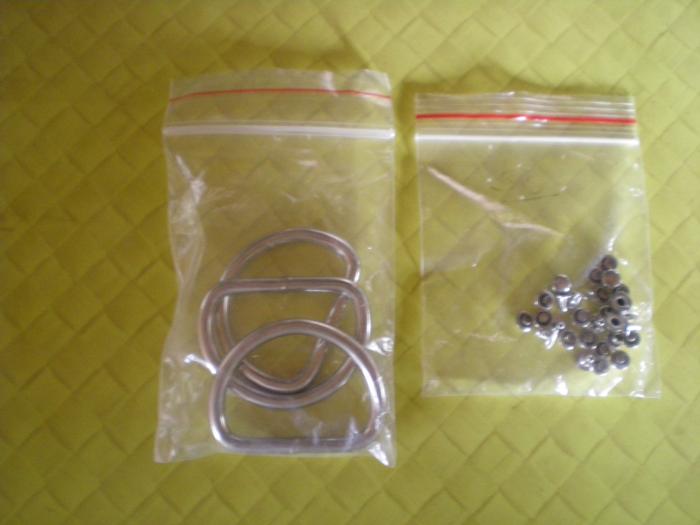
- Rivets;
- Something with which to attach your strop to the wall, door etc (I use welded D-rings, but this is just one option).
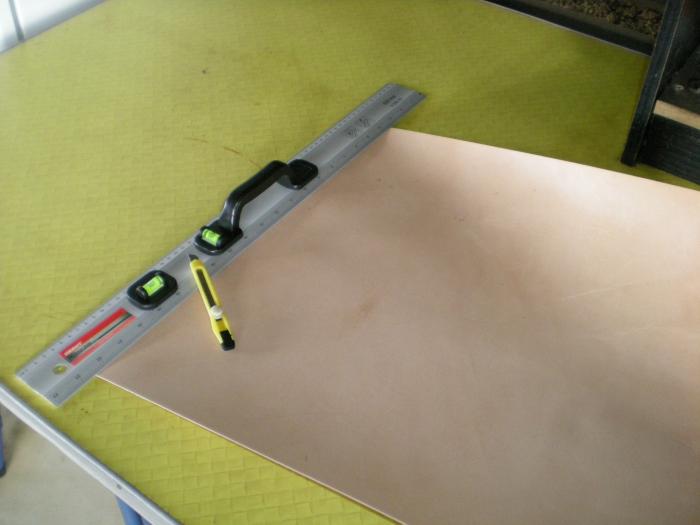
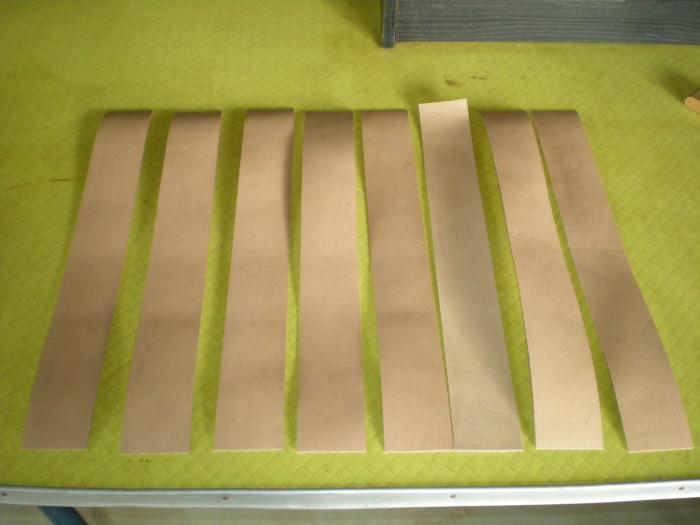
Step 3. Cut the Leather.
The size that you make your strop will be a personal choice. For ease, I make mine the width of the ruler (about 2.4") and approx 19" in length. A word of warning (gained through bitter, bitter experience): measure 5 times and cut once. Make sure you get the cut right the first time, because (unless you are a better man than I) going back to "trim it up" nearly always ends in wobbly edges and looks like rubbish. Make sure everything is square or again it will look like rubbish. Keep the leftover bits of leather, they can come in handy.
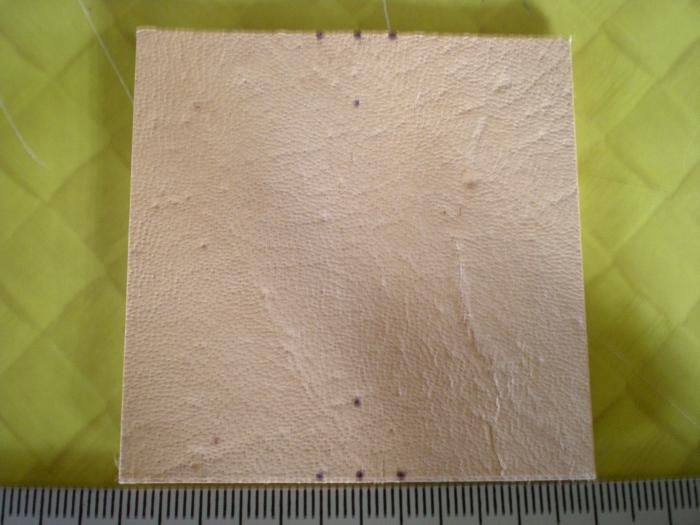
Step 4. Little Square bits.
In this step I cut the little square pieces (from the leftover leather) that I use to attach the D-ring, via rivets, to the main body of the strop. I try to make these the same width as the strop.
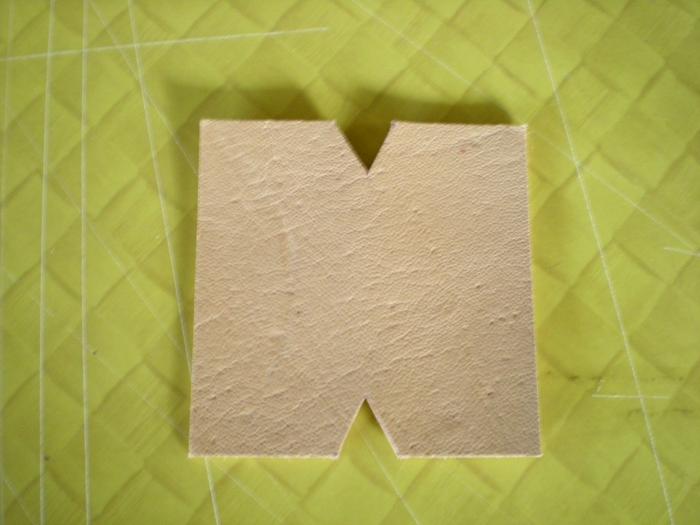
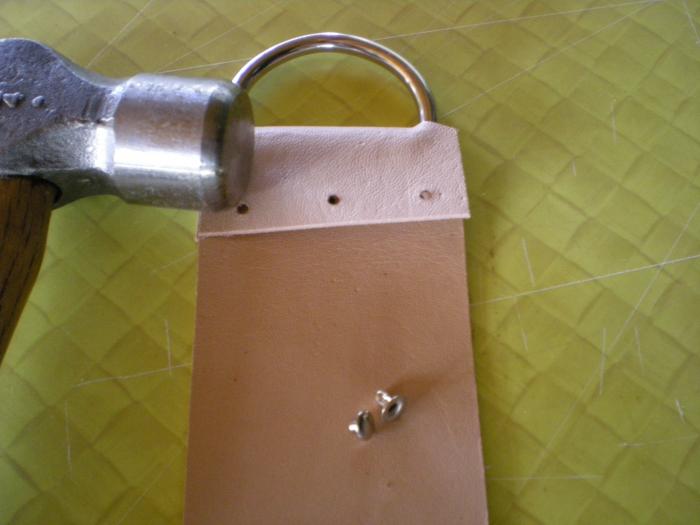
Step 5. Triangles in the little square bits.
My D-rings are narrower than the little square bits are wide. Therefore I need to cut triangles out of the leather so that the rings will fit properly. Measure this bit very carefully, as even a small misalignment can cause things to become crooked.
Measure the width of the straight part of the D-ring. Then, mark off the small piece of leather so that this space is centred (in both horizontal and vertical directions) after you cut out the triangular piece of leather from each side.
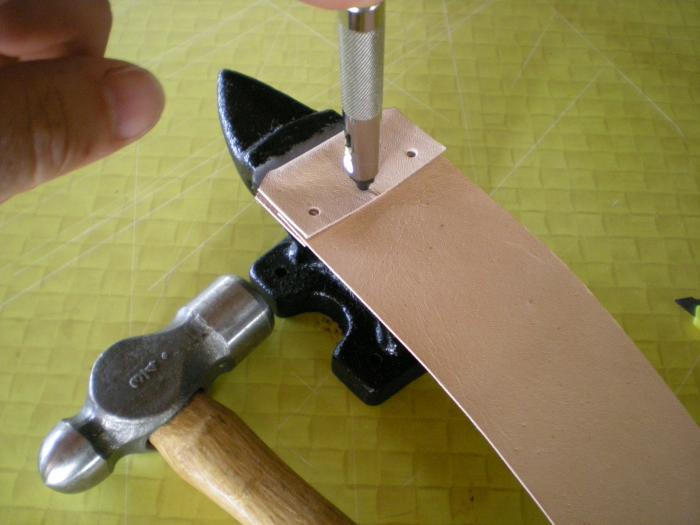
Step 6. Hole Punching
Now that you have the main strop body and the small piece of leather cut out, measure (I do not ) evenly the places where you want to rivet the two pieces of leather together and punch the holes with the leather punch. Again, be careful here because you cannot put the holes back if you misalign them.
James.Last edited by Jimbo; 05-07-2009 at 03:16 AM.
<This signature intentionally left blank>
-
The Following 22 Users Say Thank You to Jimbo For This Useful Post:
32t (03-07-2012), Alethephant (10-04-2010), BeBerlin (05-07-2009), Blistersteel (10-21-2014), Chevhead (01-12-2014), Dachsmith (04-22-2017), dgm237 (09-10-2012), dvoelfreeline (04-08-2014), DZEC (09-13-2019), elheisenberg (11-05-2013), Hillie (07-11-2009), Indesio (03-16-2012), Joed (05-09-2009), Johnny J (05-07-2009), markdfhr (01-15-2012), Martin103 (01-17-2012), Razorfeld (08-11-2013), Schieri (08-04-2014), Slur (08-11-2013), stvrol (02-24-2014), Themagicturtle (02-08-2013), williamc (08-12-2014)


 Reply With Quote