
Results 1 to 10 of 17
Thread: Pics of nicked strops?
 LinkBack URL
 About LinkBacks
-
08-21-2009, 12:34 AM #1Shave Ready


- Join Date
- Jul 2009
- Location
- Massachusetts
- Posts
- 174
Thanked: 57 Pics of nicked strops?
Hello All

Does anyone have any pictures or descriptions of nicks in strops that are in one of three categories:
- ok to use - does not affect performance - more cosmetic
- repairable - once repaired, then it is ok to use
- mannnnnn - that was a good strop - why did that just happen - unuseable as a hanging strop
I am gonna try to get some pics of my strop tonight and add here. [edit: here they are]
Thanks
andyLast edited by 44Whiskas; 08-21-2009 at 02:07 AM. Reason: adding pics
-
08-21-2009, 01:28 AM #2Senior Member

- Join Date
- Jul 2009
- Location
- Lancaster County, Pa., USA
- Posts
- 251
Thanked: 38
I put a 3/4 inch slice completly threw the top of my strop, she's still holding up. I also have tons of nics at the top and bottom, I adjusted my draw (hope that is the right word to use here) to avoid those nics.
-
08-21-2009, 02:10 AM #3Shave Ready
- Join Date
- Jul 2009
- Location
- Massachusetts
- Posts
- 174
Thanked: 57
yeppers - I had to adjust my draw as well - well it was more the flatness I was holding the strop - you can see in my pics I added that when ever my strop is not held perfectly flat, I nick the sides at the opposte edge. That has been a learning curve for me - learning to listen to the sound of the strop for perfect contact and holding the strop flat - very easy to fall out of alignment even starting out flat.
andy
-
08-21-2009, 02:43 AM #4W&B, Torrey, Filarmonica fanboy

- Join Date
- Aug 2008
- Location
- Atlanta
- Posts
- 605
Thanked: 252
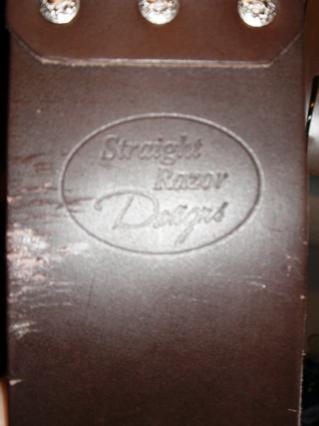
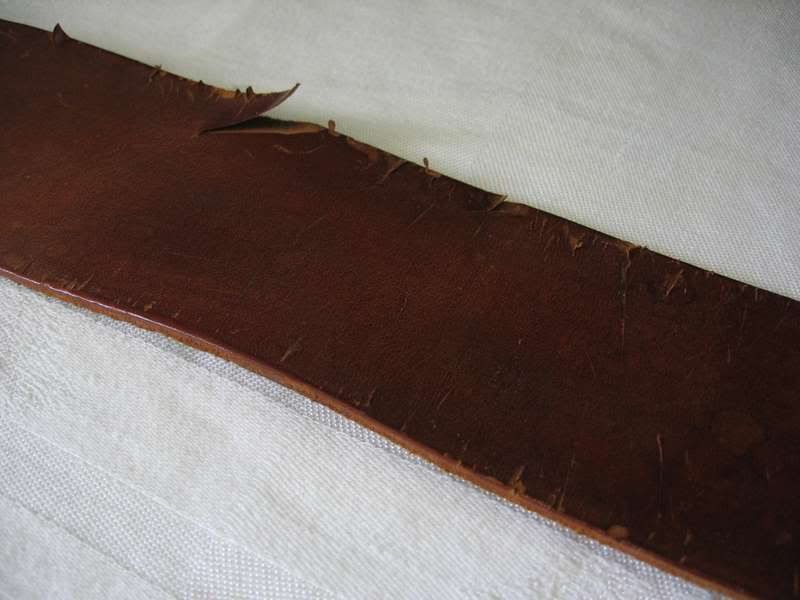
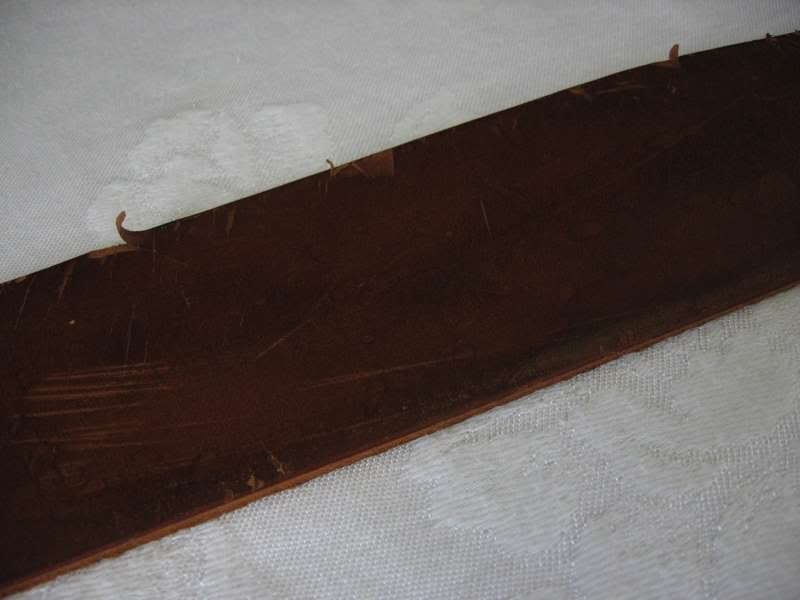
Here are pics of my handiwork on my beloved Tony Miller strops.
These are my two most nicked strops, because they are my most used. Unless you cut the strop right off the hook, you can save anything, in my opinion.
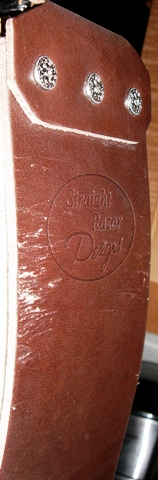
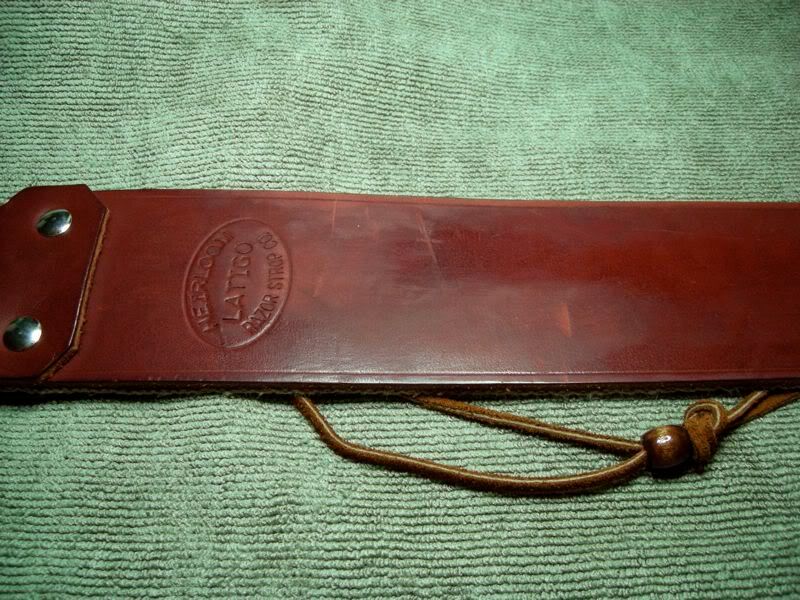
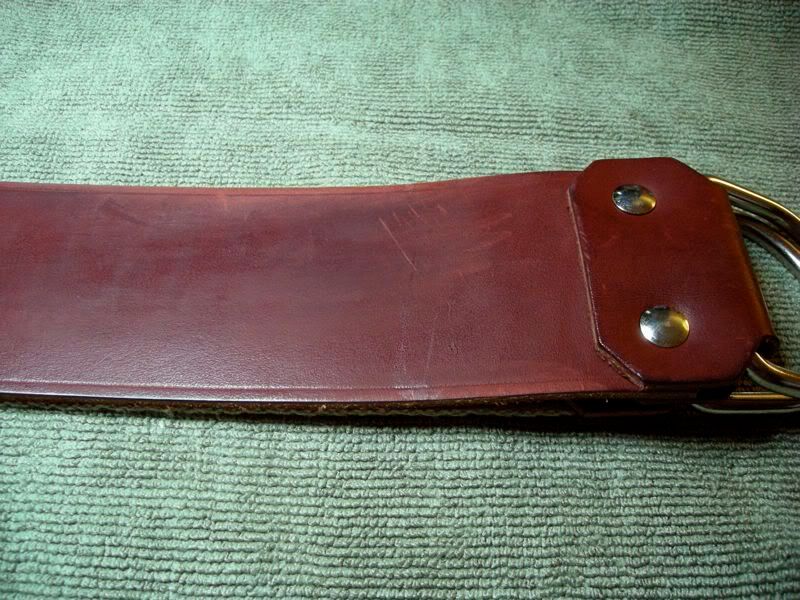
The first two pics are of my 2.5" TM Latigo, all nicks glued and sanded. This was my first good strop, is a top performer strop, still my go-to strop. I would class these as category 1 and 2 on your scale:
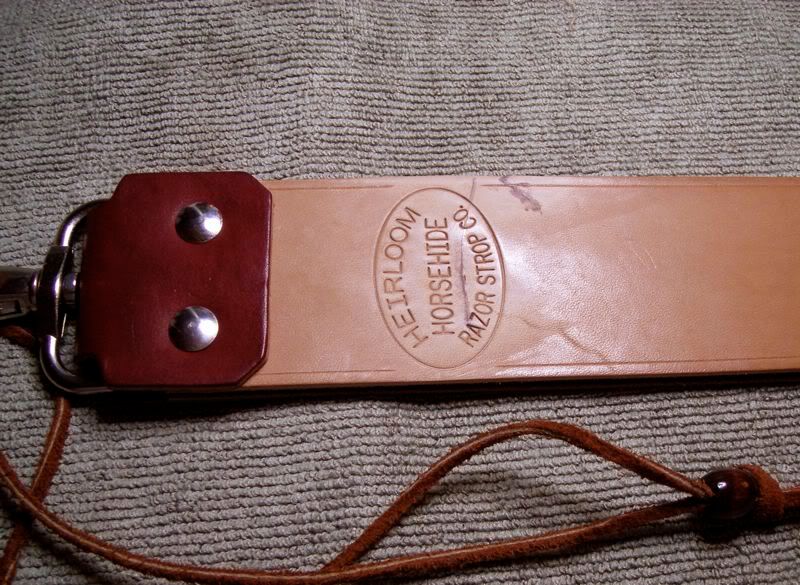
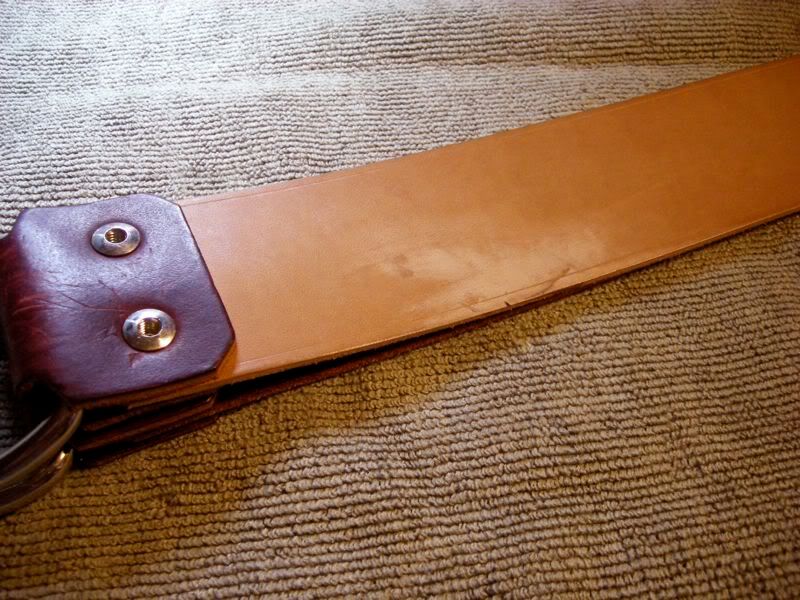
This is my Tony Miller 2" "High Speed" Horsehide. The "Category 3" cut through the logo was made during high-speed stropping with an 8/8ths Friodur, and as we say here in Georgia, just about cut the strop "half in two." After glueing, sanding, and buffing, it's still a top performer:
-
08-21-2009, 02:51 AM #5Senior Member


- Join Date
- Nov 2005
- Posts
- 4,521
Thanked: 1636
Don't feel bad .they are in both ends and mine has too. Don't know the reason but they are in there. that strop is good strop .
-
08-21-2009, 03:24 AM #6Senior Member
- Join Date
- Apr 2009
- Posts
- 786
Thanked: 132
Good grief Fatboyslim,
Where are the tear drop stains?
Ive learned that drinking scotch and stropping dont mix very well either...fortunately, my nicks buffed out nicely.
Mac
-
08-21-2009, 06:08 AM #7The Electrochemist

- Join Date
- Apr 2009
- Location
- Hastings, UK
- Posts
- 1,714
Thanked: 527
Hi,
Many thanks to you all for posting these pictures
It made my mutilated strop feel much better about itself !
Luckily sanding with 600 grit carbide paper sorted out the nicks (which were mostly on the edges), but left the strop looking a bit 'tired' (or with 'character' ?).
Best regards
Russ
-
08-21-2009, 03:30 PM #8Shave Ready
- Join Date
- Jul 2009
- Location
- Massachusetts
- Posts
- 174
Thanked: 57
Great replies so far.
Tim,
That TM 2.5 is nice lookin and you did great repair jobs - can barely notice.
good to see others have strops with as Russ said "character" and that even if actually cut can be repaired.
Anyone else got any pics of strops actually in use that are shall we say "less than perfect"?
Anyone think I should sand my nicks or just leave them as is?
TIA.
andy
-
The Following User Says Thank You to 44Whiskas For This Useful Post:
FatboySlim (08-21-2009)
-
08-21-2009, 04:00 PM #9I just want one of each.

- Join Date
- Jul 2009
- Location
- Nebraska
- Posts
- 748
Thanked: 135
This is a 20 year old Illinois #127 strop with a lot of damage. I used it for two years back then, not knowing how to strop properly. I have retired the leather but still use the linen strop some. I'm thinking I could repair this old thing. Maybe make a paddle strop out of it. What kind of glue is good for repairing these kinds of gashes? Thanks.
-
The Following User Says Thank You to keenedge For This Useful Post:
LarryAndro (08-22-2009)
-
08-21-2009, 04:40 PM #10Retired Developer
- Join Date
- Mar 2008
- Location
- Berlin
- Posts
- 3,490
Thanked: 1903
 Originally Posted by keenedge
 Good luck!Strop treatment and repair - Straight Razor Place Wiki
A nicked strop can be repaired without cutting off the flap. The issue about a hard spot or raised spot is certainly an issue, but not if you use the proper tools.
Contact cement has been successfully used in this operation[5]. It is considered to be very good for leather, and does not dry hard. In this, it is very similar to rubber cement in consistency. Follow the directions on the bottle or can: apply to both sides, allow to dry 'open' for 10-15 minutes before bringing the two surfaces in contact with each other. They will immediately form a nearly unbreakable bond, so make sure they come together in the way you want them to stay. At this point, you can roll the strop with a rolling pin or a glass bottle to clamp the repair. Finish the repair by taking off any high spots with a pumice stone.
-
The Following User Says Thank You to BeBerlin For This Useful Post:
keenedge (08-21-2009)


 Reply With Quote