Results 11 to 20 of 32
Thread: My stropping experiment
-
03-06-2012, 12:22 AM #11
-
03-06-2012, 12:34 AM #12

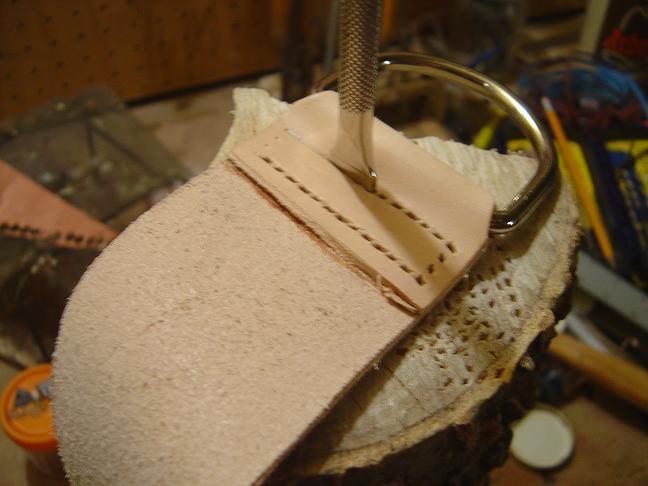
First I glued them together with contact cement. Then I used a 4 prong thonging chisel to make the holes. Then hand sewn with waxed thread.
Not hard to do but I could certainly tell the first one from the last. One thing I learned is in the future I should use a more ergonomically designed piece of fire wood and a pad for my rear while sitting on the floor of my basement punching holes.
Tim
-
The Following User Says Thank You to 32t For This Useful Post:
HNSB (03-06-2012)
-
03-06-2012, 02:55 AM #13
 A short tutorial
Getting this thing posted is more work than the strops. :-]
I had some questions about how I did this and I was short one D ring from the 2 3/4 inch strop so I decided to finish it and take some pictures.
First I measured
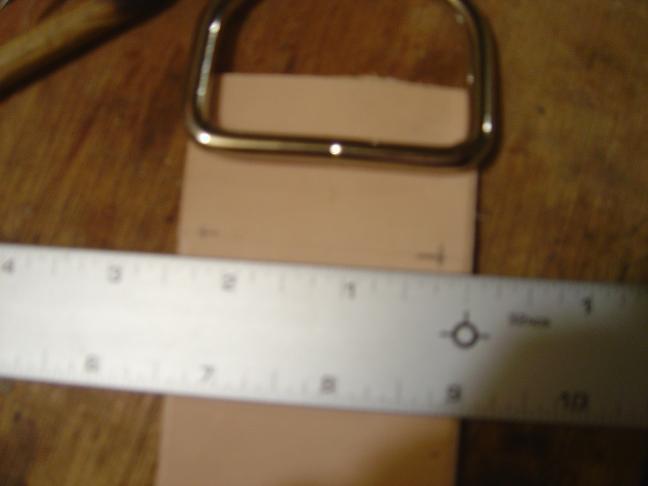
Then I used a 1/2 inch punch to make some partial holes. For the the 3 inch strops the holes were bigger.
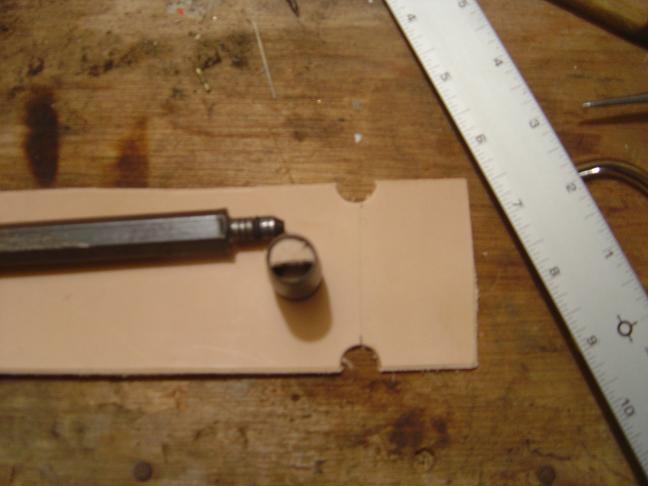
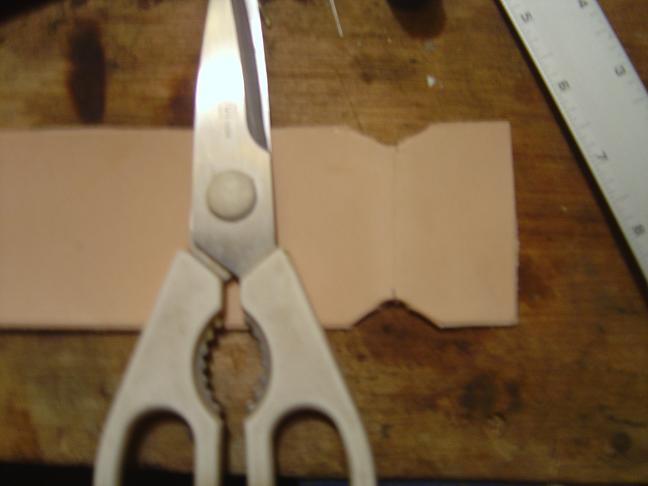
Then I folded it and cut the rest of the V's with a scissors
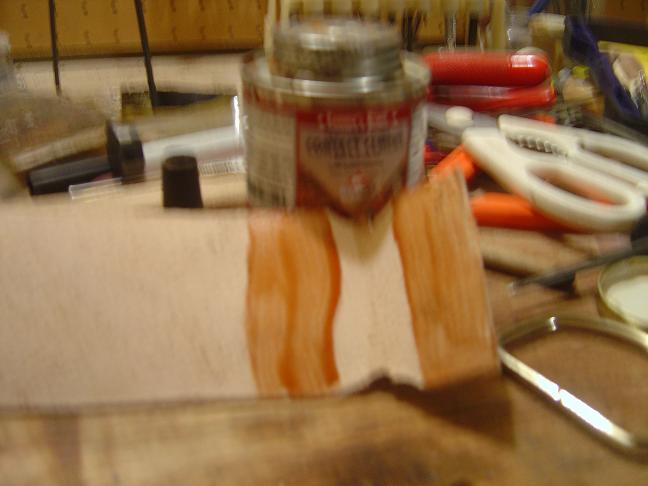
Next put on some contact cement to glue.
Next, marking my lines and the tool I used to punch the holes. It is not relly a punch. It splits the leather for the hole and allows the leather to close back up after stitching. The marks are very important, at least to me!
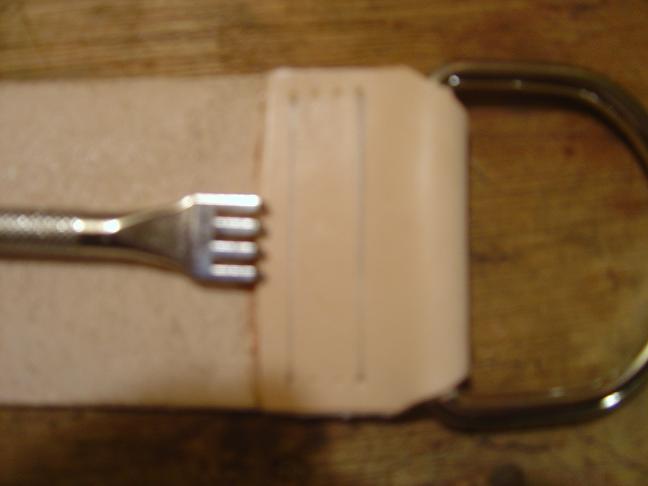
My block of wood and the basement floor. Not very ergonomic!
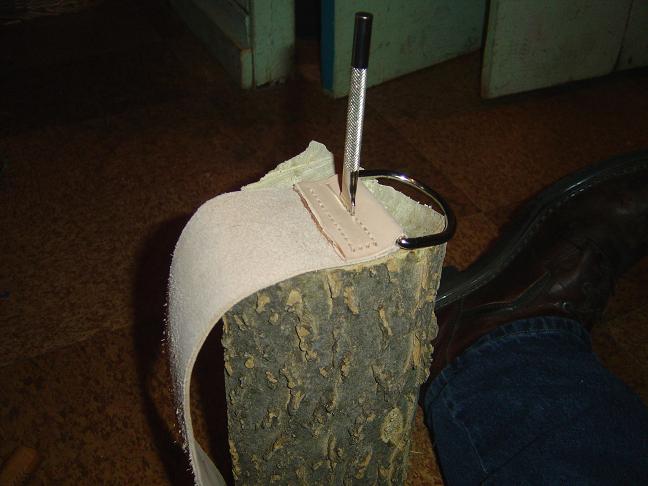
Another view on the bench.
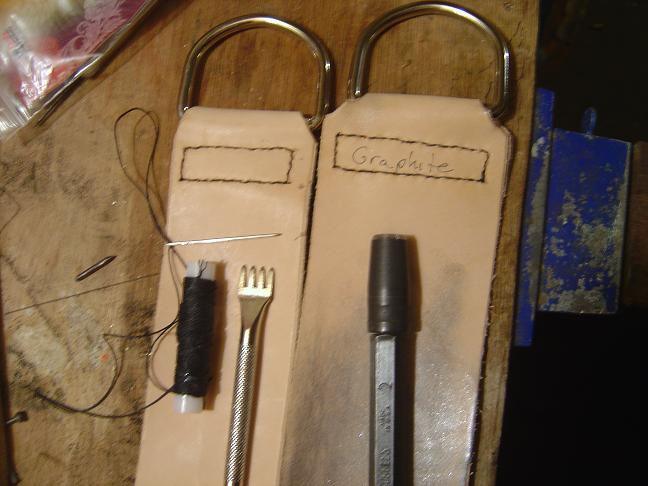
The final product with some of the tools next to the one I put graphite on. I decided to mark them in the rectangles although I don't think that I will forget which one has graphite on it.
I hope this helps and answers some of your questions.
Tim
-
The Following User Says Thank You to 32t For This Useful Post:
xMackx (03-06-2012)
-
03-07-2012, 04:06 AM #14

I now have applied 4 different leather treatments. Lexol, Nor-v-gan shoe oil, Neatsfoot oil, and Mink oil. that is the order of my first impressions with the Mink oil the best. I have a piece of CroMoly roll cage tubing in a vise to burnish them with. 1 1/2 inch in diameter. [I wouldn't use anything else!
 ]. I put about 500 strokes/rolls on each of the first three. The Mink oil I got to 300 and my arms were tired. Much more draw. The strop and tube were warm.
I had a good shave today but I stropped on all of them to test the draw etc. No conclusions yet!
Tim
-
03-07-2012, 04:25 AM #15

I work lather into my strop with a glass bottle on a flat surface. Adds a lot of draw and leaves it very supple, something you won't wanna do until you try it kind of thing.
-
03-08-2012, 12:57 AM #16

you deffinityl lost me on ths experiment i just a plain leather and linen strop and a barber hon to keep my razor runnign smooth and ive had alot of luck so far. let us know how this goes.
-
03-11-2012, 01:47 AM #17

For the time being my stropping experiment is degenerating into a strop making experiment. I made 10 more today. 5 combo ones with leather and fire hose. I gave one of them to my neighbor who supplied me with enough fire hose for 8 strops. I then made a leather and seat belt one and 4 more seat belt singles.
Lots of learning going on here.
I used a little heavier leather today more in the 7 ounce range and that seems better.
I never thought you could over oil leather. I was wrong. I over did one with neatsfoot oil and am trying to use lather to get rid of the excess. It is removing some but I don't know where it will end up. I am thinking that it might be good for a post shave stropping to oil the edge before storage! :-]
I used rivets today. Much quicker. Although I did screw up a punch trying to remove cores that I think were stuck from the contact cement.
I found some "fine" valve grinding compound in the garage today. I am going to put that on one of the seat belts to give it a go. The strops cost me nothing more than my time and I can make them in about 5 minutes so I have nothing to loose.
Now if I only would shave 5 times a day this experiment might make some headway.
Tim
-
03-11-2012, 01:57 AM #18
-
03-11-2012, 02:25 AM #19

The fire hose has a heavier draw than the seat belt for example. It has a much courser knit. I have been using a piece for a while. Mine tends to cup or maybe it is the fold on the edges but it gets dirtier on the sides after use. I don't think that you could cut it in half lengthwise because it would unravel.
I washed and dried the seat belts and fire hose today and got in a hurry and pulled a couple of the hoses out before they were dry to get going. The ones that I pulled out slightly damp are a lot more stiffer. If you try this let them stay in the dryer for a full cycle. [with jeans] They were much more supple afterwards.
tim
-
03-11-2012, 11:37 AM #20

Oh man I hope your linen didnt shrink in the dryer like mine did, it came out afull 3/4" shorter then when it went in


 23Likes
 LinkBack URL
 About LinkBacks


 Reply With Quote

