Well I got it apart. I want to finish the sanding with the scales off so I can do the tang and polish it all at once.
I did round out the chip in the toe and gave the edge some passes on the 250 section of my King combo. The bevel near the toe had some bad looking pits right in the edge and I wanted them out. They looked like they wanted to turn into cracks to me so some light strokes until they were gone made me feel better. I think normally you should go ahead and set a bevel to find good steel and make sure the razor is worth restoring. I trust it will clean up and all the major faults are gone now. If it doesn't shave it will be a very nice display :<0)
Attachment 145101
I file the pins flat before I center punch. And when I did get around to punching it the washer popped off. Wish they were all this easy.
Attachment 145102
Here are some unpin shots. I scribed a center that wasn't, punched it close after 2 tries, went to the drill press after which 1 washer popped of with the center punch again. The pin popped out some on the other side so I filed it off some while I had the chance. 1/16 punch tapped it out easy enough.
Attachment 145103
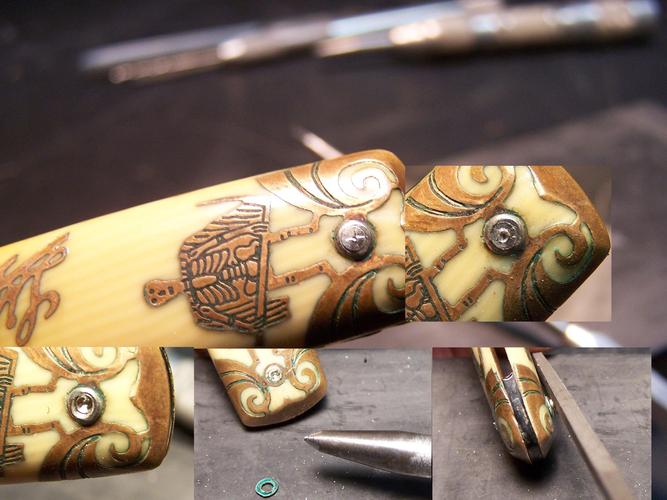
Hey ,,,There is that thing I was telling you about.......only now we can see it. It's not brass and what the heck is it doing there ?
Attachment 145105
Something else I noticed was these little holes in the inlays. Not pits but they look like maybe something to hold the inlays by when they installed them ? There are 3, and the arrows show 2 and the other is at the end of DDs line.
Attachment 145107
Well I got parts .
Attachment 145108
Next the brass comes off. I hope the piece on the inside is not connected somehow to the brass on the front or this could get messy.
