
Results 11 to 20 of 28
 43Likes
Thread: Look what you made me do!
 LinkBack URL
 About LinkBacks
-
11-04-2013, 02:34 PM #11Senior Member


- Join Date
- Jun 2013
- Location
- Pompano Beach, FL
- Posts
- 4,048
Thanked: 636
Take your time and you will do fine. Don't try to cut away all at once. Cut and fit, cut and fit until you have it right. Can't wait to see the finished product. Good luck
Chevhead likes this.
-
The Following User Says Thank You to bouschie For This Useful Post:
Chevhead (11-04-2013)
-
11-04-2013, 04:29 PM #12Senior Member


- Join Date
- Sep 2010
- Location
- Oslo Norway
- Posts
- 1,848
Thanked: 438
Think you made a great choice of wood, I'm looking forward to seeing this all done
 Chevhead likes this.
-
The Following User Says Thank You to str8fencer For This Useful Post:
Chevhead (11-04-2013)
-
11-04-2013, 04:32 PM #13
Me TOO!
 Originally Posted by str8fencer


-
11-04-2013, 06:25 PM #14Senior Member

- Join Date
- Nov 2012
- Location
- Across the street from Mickey Mouse in Calif.
- Posts
- 5,320
Thanked: 1185

I have no doubt you can do this. Seeing how you have chosen to use wood , do not forget Glen's tip of putting at least one coat of ca finish on the scales before you place the brass. You may want to check with him on this but it sounds like a great idea to me. It may help the brass adhere to the scales better in which case you will have to be sure you can place them perfect quickly. He may have another reason which he didn't explain in that thread.Good judgment comes from experience, and experience....well that comes from poor judgment.
-
The Following User Says Thank You to 10Pups For This Useful Post:
Chevhead (11-04-2013)
-
11-04-2013, 10:32 PM #15
I am SURE that I will be asking for help!
I know it is hard enough to get a Good CA finish, so thus should be a real "treat" to do... Lol
-
11-04-2013, 10:38 PM #16Senior Member

- Join Date
- Jun 2012
- Location
- Long Island/Queens N.Y.
- Posts
- 1,035
Thanked: 74
Good luck sure u will nail it!!!
Chevhead likes this.
-
The Following User Says Thank You to Airportcopper For This Useful Post:
Chevhead (11-04-2013)
-
11-04-2013, 11:51 PM #17Huh... Oh here


- Join Date
- Oct 2011
- Location
- Tri-Cities TN
- Posts
- 2,270
Thanked: 358
It is not that hard, just attention to the details. Originally Posted by Chevhead
There was a post that laid out the pitfalls,
I followed it and have had good success with the handful I have done.
http://straightrazorpalace.com/works...ints-tips.htmlLast edited by pfries; 11-04-2013 at 11:52 PM. Reason: found link
It is just Whisker Whacking
Relax and Enjoy!
-
11-04-2013, 11:59 PM #18
I do follow that...just seems like I am sanding way to much....lol
-
11-05-2013, 11:42 PM #19
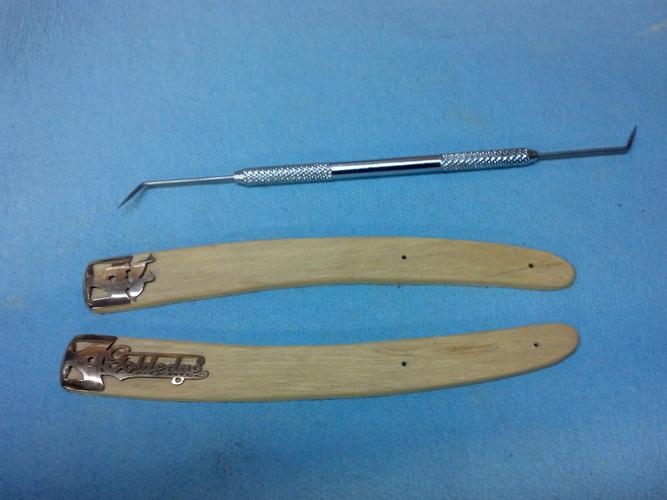
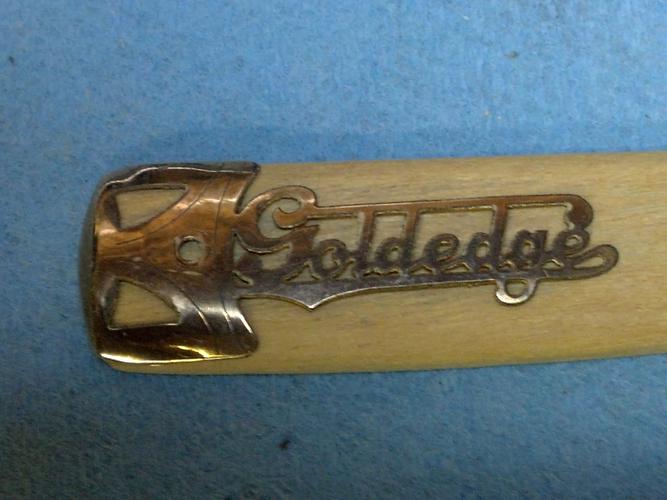
 Scale sanding and fitting
Yeah...So where I had the holes I did NOT leave enough room to shape the scales....

Back to the woodpile and grab another piece of Yellowheart.
Cut two sets of scales out again and gave it another go:
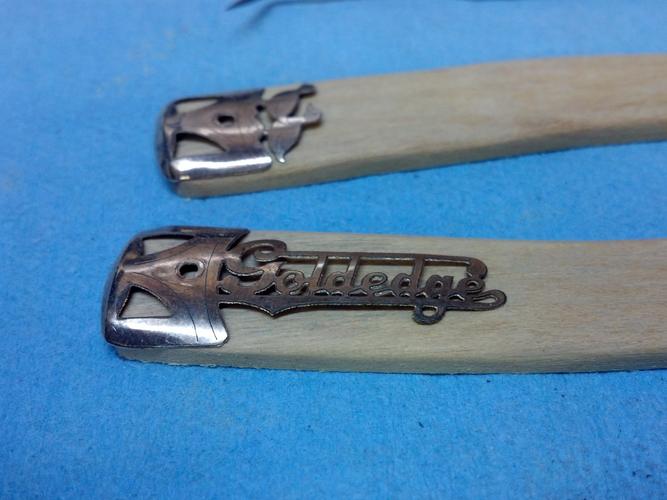
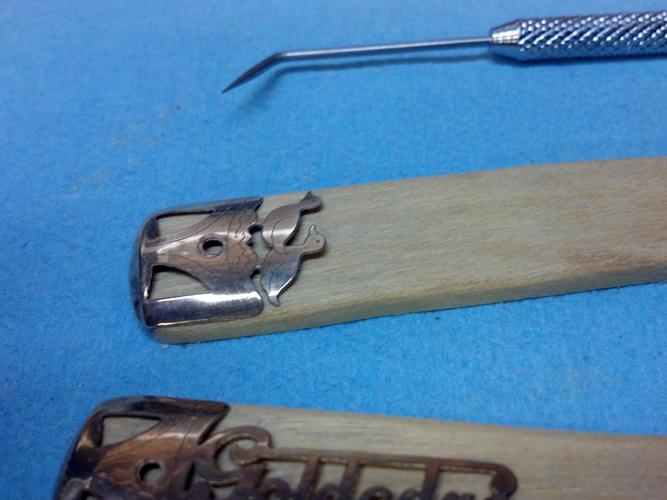
A bit of sanding and fitting:
More sand and Fit:
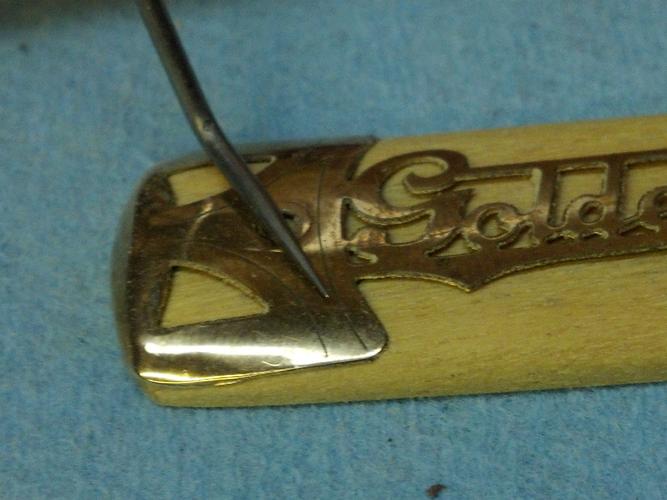
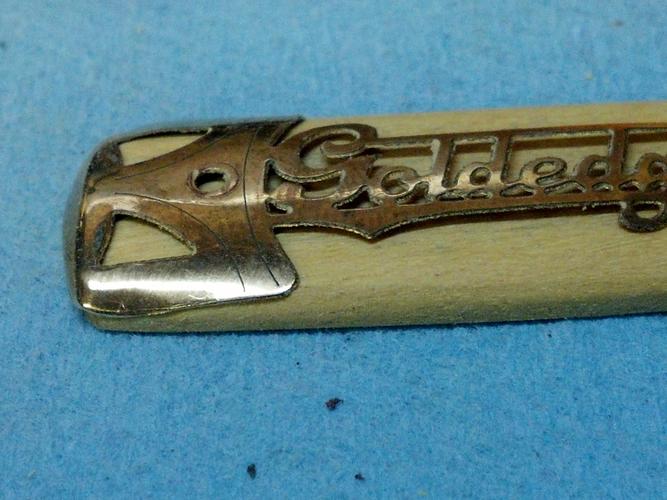
Looks pretty good I think?:
So I have 1 side sort of done and I am exhausted!
I have been up for WAY too long and I don't want to mess anything up so I am calling it a night!
Ed
-
11-06-2013, 12:00 AM #20Senior Member

- Join Date
- Jun 2013
- Location
- Gladstone QLD AUSTRALIA
- Posts
- 3,245
Thanked: 804
Nice progress Chev,
is your intention to carve out & inlay the decals into the wood or onlay them then fill & coat with epoxy or CA or something to make flush & seal them in at the same time?
seen lots of Double ducks on here but these are the first WoodDucks i've seen and look forward to seeing the finished product as it comes.Saved,
to shave another day.
-
The Following User Says Thank You to Substance For This Useful Post:
Chevhead (11-06-2013)


 Reply With Quote


