
Results 1 to 10 of 10
 13Likes
Thread: Sandpaper progression -- Hand sanding
 LinkBack URL
 About LinkBacks
-
11-26-2013, 04:32 PM #1Senior Member


- Join Date
- Aug 2013
- Location
- Black Bear, NJ
- Posts
- 1,672
Thanked: 171 Sandpaper progression -- Hand sanding
Hey all.
So I'm going to give my try hand sanding without the immediate use of the dremel.
Can you share with me you prefered progressions of sandpaper grit?
Regards,
-
11-26-2013, 05:02 PM #2Senior Member

- Join Date
- May 2012
- Location
- Oxford, Al
- Posts
- 1,605
Thanked: 407
depends on what you're sanding. wood: 50 to knock of excess, 80 thorough shape, 120 to feather in overall shape, 180 to finish shaping, 220 to smooth and prep for finishing. g-10 and acrylic or phenolics, 80 to rough 120 to refine, 220 for final shape, 320 smooth, 600, 1200,2000 for polishing out deep scratches, buff with brown Tripoli diamond compound and chrome ox. metal is 220 dry, then wet, 400 dry then wet, 600 wet, 1200 wet, 2000 wet and buff for shine , or stop at 600 and buff with emory and blending bar for brighter satin or stop at emory and for dull satin. hope that helps!
Mastering implies there is nothing more for you to learn of something... I prefer proficient enough to not totally screw it up.
-
-
11-26-2013, 05:08 PM #3Senior Member
- Join Date
- Aug 2013
- Location
- Black Bear, NJ
- Posts
- 1,672
Thanked: 171
@tiddle,
That was an excellent post. I'm pretty new to this and have a follow easy question for you.
When you say "then wet" for metal, are you actually sanding the blade *in* water or simply periodically wetting the sandpaper?
-
11-26-2013, 05:27 PM #4Senior Member


- Join Date
- Sep 2013
- Location
- Tucson, AZ
- Posts
- 1,031
Thanked: 176
Keep the surface wet.
Siguy likes this.
-
11-27-2013, 03:35 AM #5Senior Member

- Join Date
- Sep 2013
- Location
- SoCal
- Posts
- 248
Thanked: 48
tiddle nice guideline on sanding
-
11-27-2013, 03:46 AM #6
Blade, visible rust, 400, 600, 800, 1000, 1500, 2000, ryobi white compound.
Scales, 180 rough shape, 320 ,then same as blade.
No hand sanding, double sticky back tape on a cork ina reversible drill.
-
11-27-2013, 05:16 AM #7Senior Member


- Join Date
- Feb 2013
- Location
- Haida Gwaii, British Columbia, Canada
- Posts
- 14,395
Thanked: 4821
wet sanding on metal is often done with wd-40 or similar very light oil.
-
11-28-2013, 02:19 PM #8Senior Member

- Join Date
- Oct 2013
- Location
- Albuquerque
- Posts
- 508
Thanked: 32 Sandpaper progression -- Hand sanding
I use wire brush first and then 280grit , 1000, 1500, 2000 basically 500 grit increments all the way to 12000 with micromesh! Then buffing wheel on a drill with white/red compounds ! And i only use water with it! Micromesh is reusable so it will last u a couple of restorations! If u get it... Make sure u ck the dimensions! First time i got the micromesh circles and they are smaller than a quarter! Lol! Get the 2x2 squares
Last edited by robert2286; 11-28-2013 at 02:22 PM.
-
11-28-2013, 02:51 PM #9I used Nakayamas for my house


- Join Date
- Aug 2009
- Location
- Des Moines
- Posts
- 8,664
- Blog Entries
- 1
Thanked: 2591
I start with 400 or 600 depending on the situation.
I use slurry froma natural Japanese stone, but you can also add slurry from synthetic 1k. Adding the slurry makes the sanding effect very even as the sandpaper wears out. Keep using the same piece of sand paper till you are done with that stage. After that, you move to next grit of sand paper, usually 1500 grit. I use 2k slurry with that grit. After those stpes you should have very fine scratches barely visible after you polish with metal polish such as Mothers, Flitz etc.
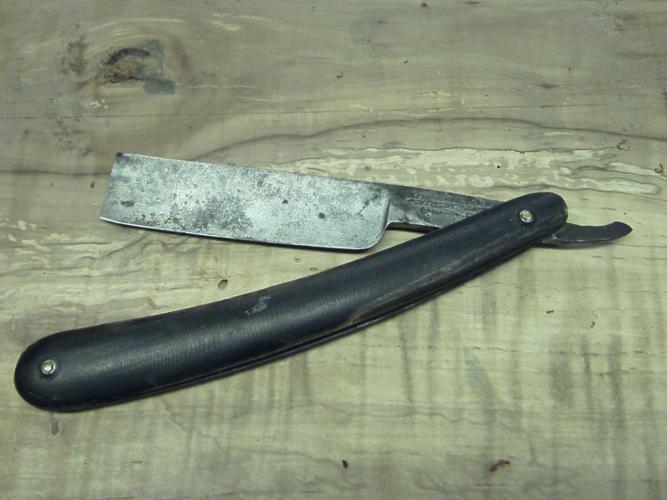
This one I did hand polish using the described method, no visible scratches on the blade after.

-
11-28-2013, 03:21 PM #10'with that said'

- Join Date
- Aug 2010
- Location
- Walla Walla in WA State USA
- Posts
- 11,156
Thanked: 4230
While I technically dont hand sand as I use a palm sander Ive never used 220 wet and dry, if I have to go low I use 320.
I do think that its important especially to those who are new to remember that every blade doesnt have to have a near mirror finish!! Its sometimes good to leave a little of the Heritage and or Battle Scars!
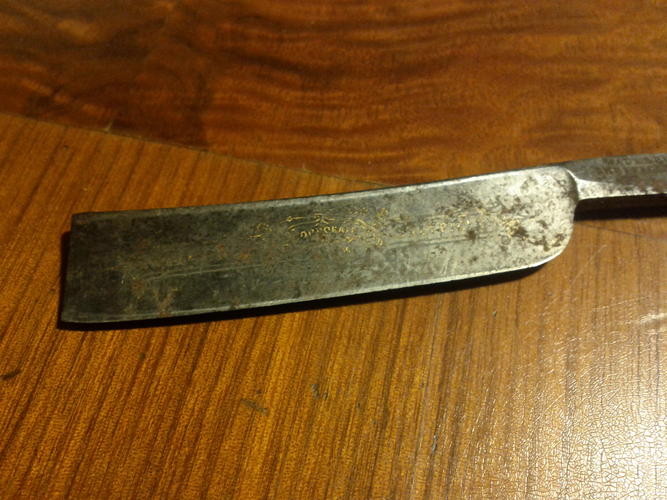
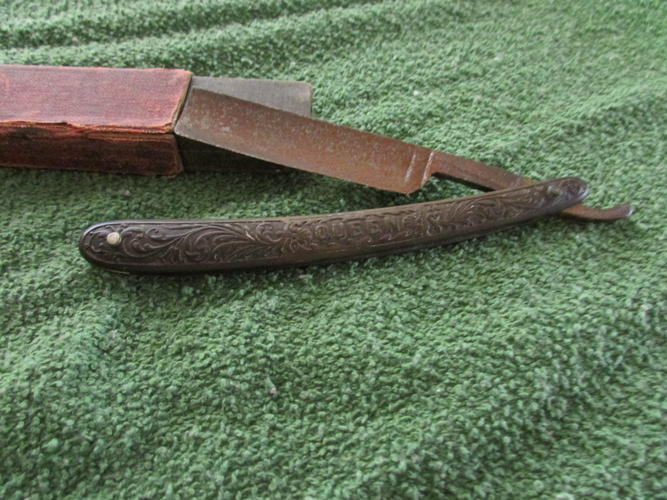
For instance:
Before:
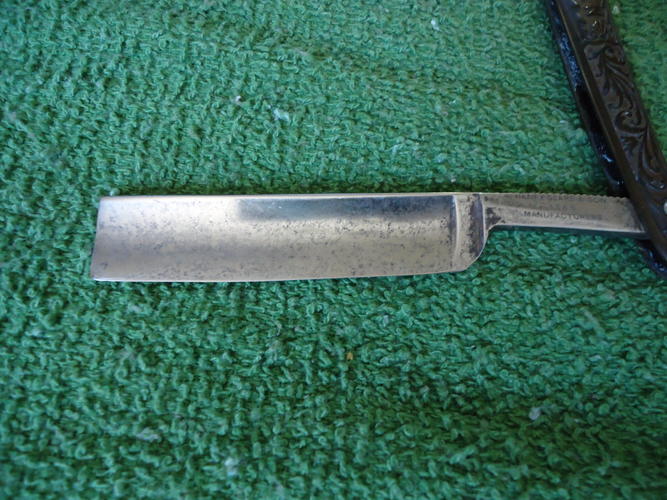
After:
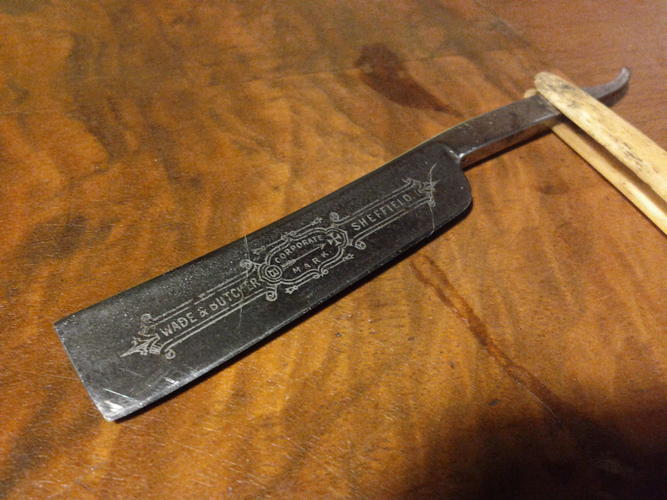
Before:
After:
And of course what Glen did for my Great Grandfather's W&B:
Before:
After:

All of the razors are good shavers, they still have a little 'character' to remind that they have survived abuse, neglect and time!!
Enjoy the journey, it's a long strange trip!!Our house is as Neil left it- an Aladdins cave of 'stuff'.
Kim X


 Reply With Quote