
Results 1 to 9 of 9
 4Likes
Thread: Desiring to restore a Straight
 LinkBack URL
 About LinkBacks
-
12-27-2013, 12:00 PM #1Senior Member


- Join Date
- Nov 2013
- Location
- Vernon Hills, IL
- Posts
- 388
Thanked: 90 Desiring to restore a Straight
Looking at learning how to bring a straight back to like mirror finish. What steps should I take to do this and I am thinking of just buying a cheapy on ebay first to dissect and play with first. Any detyails you can provide would be awesome. Thank you in advance.
I am very appreciative of all the knowledge and sharing each and everyone has provided me with. Look forward to future endeavors with many of you.
Gonzo
-
12-27-2013, 12:30 PM #2Senior Member
- Join Date
- Nov 2013
- Location
- Vernon Hills, IL
- Posts
- 388
Thanked: 90
Here is a H.Boker I am wanting to make my pride and joy.
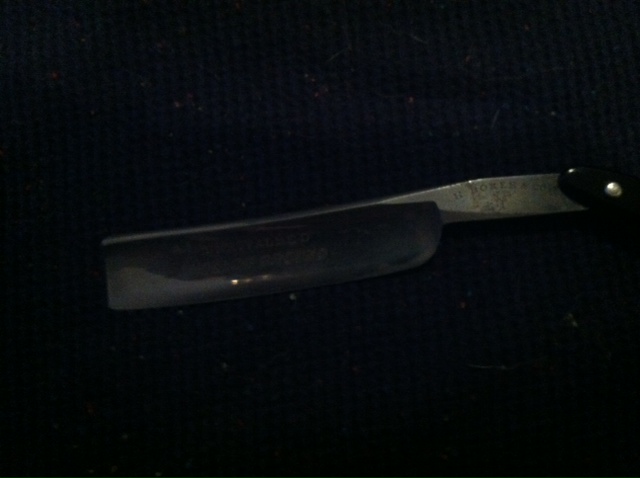
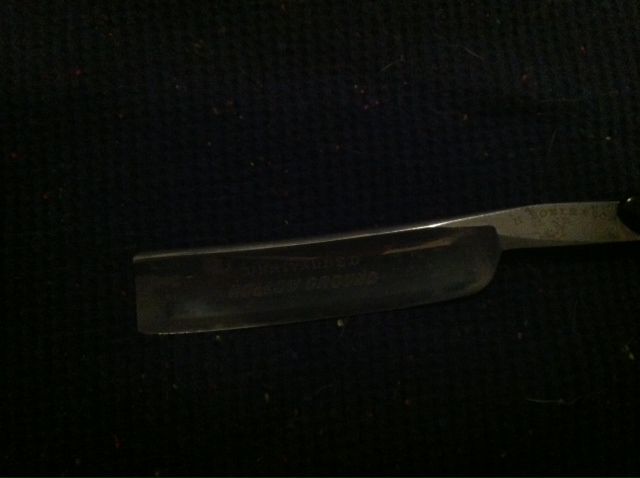
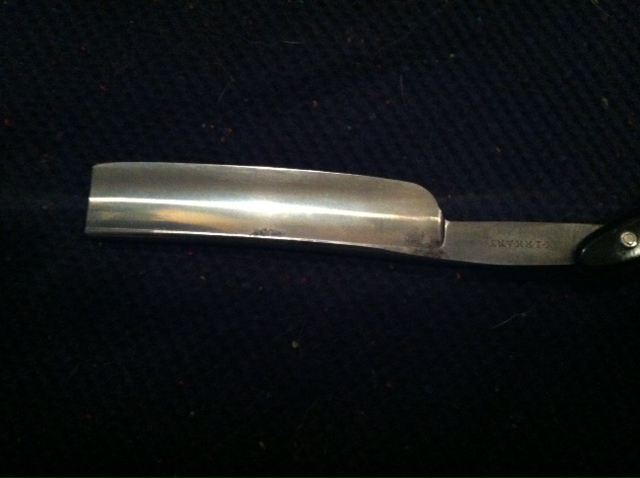
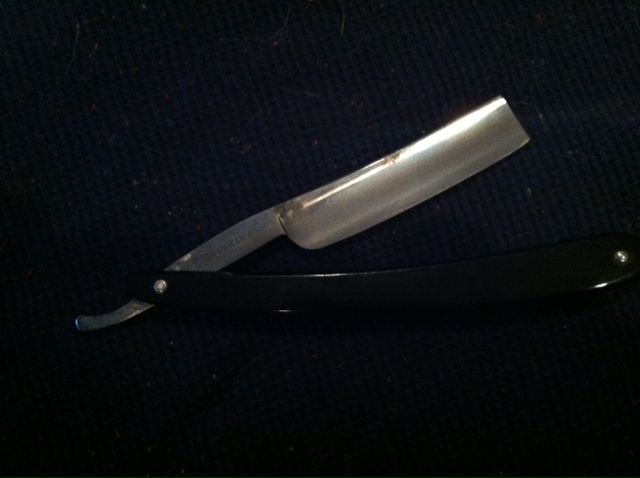
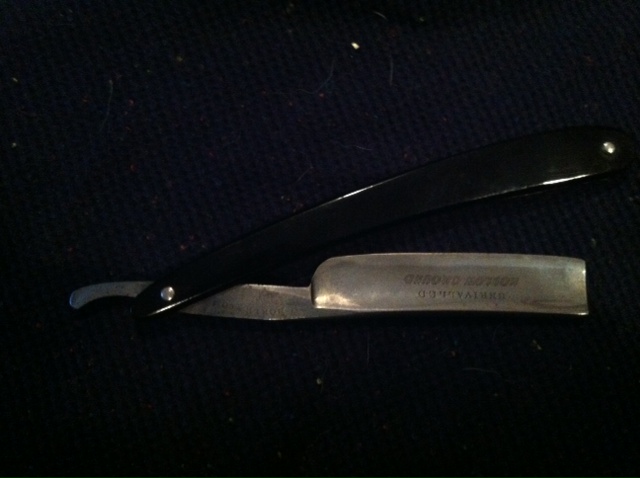
Any suggestions on where to start? It is in nice shape alreadyI am very appreciative of all the knowledge and sharing each and everyone has provided me with. Look forward to future endeavors with many of you.
Gonzo
-
12-27-2013, 01:31 PM #3Senior Member


- Join Date
- Jun 2013
- Location
- archbold ohio
- Posts
- 2,378
Thanked: 546
looks like a nice and fairly easy razor to start with. might have some trouble with the dark rust spot on the spine ( those often leave pits) but it doesn't effect the edge. you probable can bring it back to shine with some metal polish like Mothers. my first restoration razors are a lot more pitted than that. you'll gain experience in knowing what razors to buy and which to pass on.
-
The Following User Says Thank You to tintin For This Useful Post:
Gonzo4str8rzrs (12-27-2013)
-
12-27-2013, 02:21 PM #4Senior Member


- Join Date
- Feb 2013
- Location
- Haida Gwaii, British Columbia, Canada
- Posts
- 14,443
Thanked: 4828
I have a very simple set up. I have progressive grits of wet dry from 220 to 2000. I cut the w/d in strips and use an old wine cork as a sanding block. I rarely go below 400. After I get all the pitting out I progress through the grits and wet sand with wd-40. Once I get to 2000 I switch to polish and super fine synthetic steel wool and then just polish. Your razor doesn't look to be in that bad of shape and you can likely go with 1000 on the rust and then move on through. Sanding scratches can take a long time to get out so try to use the highest grit you can for the job. Sometimes you see something in a higher grit that you missed in the lower and have to back up in order to go ahead. It can be a Zenist activity, enjoy!
Raol and Gonzo4str8rzrs like this.It's not what you know, it's who you take fishing!
-
The Following User Says Thank You to RezDog For This Useful Post:
Gonzo4str8rzrs (12-27-2013)
-
12-27-2013, 04:01 PM #5
Hand sand with wet dry below 1000 grit. How far down (800,600,400,220) depends on what you are dealing with.I rarely go below 600. Those pits at the spine won't come out with removing alot of metal. Spot removal will leave the blade wavy. I would rather leave the pits. So I go for a grit that will remove most of what can be removed without changing the shape or grind of the blade. Then move to my cork drum for 1000, 1500, 2000, 3000. Then polish first with Mother's mag, then a quick pass or two on the buffer with White. If I am going for a satin finish, stop at 1000 and then go to the Polishes.
I just finished up a Boker last night. Shaved real nice.
Yours is a nice looking blade.
Check out my past threads, and those of a few others that gave tips here. We all have previous posts with alot of info.
-
The Following User Says Thank You to souschefdude For This Useful Post:
Gonzo4str8rzrs (12-27-2013)
-
12-27-2013, 04:05 PM #6Member
- Join Date
- Dec 2013
- Posts
- 68
Thanked: 23
Do you have any tools yet? Things like a buffer, belt sander, and rotary tool are helpful but not necessary. If no tools I think the hand sanding info posted above is a good place to start.
-
12-27-2013, 04:21 PM #7
Agreed Mr. JMJones, my first 5 razors were restored without power tools.
-
12-27-2013, 04:23 PM #8
Words of caution. Disinfect the blade before you start sanding. Tone down the edge on a piece of SP too. If you use a dremel, remember to always keep the rotation from the spine to the edge. Work over a carpeted or padded area.
-
12-27-2013, 04:47 PM #9At this point in time...


- Join Date
- Jun 2007
- Location
- North Idaho Redoubt
- Posts
- 27,052
- Blog Entries
- 1
Thanked: 13249
http://straightrazorpalace.com/works...wers-here.html
Everything there is to know about Restore but were afraid to ask .. Chevhead and Gonzo4str8rzrs like this.
-
The Following User Says Thank You to gssixgun For This Useful Post:
Gonzo4str8rzrs (12-27-2013)


 Reply With Quote