Lordy, lordy....
This!
Attachment 304452
Printable View
Lordy, lordy....
This!
Attachment 304452
Oh Yea, that would work; Damn it was such fun playing with it. Oh Well----Quote:
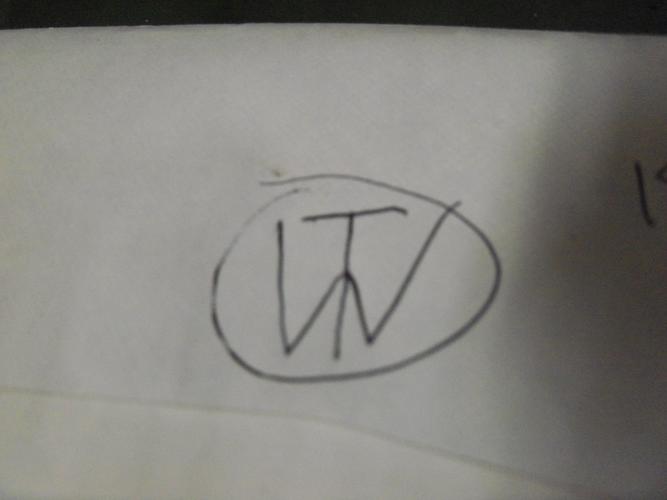
Originally Posted by sharptonn
My great grandfather's brand was the 'Diamond D'--
Attachment 304454
Attachment 304453
Looks good.Quote:
Originally Posted by sharptonn
As long as we are off on this tangent, here is mine.
Attachment 304456
You mean inverted? Upside down works too lol.Quote:
Originally Posted by 32t
I was wondering how to in cowboy slang.Quote:
Originally Posted by JP5
https://co.garfield.wa.us/museum/reading-brand
Like a teeth whitening chart.
Attachment 304480
Still have a lot of material to remove to get to a point where I can start closing in on the size I need. Rough sanded with 60grit w/d, and as I get closer to size I need I will go up in grits. I also still have to crown the top to match the bolsters, again creeping in on the curve so I get a good fit on the bolsters. As far as removing them, it was pretty straight forward. Just clipped the ends off then put them in a glass with acetone. Going to very carefully polish the insides of the bolsters, as the scales are clear you will see the gunk through the scales I would think
Attachment 304484
Once I get them to size I need, lots of sanding through the grits prolly to 2000k or 2500k then polish to get a good clear, perfect finish. Then going to gently attach the bolsters. Thinking this should turn out decent.
-Laramie-
These bolster transplants are always interesting to see. A lot of care for them to turn out right.Quote:
Originally Posted by yondermountain91
If you find you want to go finer on the finish you can buy a set of small micromesh pads that go up to REALLY high grits.
Look forward to seeing this progress. Please take PLENTY of pictures. Maybe even start a WIP thread to document everything.
An inexpensive Contour Gage, ($5) will greatly save a lot of trial and error fitting in the early rough shaping stage.
Measure the contours from the inside of the bolster and the old scales, go slow in shaping, it is a tapered compound curve. Use your pin hole and back edge as reference points, those points will not change.
A dollar store, thin snap blade razor knife, used as a scraper can be easier and quicker removing material at targeted spots, as well as making sanding sticks from Coffee Stir &, Popsicle sticks, Tongue Depressors and Wood Paint stir stick in various grits.
You can buy replacement blades for a buck a pack or re-sharpened on a stone, or small paddle strop to keep a fine edge capable of removing thin shavings.
Once shaped, polishing goes quickly, just dont make deep scratches, once rough shaped, 400 & 600 finish shape quickly, 60 is aggressive and can make more work for you in the end and alter finished shape trying to remove.
Plastic and Celluloid polish easily from 1 and 2k.
Attachment 304507
Attachment 304508
I switch up to like 220 before I get anywhere close to the final shape to avoid making them too small. Thanks for the reply mang going to start a new thread when I get around to organizing all the pictures. Just to keep everything in one place.