Results 1 to 10 of 21
Thread: I made a light box.
-
02-21-2014, 10:37 PM #1
I made a light box.
I've been meaning to make one for a while now and a few days ago I decided to actually do it.
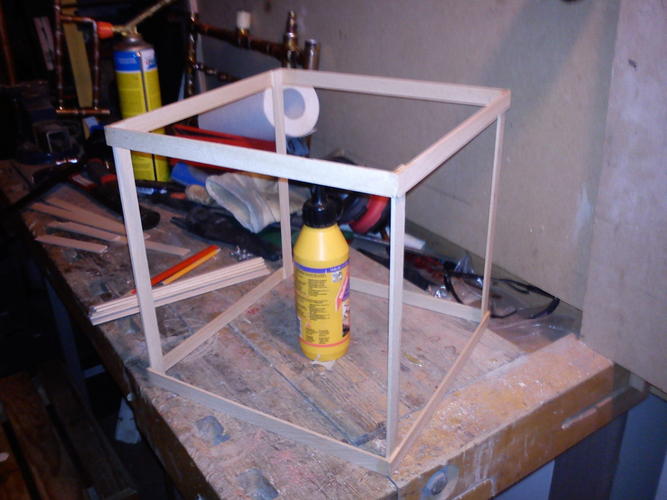
Frame
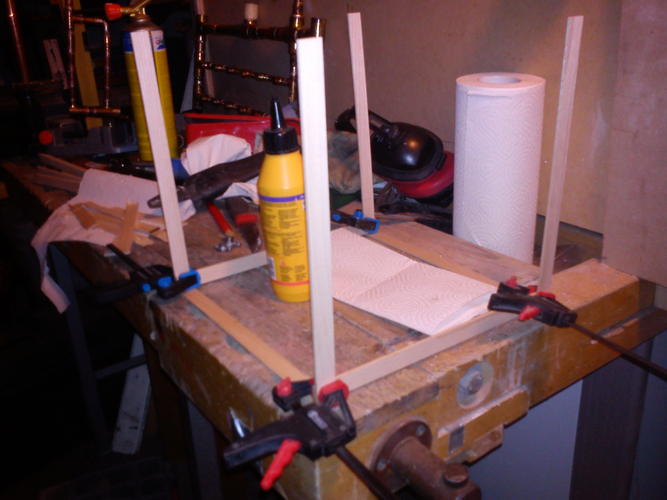
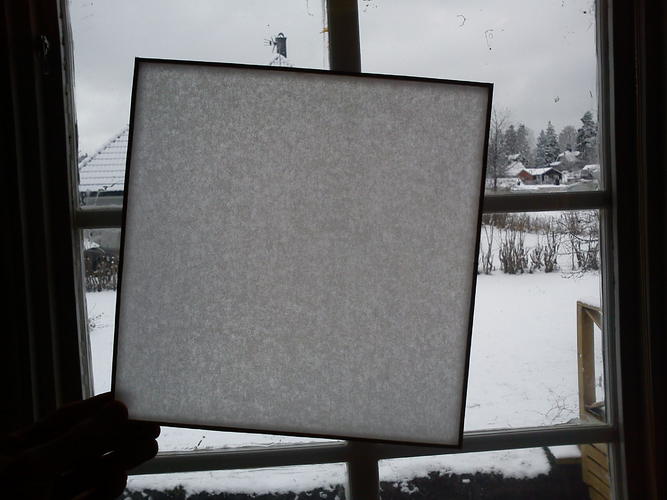
Front before I cut the camera hole in it
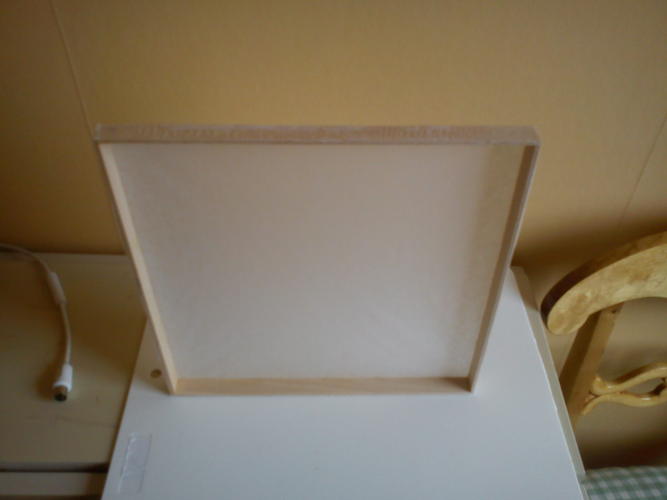
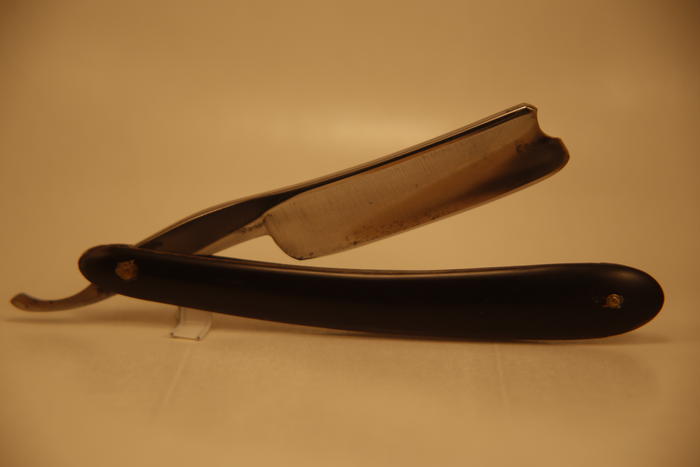
I used white baking paper and I think it works pretty well.
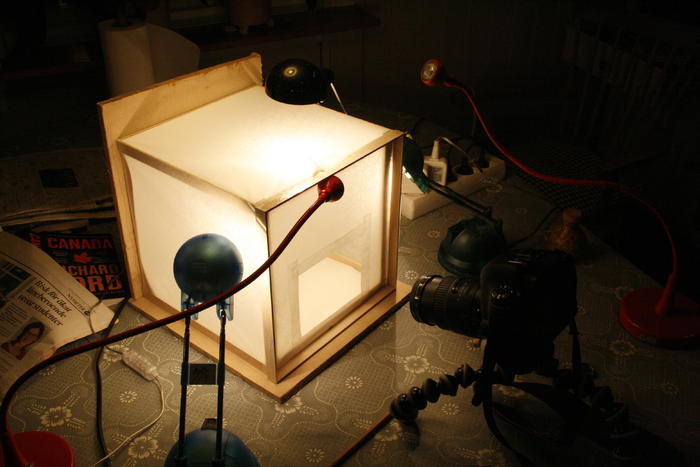
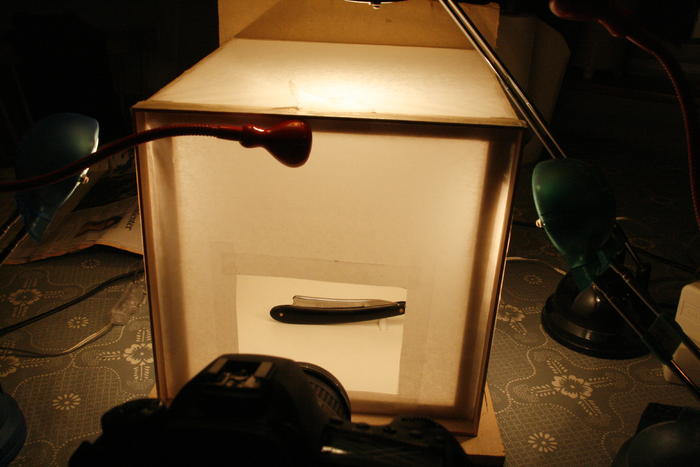
Finished box with lights
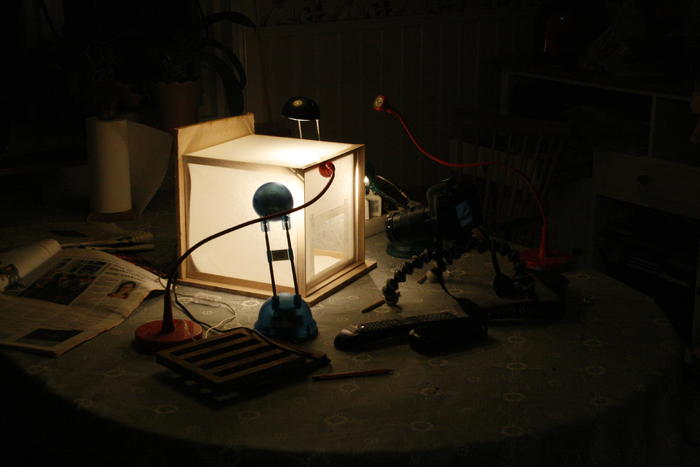
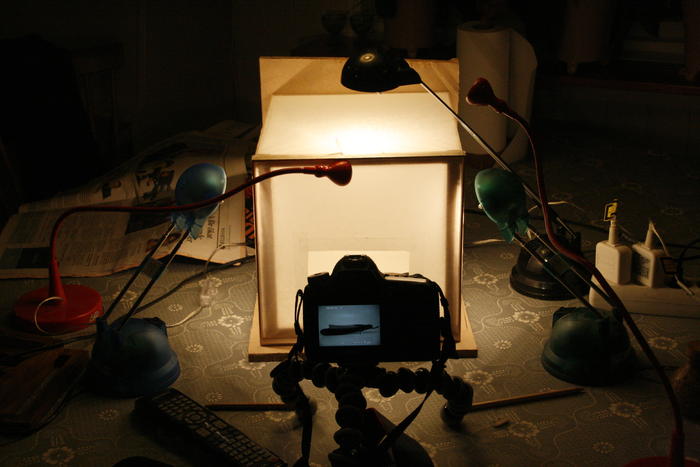
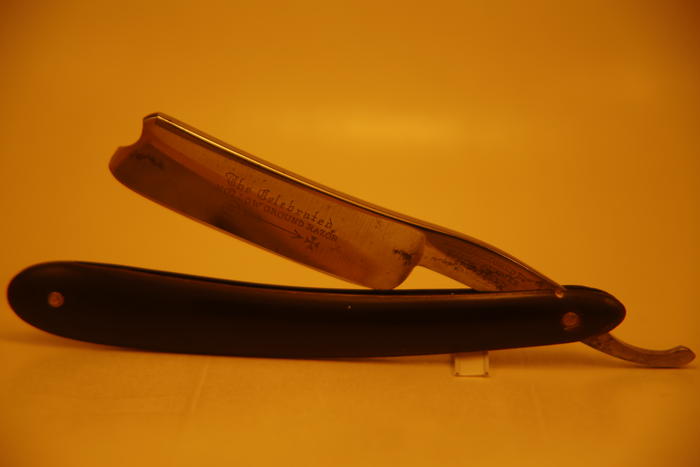
I experimented with using the skinny red lamps from the front for a couple of the photos and I'm not sure if I think they were an improvement.
Without red lamps
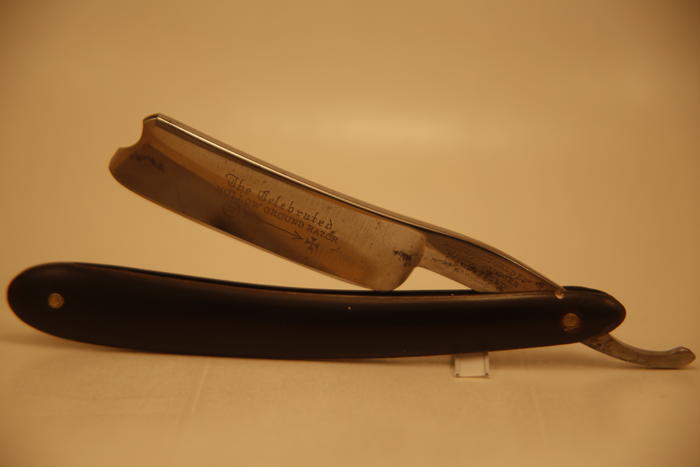
With red lamps
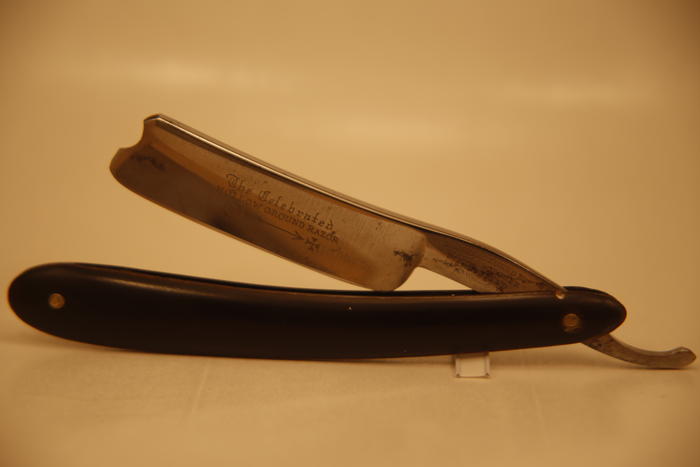
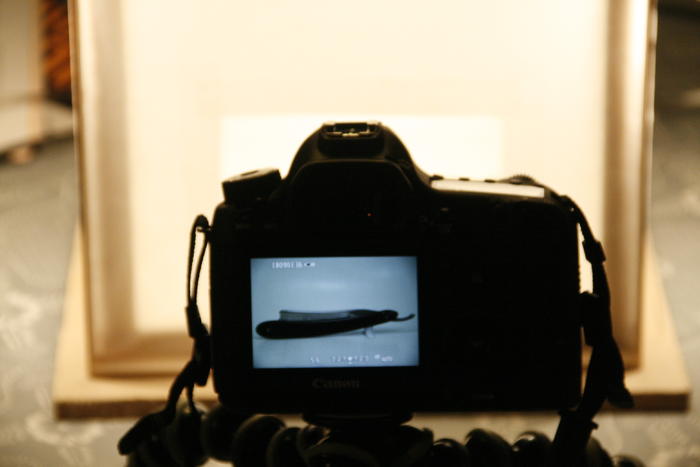
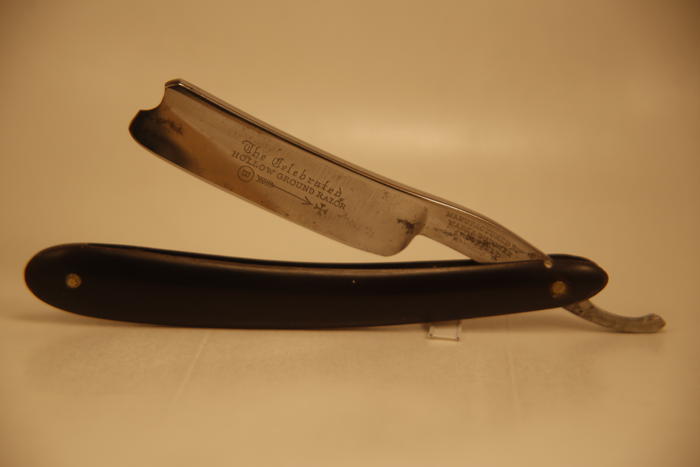
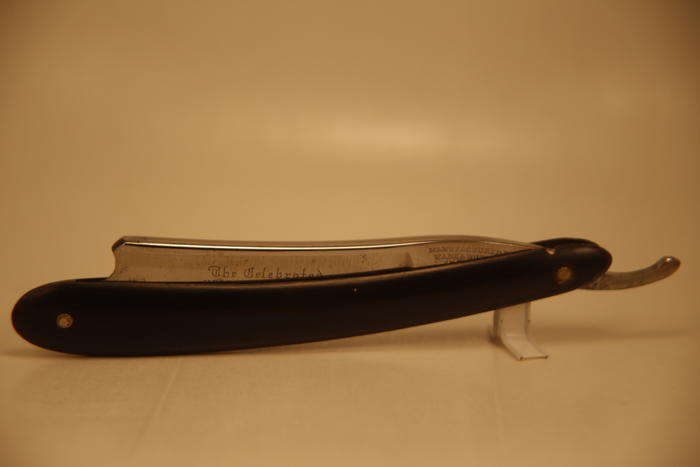
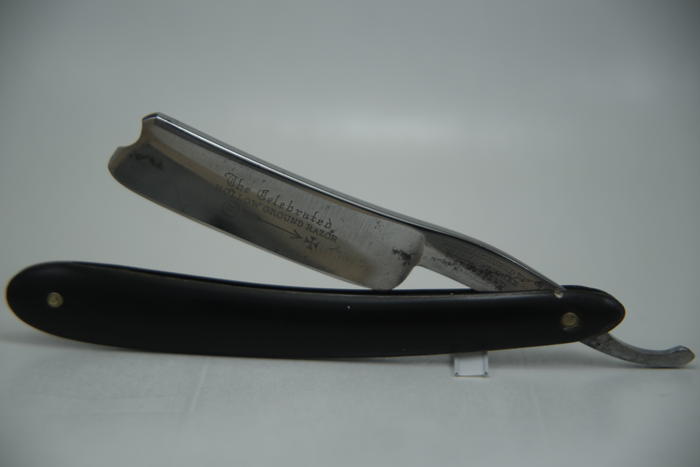
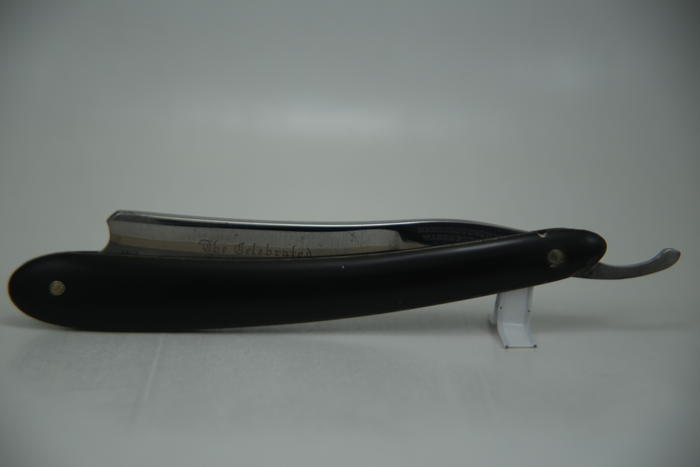
The rest of the pictures, taken with different white balance settings
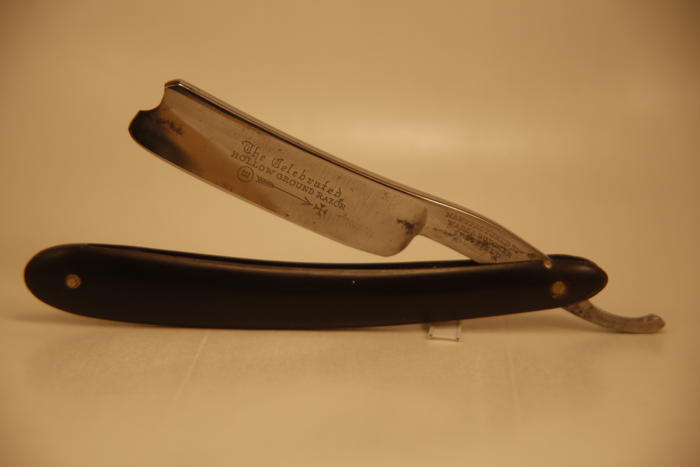
I think the pictures turned out pretty good(at least by my standards) but with some tinkering I think they can get even better.
-
-
02-21-2014, 10:49 PM #2
Cool! That was interesting...IMO, the bottom two pics are the best, maybe a bit brighter lighting...but very nice! Thanks for this
-
The Following User Says Thank You to Phrank For This Useful Post:
Baxxer (02-21-2014)
-
02-21-2014, 10:57 PM #3
Nice!
It's pretty easy, and does a lot to the pics
I got some Halogen lamps with clamps from Clas Ohlson for mine, gets even better with the same lightning all around.
If you can set manual white balance on hour camera I'd look into that.Need help or tutoring? Check out the .
Rune
-
The Following User Says Thank You to Zephyr For This Useful Post:
Baxxer (02-21-2014)
-
02-21-2014, 11:18 PM #4
The first 6 pictures have the white balance set automatically, the "Orange" picture has the white balance set to the highest setting and the last two have the white balance set to 2500 I think.
I'm not very experienced when it comes to photography so this is all very new to me, luckily, my father is very into cameras and photography(I used his cameras to take the pictures) so I get a lot of tips on what settings and optics to use from him.
The lamps are just what I had lying around, I'll look into halogen lamps.
-
02-21-2014, 11:37 PM #5
Cools, i was thinking about looking up light-box ideas/design on the way home today.
Boom,
there it is!
---
Camera/camera apps: you might play with the "f-stop" settings too. Lower numbers, longer "exposure", better detail but camera must be steady.
And now that most bulbs are rated in Kelvin temps for colors, you can play with that as well. 2700k is the "warm" light end and 6500 is "daylight" bluer color. 5000k strikes a good balance, and is becoming more available. I often "mix" the 2700 and 6500 for work area illumination.
You might try the "y" sockets such that you can double up on bulbs (low-wattage stuff like CFL and LED) and work on colors/intensity. I do this with clamp-on utility lights (reflector removed).Last edited by WadePatton; 02-21-2014 at 11:47 PM.
Buttery Goodness is the Grail
-
-
02-22-2014, 02:11 PM #6
I forgot to mention, these things made the whole project a lot easier, I just wish I had found out that I had three more of them before I was almost done.
-
02-22-2014, 03:32 PM #7
I figger sticking paper to the sides of an unused aquarium would be a quick easy. Or (careful folks he's had zero coffee) I just conceived of this: cutting windows into a box, then papering up the box-internally or externally, add lights.
oh, lookie that USPS box is white even..
okay i'll grind some beansButtery Goodness is the Grail
-
02-22-2014, 04:34 PM #8
-
02-22-2014, 05:34 PM #9
gotta seize the lucid moments!
Buttery Goodness is the Grail
-
02-23-2014, 01:57 PM #10
Took some more pictures, this time I had the side lights moved to the front, a longer shutter time and a few other settings tweaked.
Showing off my bread tie razor stand:
-
The Following User Says Thank You to Baxxer For This Useful Post:
Geezer (02-27-2014)