
Results 1 to 10 of 25
 18Likes
 LinkBack URL
 About LinkBacks
Hybrid View
-
03-11-2014, 06:32 AM #1Member

- Join Date
- Feb 2014
- Location
- Villa Park, Ca
- Posts
- 37
Thanked: 0
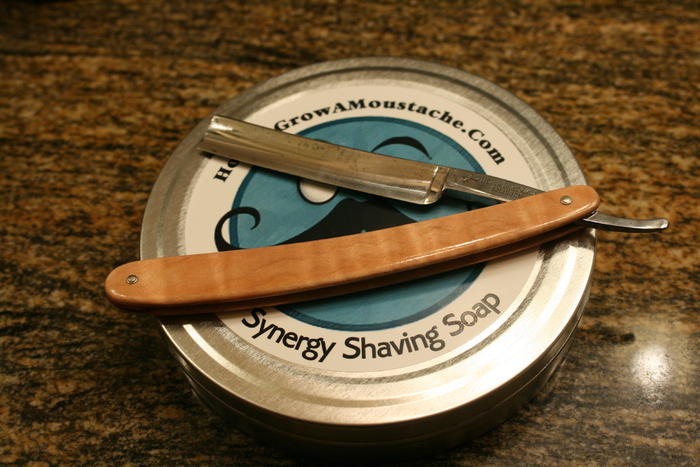
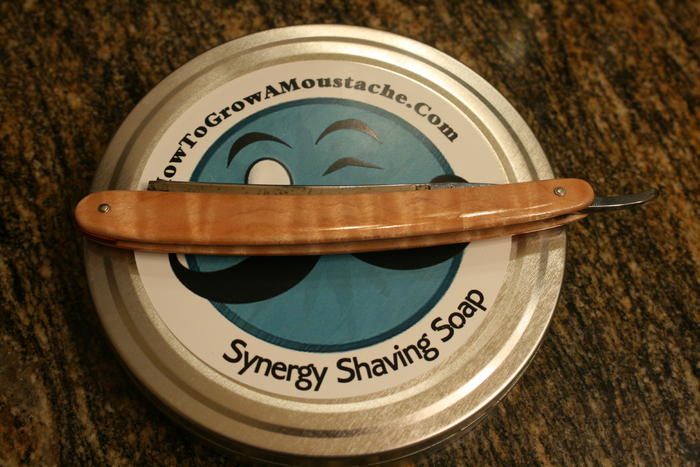
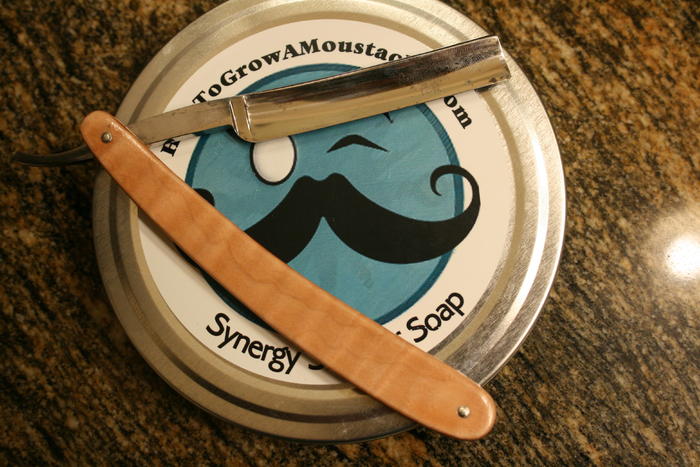
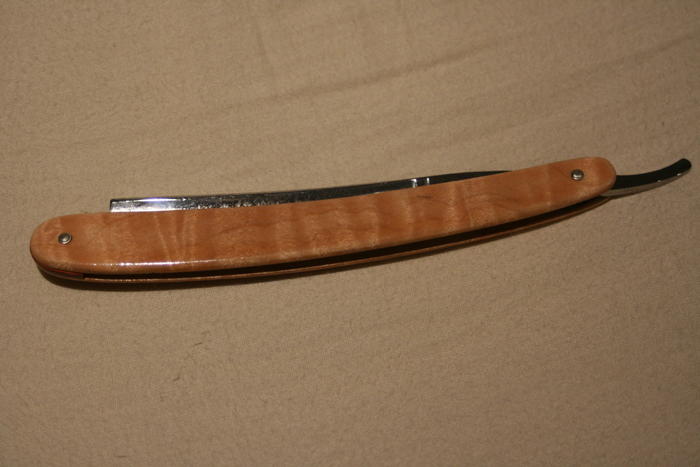
Added HQ photos!

Last edited by rvrboy17; 03-11-2014 at 06:44 AM.
Hart likes this.
-
03-11-2014, 11:43 AM #2Junior Member
- Join Date
- Feb 2014
- Location
- Georgia
- Posts
- 7
Thanked: 1
The razor looks good. I am getting inspired to start restoring some razors.
rvrboy17 likes this.
-
03-11-2014, 04:04 PM #3Member
- Join Date
- Feb 2014
- Location
- Villa Park, Ca
- Posts
- 37
Thanked: 0
It was a challenging, but a very rewarding project. If you have an older one, or one you find on ebay, that you dont mind experimenting with, Id say go for it! Originally Posted by wikedeye

-
03-11-2014, 05:57 PM #4Senior Member
- Join Date
- Jul 2013
- Location
- Shreve, Ohio
- Posts
- 229
Thanked: 68
I wouldn't consider myself a pro by any means I just began making razors last year so take what I'm about to say and do with it what you will, and I'm sure if it's a terrible idea one of the more experienced guys will correct me.
When I'm putting the razor together for the final time I like using a little bit of super glue or something similar on both sides of the wedge (with the pin in of course) and clamping it tight. Then once it sets peen the pin it really helps get that super tight fit along the wedge. Then pinning the actual blade in last.
-
03-11-2014, 06:16 PM #5Senior Member

- Join Date
- Jan 2011
- Location
- Roseville,Kali
- Posts
- 10,432
Thanked: 2027
I do the same it works well for me,Dorko used to glue wedges as well. Originally Posted by wynndow
CAUTION
Dangerous within 1 Mile
-
03-11-2014, 07:13 PM #6Member
- Join Date
- Feb 2014
- Location
- Villa Park, Ca
- Posts
- 37
Thanked: 0
Originally Posted by wynndow
I glued the spacer with wood glue to one side of the scales so it would stay flush after sanding. I'll make sure to do the same with the wedges! Originally Posted by pixelfixed
gssixgun likes this.
-
03-11-2014, 07:19 PM #7At this point in time...


- Join Date
- Jun 2007
- Location
- North Idaho Redoubt
- Posts
- 26,987
- Blog Entries
- 1
Thanked: 13234
Originally Posted by rvrboy17
Good idea, that way you can still make adjustments if needed..
Most Vintage stuff is unglued
You find some that are one side glued
and a few that are both side glued


 Reply With Quote