Results 1 to 9 of 9
Like Tree5Likes
  • 3 Post By meleii
  • 2 Post By sharptonn

Thread: First set of epoxy coated scales (wip)

  1. #1
    Senior Member meleii's Avatar
    Join Date
    Feb 2013
    Location
    McAdoo, PA
    Posts
    370
    Thanked: 57

    Default First set of epoxy coated scales (wip)

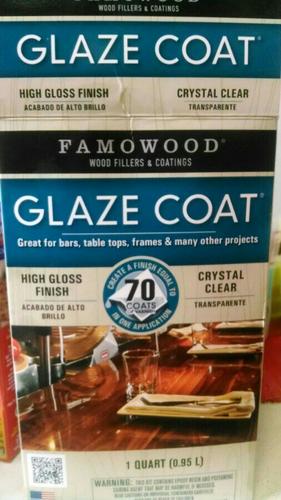
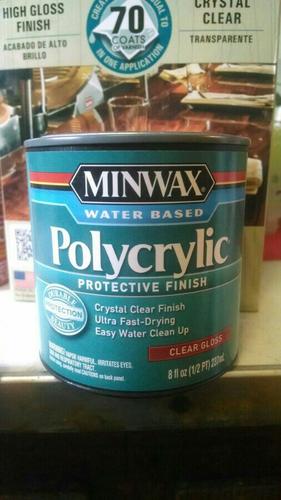
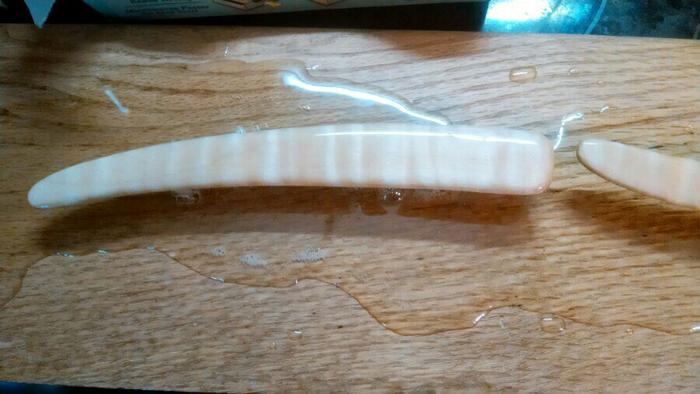
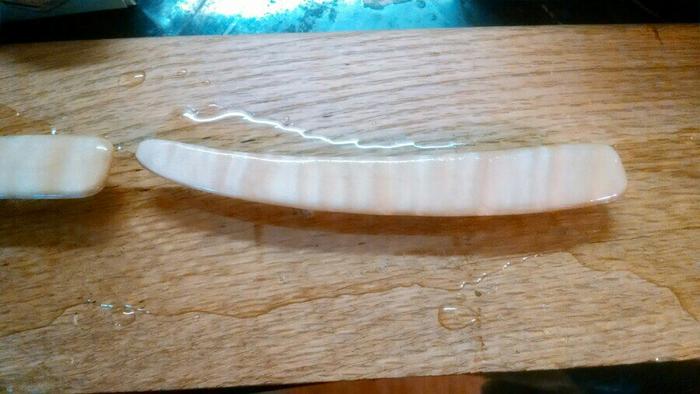
    I started my first set of epoxy coated scales Sunday. They are still curing but I really like how they are coming along. They're made from quilted maple with a bar top epoxy. I have a little sanding to do to even out the finish and will apply polycrylic as the final finish.
    Name:  uploadfromtaptalk1396974202437.jpg
Views: 179
Size:  39.0 KBName:  uploadfromtaptalk1396974218549.jpg
Views: 168
Size:  39.9 KB

    Name:  uploadfromtaptalk1396974139477.jpg
Views: 154
Size:  29.4 KBName:  uploadfromtaptalk1396974165625.jpg
Views: 159
Size:  25.4 KB

    As always any tips and critique are welcome.

  2. #2
    Razor Vulture sharptonn's Avatar
    Join Date
    Oct 2010
    Location
    Lone Star State
    Posts
    26,114
    Thanked: 8612

    Default

    Looks good! I only did it once. Used the same product. Whatta mess! I did not have much luck sanding the bartop stuff. Curious, why the top coat?
    "Don't be stubborn. You are missing out."
    I rest my case.

  3. #3
    Senior Member meleii's Avatar
    Join Date
    Feb 2013
    Location
    McAdoo, PA
    Posts
    370
    Thanked: 57

    Default

    There are a few bubbles that didn't raise properly and I will have to remove a bit of material. They extra coat is so bring the smoothness and high gloss back more easily.

  4. #4
    Razor Vulture sharptonn's Avatar
    Join Date
    Oct 2010
    Location
    Lone Star State
    Posts
    26,114
    Thanked: 8612

    Default

    Quote Originally Posted by meleii View Post
    There are a few bubbles that didn't raise properly and I will have to remove a bit of material. They extra coat is so bring the smoothness and high gloss back more easily.
    Gotcha. I had heard of using a heat gun to get the bubbles out before curing. I messed mine up trying to sand and polish. Just layered some more bartop on it!
    Attached Images Attached Images  
    Last edited by sharptonn; 04-08-2014 at 06:31 PM.
    Chevhead and Substance like this.
    "Don't be stubborn. You are missing out."
    I rest my case.

  5. #5
    Senior Member meleii's Avatar
    Join Date
    Feb 2013
    Location
    McAdoo, PA
    Posts
    370
    Thanked: 57

    Default

    Tomorrow I can start the cleanup process, grinding the drips and sealing the inside. Then start the sanding process and recoat. Hopefully they will be done by Friday.

  6. #6
    Senior Member blabbermouth
    Join Date
    Nov 2010
    Location
    Pequea, Pennsylvania
    Posts
    2,290
    Thanked: 375

    Default

    Looks good, I really like the quilted maple!
    CHRIS

  7. #7
    Senior Member blabbermouth Chevhead's Avatar
    Join Date
    Feb 2013
    Location
    Upstate, New York
    Posts
    2,751
    Thanked: 708
    Blog Entries
    4

    Default

    Nice looking scales.

    Where are the holes for the blade and wedge though?

    I find it MUCH easier to get everything lined up and STRAIGHT if I do the holes FIRST!
    Trying to drill on a rounded or finished top coat could be much harder to get straight... JMO

  8. #8
    Razor Vulture sharptonn's Avatar
    Join Date
    Oct 2010
    Location
    Lone Star State
    Posts
    26,114
    Thanked: 8612

    Default

    Quote Originally Posted by Chevhead View Post
    Nice looking scales.

    Where are the holes for the blade and wedge though?

    I find it MUCH easier to get everything lined up and STRAIGHT if I do the holes FIRST!
    Trying to drill on a rounded or finished top coat could be much harder to get straight... JMO
    Too late for that! I DO like to use reinforced collars so the peens don't sink into the clear!
    "Don't be stubborn. You are missing out."
    I rest my case.

  9. #9
    Senior Member meleii's Avatar
    Join Date
    Feb 2013
    Location
    McAdoo, PA
    Posts
    370
    Thanked: 57

    Default

    I tend to wait to drill the holes until I'm near assembly. I them mock it up with a wooden tang I have because as with everything I do I may change my mind on the wedge material or position of the pivot pin based on weight and balance.

    The reinforced washers are a great idea I would have overlooked.

    I am still undecided on the wedge. Either faux ivory, black g10 or a layered brass and blue g10. That will all depend on how I feel when I go to fit everything up.

Posting Permissions

  • You may not post new threads
  • You may not post replies
  • You may not post attachments
  • You may not edit your posts
  •