Results 1 to 10 of 16
Thread: Buck Thorn log to scales.....
-
05-11-2014, 03:49 AM #1Hones & Honing


- Join Date
- May 2005
- Location
- Saint Paul, Minnesota, United States
- Posts
- 8,023
- Blog Entries
- 1
Thanked: 2209 Buck Thorn log to scales.....
Hey guys

One of our guys, Eastprussia (Matt)
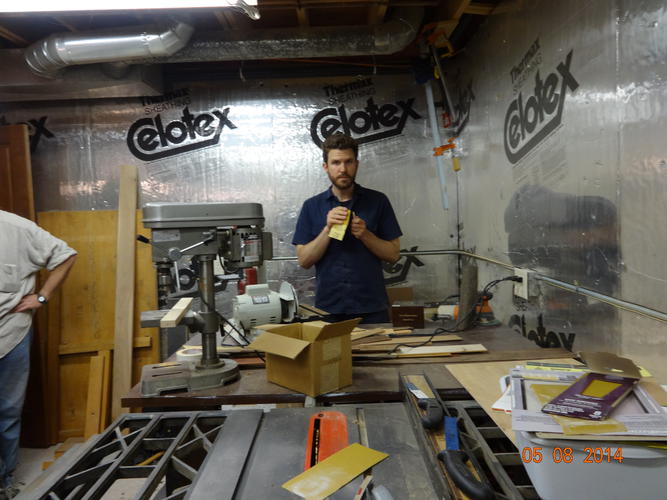
gave me a call the other day and said he wanted to make some scales for a razor from some buckthorn wood he had saved and could I help him with that?
Well, I remembered that another of our Minnesota guys Padre O'Brien
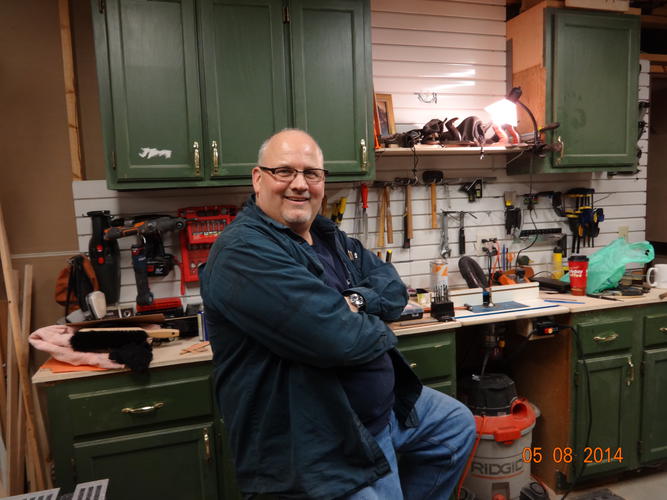
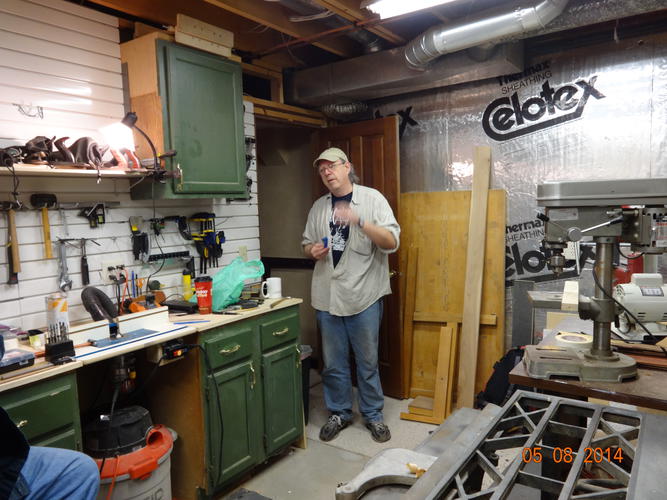
had a woodworking hobby shop. So I put them together and last Thursday evening we all got together at his workshop plus Rod Bell joined us as he was providing the razor.
Matt brought the buckthorn log and this is what it looked like when we started......
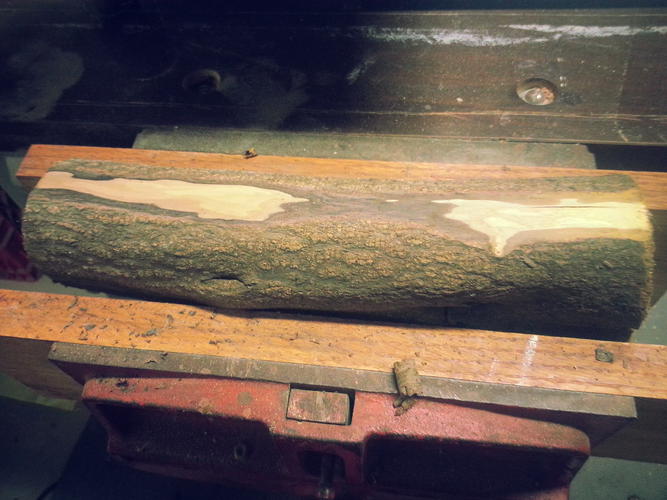
It is about 2.5" in diameter.Randolph Tuttle, a SRP Mentor for residents of Minnesota & western Wisconsin
-
-
05-11-2014, 03:56 AM #2Hones & Honing


- Join Date
- May 2005
- Location
- Saint Paul, Minnesota, United States
- Posts
- 8,023
- Blog Entries
- 1
Thanked: 2209
We discussed how to proceed, bandsaw or table saw. We settled on using the table saw to slab off the log.
Here are some of the results.
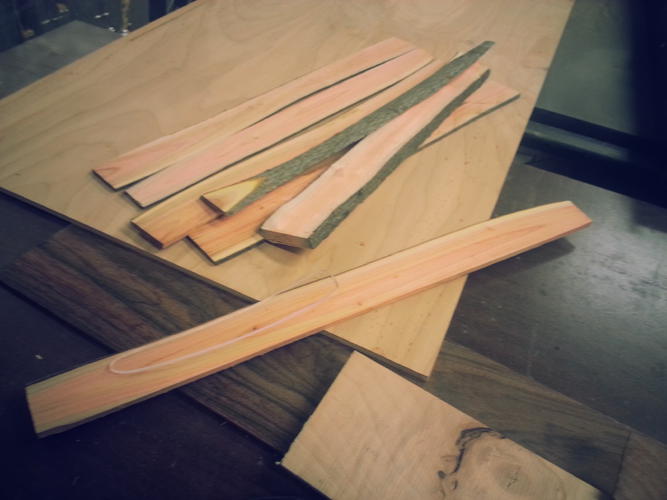
Padre cut them a bit thick thinking that they could be sanded down to the proper thickness. He was correct.
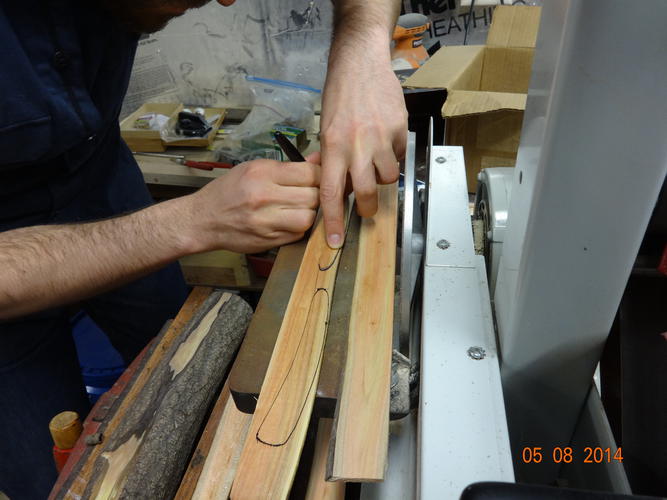
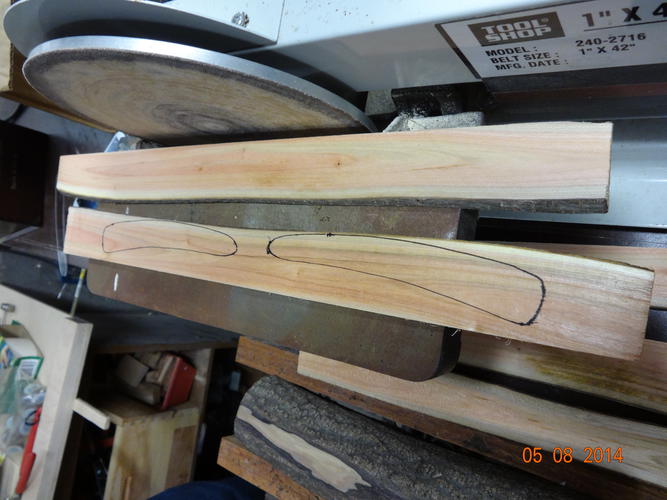
Then we used a scale from a 8/8 Wade & Butcher as a model and traced that onto a piece of clear plexiglass to use as a model. That worked well and allowed Matt to lay the plexi model on top of the slabs to select the grain portion he desired and then trace around the model.
The buckthorn wood has a lot of colors, orange and red. It will turn out very nice!
Last edited by randydance062449; 05-11-2014 at 04:11 AM.
Randolph Tuttle, a SRP Mentor for residents of Minnesota & western Wisconsin
-
05-11-2014, 04:02 AM #3Hones & Honing


- Join Date
- May 2005
- Location
- Saint Paul, Minnesota, United States
- Posts
- 8,023
- Blog Entries
- 1
Thanked: 2209
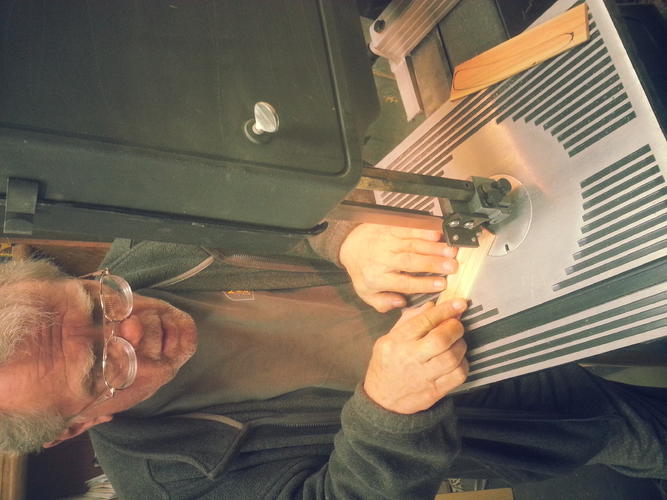
The next step was to cut them out on a bandsaw
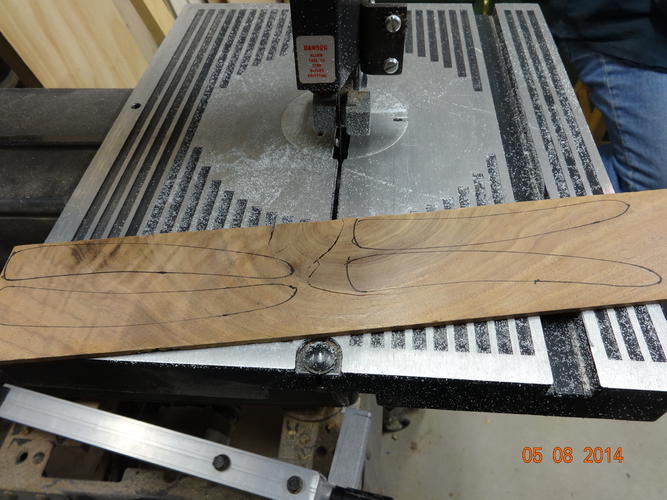
Sorry, that's a pic of the black walnut I was sawing out!
For the next step we took some double sided carpet tape, put it between the rough shaped scale pieces and "glued" them together. This was at my suggestion and it was not exactly a bright idea because it proved to be very difficult to get them separated ! next time I will use a lot less tape!Last edited by randydance062449; 05-11-2014 at 04:13 AM.
Randolph Tuttle, a SRP Mentor for residents of Minnesota & western Wisconsin
-
The Following User Says Thank You to randydance062449 For This Useful Post:
Chillbuds (05-13-2014)
-
05-11-2014, 04:04 AM #4Hones & Honing


- Join Date
- May 2005
- Location
- Saint Paul, Minnesota, United States
- Posts
- 8,023
- Blog Entries
- 1
Thanked: 2209
Shaping the scales was the next step and was done on the belt sander and drill press sanding drum.
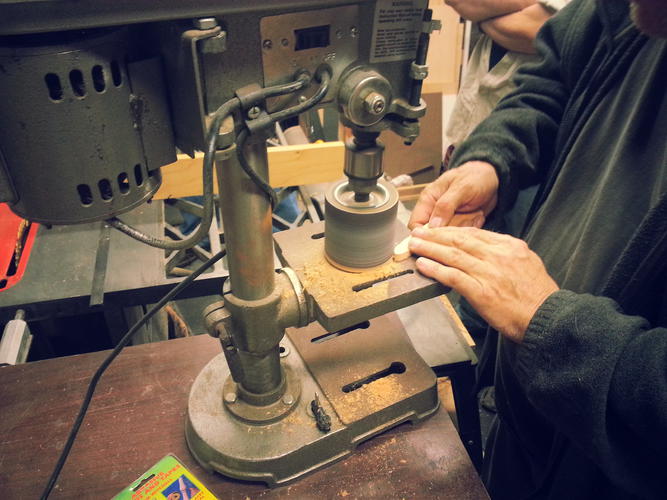
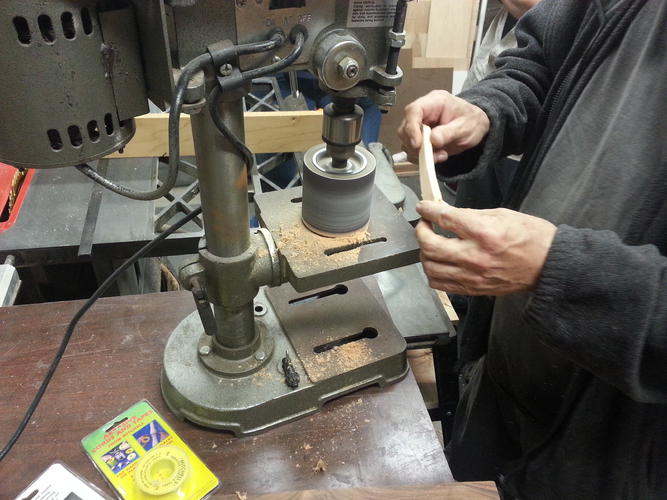
The next step was to lay the model scale on top of the work piece and mark the pivot pin and wedge pin location. Then drill the holes while both sides of the scale were still taped together.
Then Matt started sanding the edges of the scales to the shape he wanted.
It was almost time to go home so Matt, with a lot of patience, got the scales separated.
We will be getting together again this Monday nite to finish the project.
This is the kind of Get Together I like! I don't have to do all the talking!
More pics later........Last edited by randydance062449; 05-11-2014 at 04:18 AM.
Randolph Tuttle, a SRP Mentor for residents of Minnesota & western Wisconsin
-
The Following User Says Thank You to randydance062449 For This Useful Post:
carrolljc (06-10-2014)
-
05-11-2014, 04:12 AM #5Senior Member


- Join Date
- Apr 2008
- Location
- Saint Paul, Minnesota, United States
- Posts
- 2,944
Thanked: 433
That was a truly fun night seeing a log end up as scales. I can't wait to see the finished product
-
05-11-2014, 04:37 AM #6

Very cool project, Randy!
-
05-11-2014, 03:24 PM #7Senior Member

- Join Date
- Mar 2011
- Location
- Corcoran, Minnesota
- Posts
- 665
Thanked: 170
Hey, Randy - looks like you guys had a great time. Suggestion - check the scales for moisture content before final finishing. If the log was completely dried for several years, no problem, but if it was cut recently - some careful (really careful - remember my microwave fire story) microwaving to get the moisture content down to 13% or less. See you soon.
-
05-12-2014, 12:59 AM #8
-
05-13-2014, 03:50 AM #9Hones & Honing


- Join Date
- May 2005
- Location
- Saint Paul, Minnesota, United States
- Posts
- 8,023
- Blog Entries
- 1
Thanked: 2209
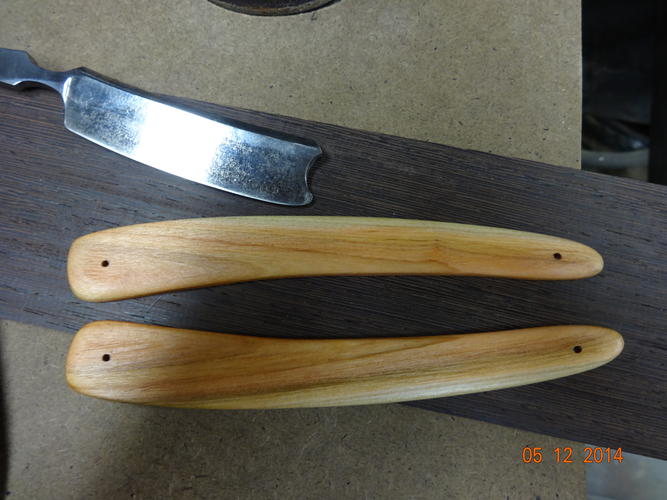
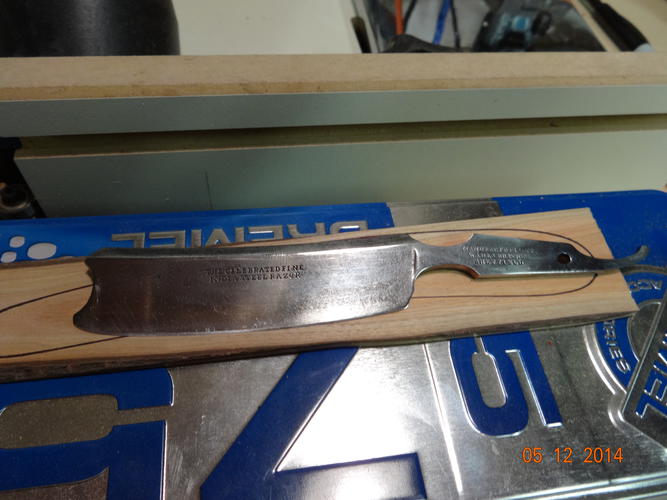
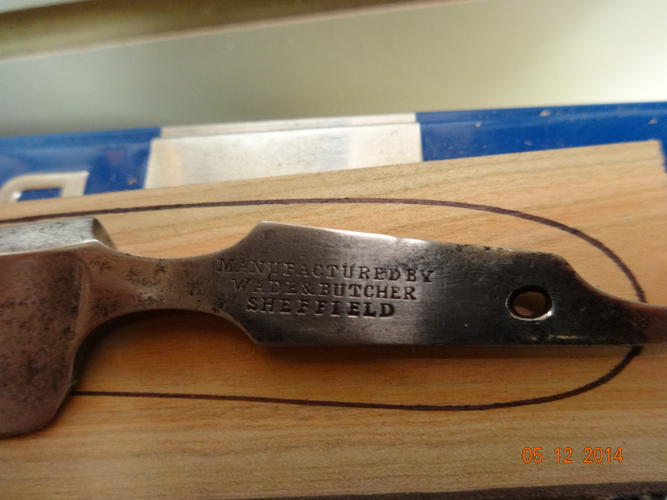
Tonite we got together again to continue working on new Buck Thorn wood scales for Matts Wade & Butcher
 Randolph Tuttle, a SRP Mentor for residents of Minnesota & western Wisconsin
-
05-13-2014, 03:57 AM #10Hones & Honing


- Join Date
- May 2005
- Location
- Saint Paul, Minnesota, United States
- Posts
- 8,023
- Blog Entries
- 1
Thanked: 2209
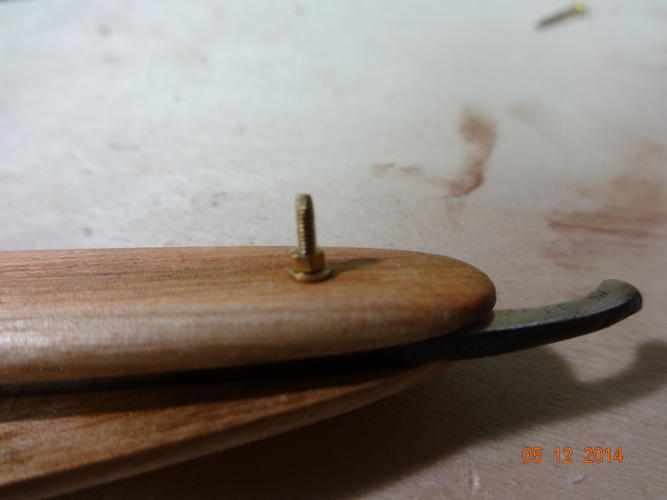
Tonite we made the wedge spacer from a dark wood so we had to mockup the razor & scales to get the proper placement for the wedge. We used a 0-80 threaded brass rod/washers/nut to hold the pivot pin end together.
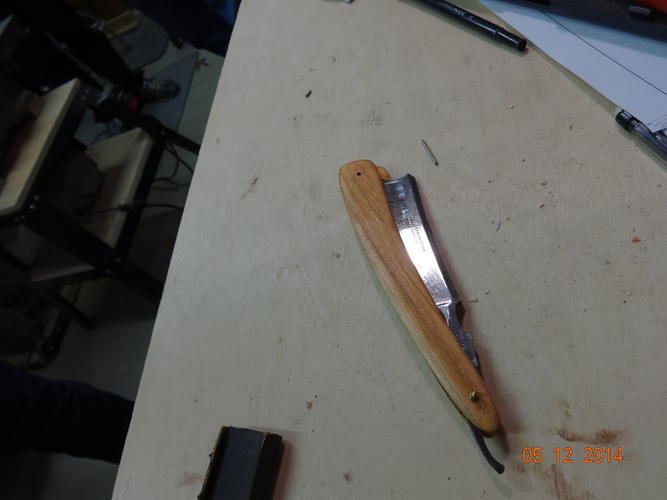
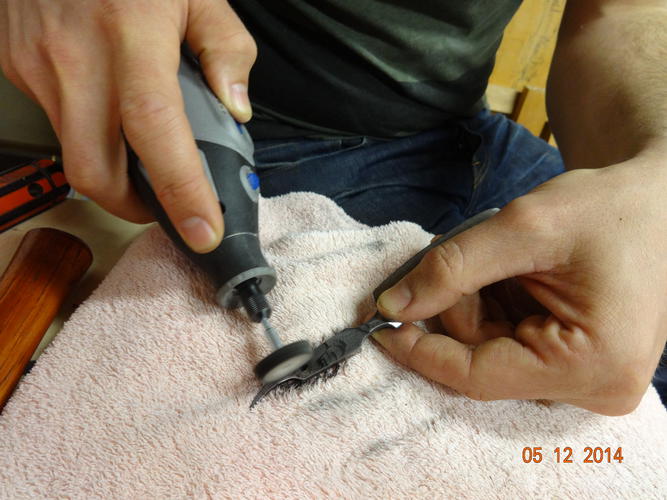
Sorry, but I did not take any pics of the wedge but we got the thickness correct, then measured for the placement of the wedge pin, drilled the wedge and glued it in place and clamped it til the glue dried. While the glue was drying matt used a Dremel with a sanding flap wheel. to clean up the tang and then buffed it.
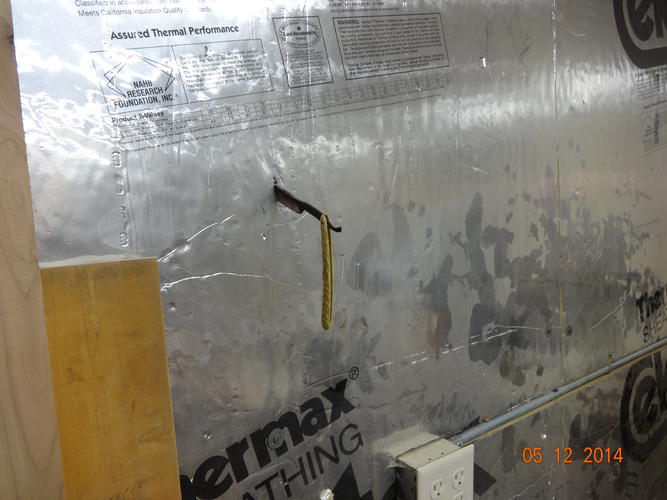
There was an accident along the way.....
 Randolph Tuttle, a SRP Mentor for residents of Minnesota & western Wisconsin


 52Likes
 LinkBack URL
 About LinkBacks


 Reply With Quote

