Results 1 to 10 of 17
Thread: Modifying a sanding jig
Hybrid View
-
05-28-2014, 04:51 PM #1
 Modifying a sanding jig
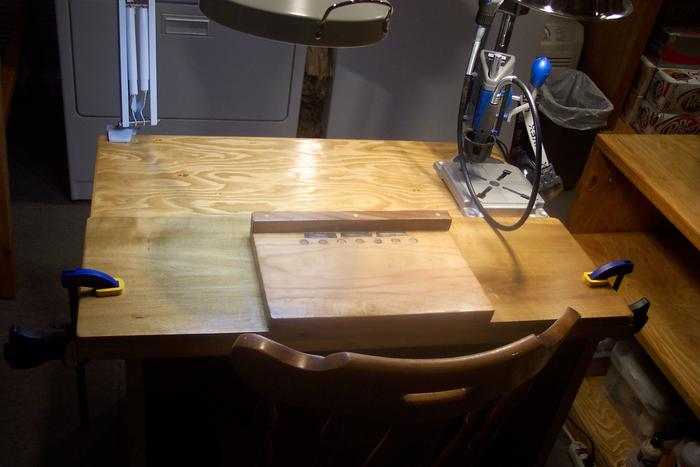
On another thread a few days ago, I posted pictures of a new work table with a sanding jig clamped to it. After working with the jig, I realized that it contained a basic design error. The backing piece, behind the embedded magnets, was too high. It was about an inch high, and it got in the way of my hands. I couldn't access the razor from the back. So I cut the backing strip way down, leaving it just about 1/8 high. Here's the original jig:
Here are a couple of shots of the modified jig.
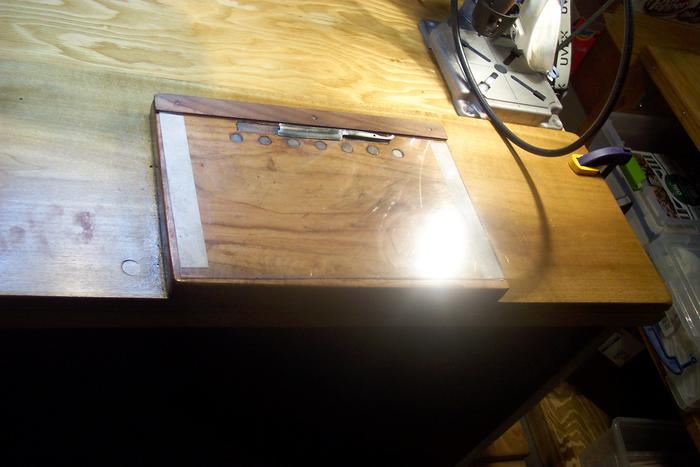
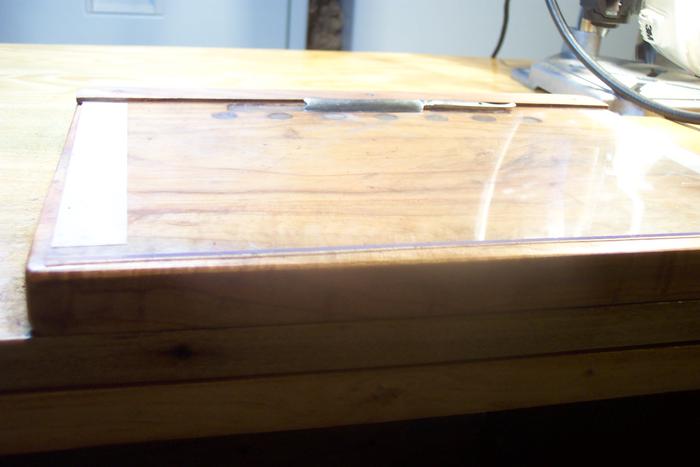
This works a lot better.
As you can see in the last two photos, I also cut a sheet of thin plexiglass to go over the whole jig surface. The plexiglass is held in place with double-sided tape. That gives a smooth surface to work on, so the razor doesn't snag on the magnets. The magnets (rare earth) are strong enough to hold a razor firmly in place on top of the plexiglass.
Following someone else's model, I originally used self-adhesive felt on top of the magnets, but I use WD 40 while sanding, and the felt got funky fast. The plexiglass cleans easily. Also, I like being able to see the magnets while positioning the razor.
JoeLast edited by carrolljc; 05-28-2014 at 05:14 PM.
-
The Following User Says Thank You to carrolljc For This Useful Post:
silverloaf (05-30-2014)
-
05-28-2014, 07:30 PM #2

Genius. Gonna. Get me one of those!!! Well make one :-)
Using Tapatalk
-
05-28-2014, 08:59 PM #3Senior Member


- Join Date
- Apr 2012
- Location
- Diamond Bar, CA
- Posts
- 6,553
Thanked: 3215
Years ago I made as similar one from pine, but smaller and glued a Popsicle stick on one side to hold the edge.
It was still too easy to cut your self.
So I switched to a 3X12 in piece of 4mm foam. I too use WD40 and the whole strip can be cleaned in the sink with simple green or any spray degreaser. When it gets to funky toss it and cut another strip. A 9X12 in pad of 4mm foam is around a dollar.
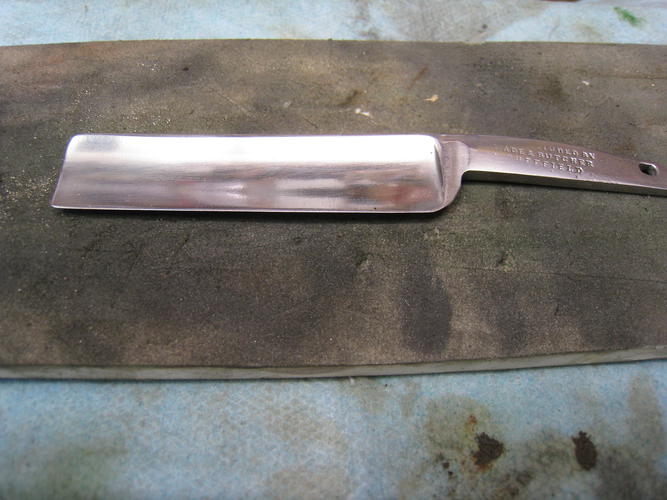
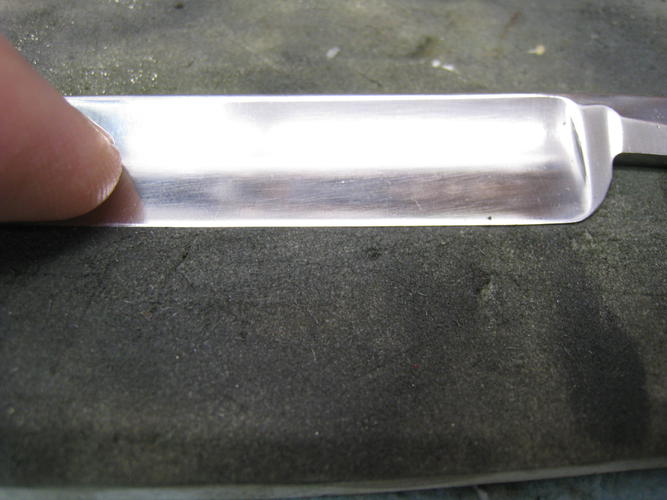
Pressing down on the blade while hand sanding buries the blade in the foam and you can sand or polish right to the edge without any danger of cutting yourself. It also prevents scratching the blade once polished, use either a clean piece of foam or lay a paper towel over a dirty pad.
-
05-28-2014, 09:27 PM #4
-
05-28-2014, 09:43 PM #5

I'm hoping for another good effect from the foam (besides protecting fingers). When I'm sanding the spine, I hold the razor with the edge directly at 90 degrees on the plexiglass or on the wooden backing strip. A brittle edge can get a chip if the razor wiggles the wrong way. Possibly the foam will offer some cushioning support for the edge.
Thanks for the tip on the degreaser. I've ordered some of that, too.
JoeLast edited by carrolljc; 05-28-2014 at 09:47 PM.
-
05-28-2014, 09:59 PM #6

Speaking of hand sanding razors, I tried using the Dremel attachments identified as abrasive buffs. They look like small synthetic scouring pads.
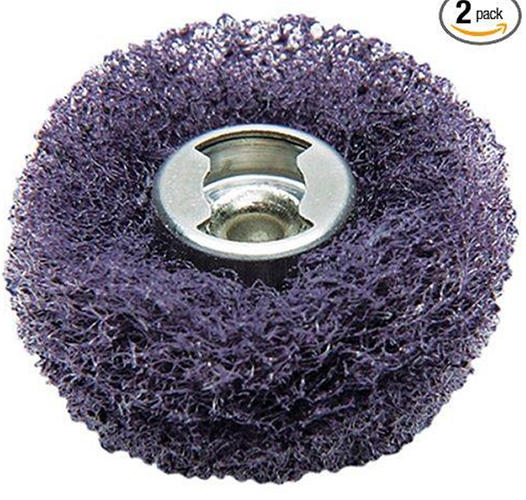
They're rated at 180, 280, and 320 grit. They didn't seem to remove steel as well as hand-sanding does. After working through the sequence, I went back to 220 grit sandpaper and worked back up. Better results.
Has anyone had good success with these Dremel abrasive buffs? The razor I was using them on had fine pitting, and the buffs were shining the surface but not getting very deep into the pitting. Is there a restoration situation in which they are effective--for example, a razor that just has tarnish but no pitting?
Joe
-
05-28-2014, 10:21 PM #7
 MY MAKESHIFT SANDING JIG
I threw this together as a temporary solution when I decided to try my hand at hand sanding:
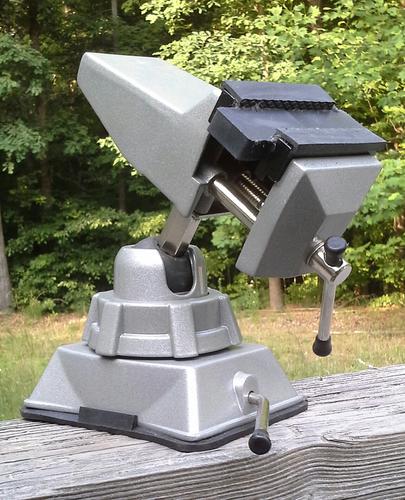
It's just a vacuum-base vise with rubber jaw covers and a couple of magnets. It worked reasonably well with the largish blade I cleaned up, but I don't know how it'll fare with smaller blades. It's main advantage for me is that I don't have to remove the razor's scales. But I could use some stronger magnets.When you are dead, you don't know that you are dead. It's difficult only for the others.
It's the same when you are stupid.
-
06-15-2014, 04:10 AM #8

I did some hand sanding using the foam pads. They work great!Thanks for that tip.
While sanding the spine, with the blade edge set vertically on the foam surface, I had thought the foam might help protect the edge, but the edge cuts easily through it. Another solution occurred to me: placing the edge on a wine cork.
Joe
-
06-15-2014, 05:07 AM #9Senior Member


- Join Date
- Nov 2012
- Location
- Across the street from Mickey Mouse in Calif.
- Posts
- 5,320
Thanked: 1185
All good tools. I use a rubber sheet surface on a block. I may try the magnets under it but the razor doesn't slide around very much at all on the rubber. The foam sounds like a good idea to support the back of a hollow grind so you don't hear that horrible dink sound of a blade snapping. I am a dry sander. I hate messes and slippery metal :<0)
Good judgment comes from experience, and experience....well that comes from poor judgment.
-
06-15-2014, 01:19 PM #10

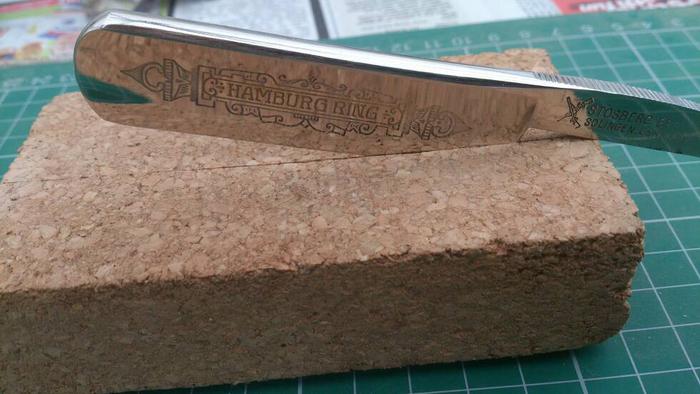
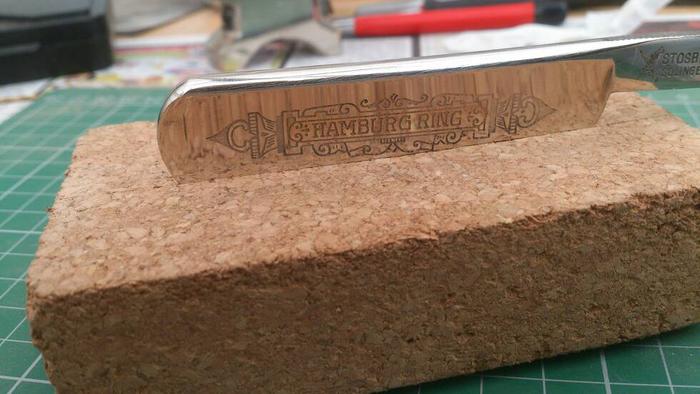
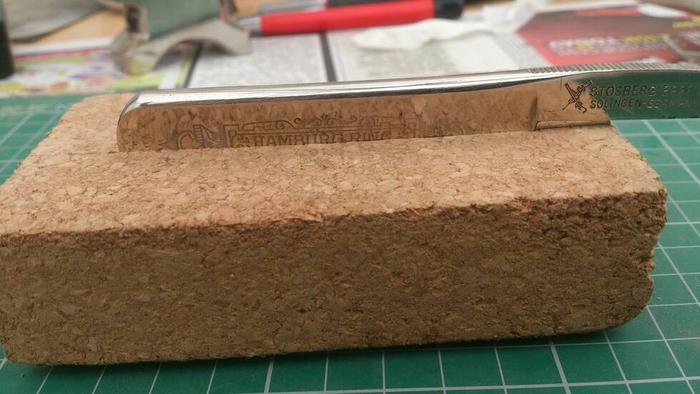
Hi guys hope you don't mind.but here is my solution. To holding a razor. For sanding the spine or any spine work. Pic 1 a cork sanding block. With a cut from a utility knife 2 insert the blade heel first (carefully) 3 feed the rest in, again carefully. Then press home. And yes you guessed it. VERY CAREFULLY :-)
 Using Tapatalk
-
The Following User Says Thank You to razornut For This Useful Post:
carrolljc (06-15-2014)


 18Likes
 LinkBack URL
 About LinkBacks


 Reply With Quote

