So now to pin the top. I have the blade as best as I feel like, so I install it and my brass spacers into the scales. Some tweezers are handy for getting the spacers in. Best not to attempt swiveling the scales after pinning the bottom. A cracked scale will result, more often than not! Don't spread them much, just enough! Razor blade or straight pin to maneuver the spacers around till the bolt comes through. A real juggling act! All closes pretty darn center now, so I Scotch tape around the scales/tang, install collars with tape as was shown as I pinned the the bottom (above) . Size, remove, anneal, and reinstall the pin.
Still closing fine in spite of lots of tang-sanding. Did not need it here, but an an extra spacer on one side or another is sometimes helpful if it needs some help to center! ;)
Attachment 169195
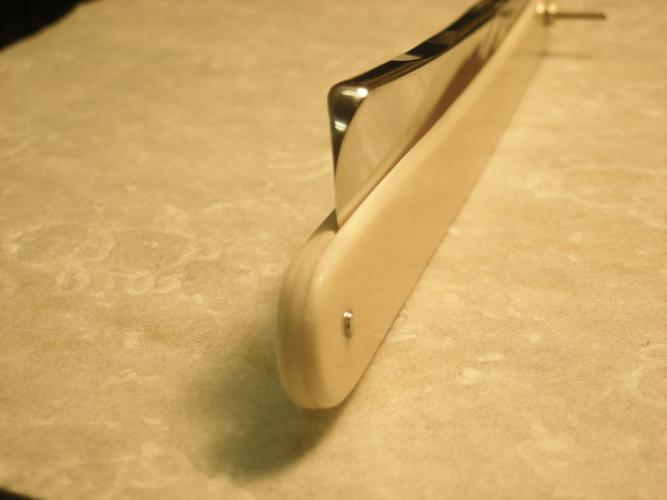
When sizing the top pin, always squeeze the scales above the pivot to the taper in the tang with razor closed.
Keeps from getting the pin too long! Got the first one too short, so I made another!
Attachment 169196
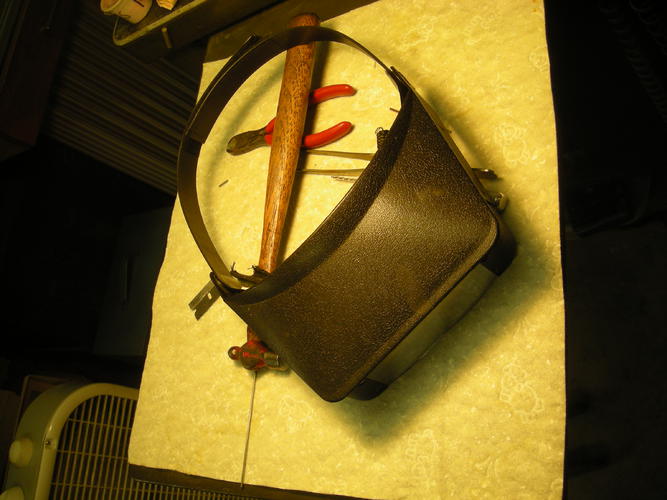
I always wear one of these on my head while pinning. Have to see what you are doing! As the pin gets expanded close, Take the tape off from around the scales and check the pivot tightness. This tells you how far you need to go and whether tapping on top anymore is necessary. If it is fairly snug, just light 'cosmetic' tapping will finish the job. If it is way loose, consider unpinning and starting over with a bit shorter pin. This worked out fine. As finishing up, try to polish the pins with the hammer. It is amazing what you can do with tiny taps at an angle all around!
Attachment 169197 Attachment 169198
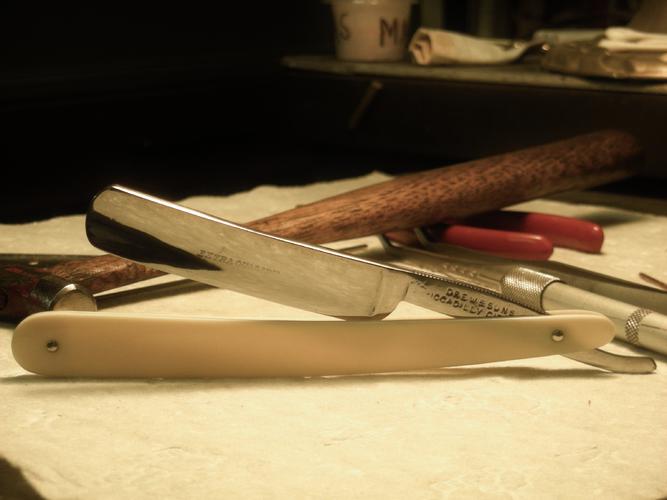
Now, nice and tight, out to the buffer, change directions 3 or 4 times, very little light buffing. A dry toothbrush removes compound from around the pin nicely!
Attachment 169199
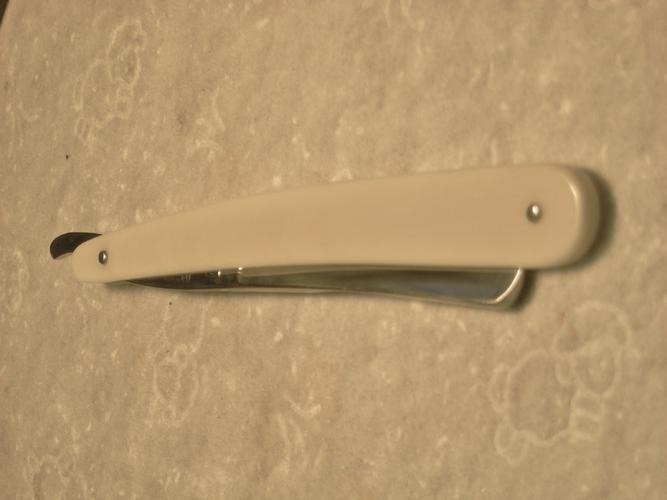
So now, my razor has a new/old matching scale, is clean and pinned back with a new/old ivory wedge!
Not too bad!
Attachment 169200 Attachment 169201
Attachment 169203 Attachment 169204
I hope this thread has, and will continue, to help some with these old razors. Old ivory is worth saving and is really quite a tough material. No need to fear it, just keep in mind pressure and how you apply it. Note no fancy tools are needed, just concentration and thinking about each step and practicing before doing anything. I did not count how many times I bolted/unbolted but each step was necessary for a decent job. Any questions, improvements, discussion is appreciated.
I learn every time I do one and every time I read of others doing one! ;)
This will conclude my tutorial. I will finish the other razor soon and post the pair in restorations. I hope you will like the outcome as I complete the set.
Fine Regards,
Tom
