Results 1 to 4 of 4
Like Tree6Likes
  • 4 Post By andrewmurray86
  • 1 Post By UKRob
  • 1 Post By RezDog

Thread: Bengall Restoration in progress

  1. #1
    Chaplain andrewmurray86's Avatar
    Join Date
    May 2014
    Location
    Hunter Valley, NSW
    Posts
    359
    Thanked: 23

    Default Bengall Restoration in progress

    Hey all,

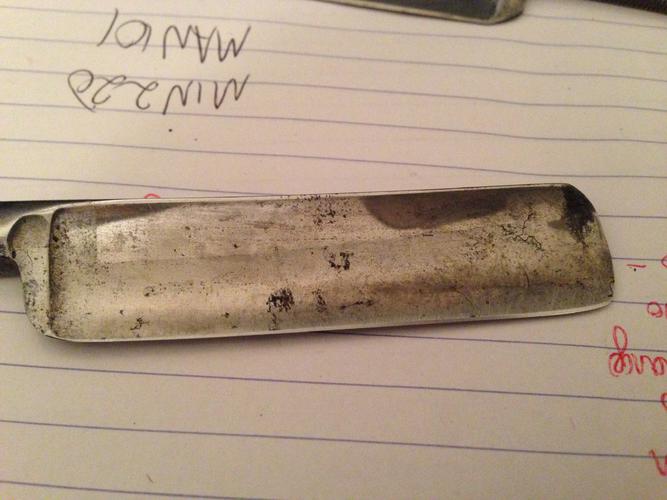
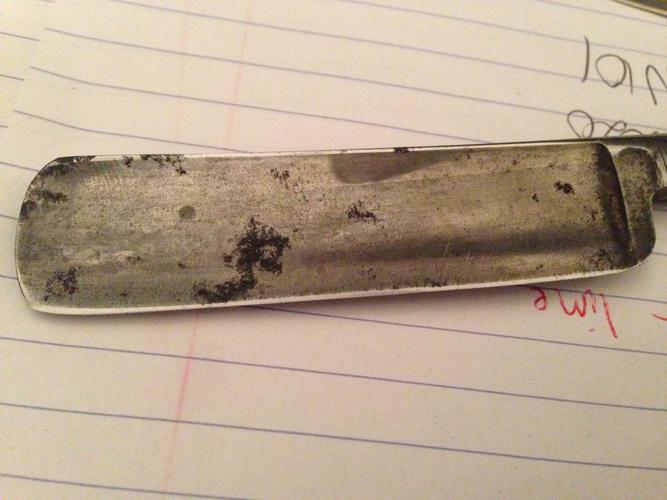
    This is a Bengall I picked up the other day,

    Original post is here. It was Bengall number 2 in the post.

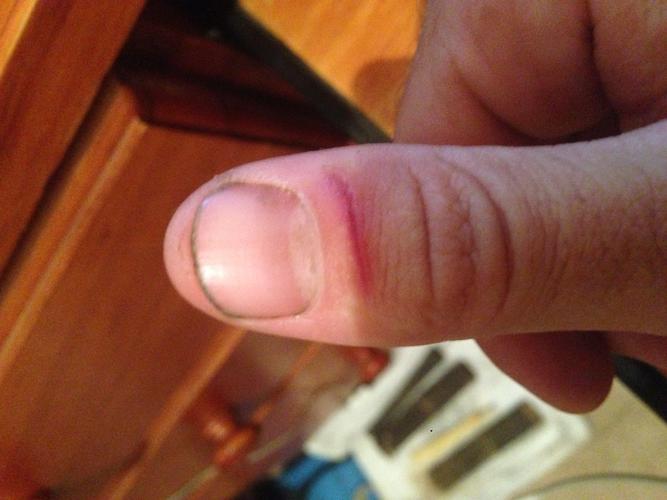
    It's my first attempt at cleaning a blade and I sliced my thumb pretty bad. I did not expect it to be so sharp after making efforts to really take the edge off!

    Edit: blade was sanded with 120 grit sand paper, then 180, 400, 800, 1200, 1500 and finally 2000 and finishing with a light metal polish.


    Name:  IMG_2623.jpg
Views: 180
Size:  37.8 KBName:  IMG_2622.jpg
Views: 160
Size:  38.6 KBName:  IMG_2648.jpg
Views: 162
Size:  20.5 KBName:  IMG_2647.jpg
Views: 163
Size:  20.8 KBName:  IMG_2649.jpg
Views: 170
Size:  32.9 KB
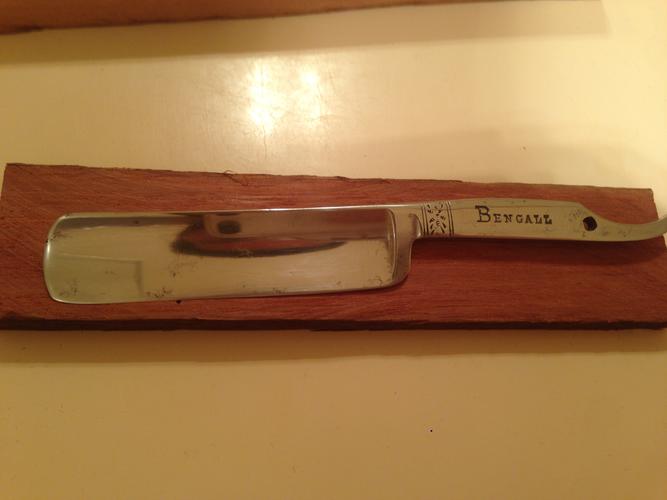
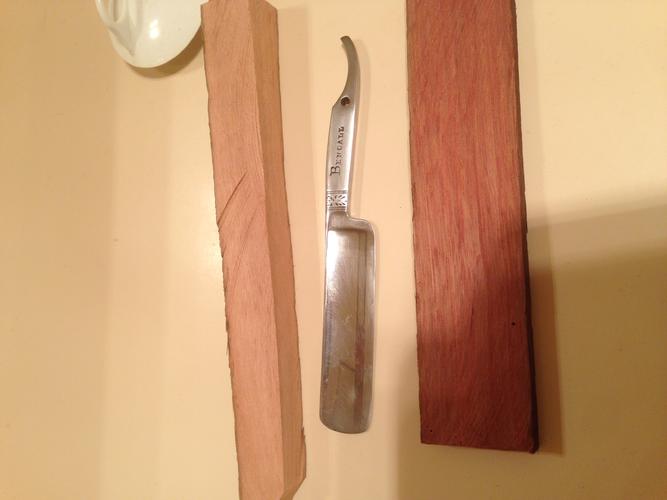
    Anyway, the scales were broken so I had always intended to replace them. I am thinking I will use one of the 2 woods shown here.

    I prefer the red but the grain is a bit more dense on the lighter coloured wood. The red is Iron Bark, the yellowish one is Grey Gum, both are hard wood Eucalypts. I took some scraps from a building site I'm working at (we no longer use these woods to build unless specifically requested; these are from the old house frame so they are very hard). I also grabbed some Merbau due its hardness and colour but I don't think it will be suitable due to the number of holes in the wood. I should have grabbed a photo but if you know the wood, you'll know what I mean.

    Either way I will probably use the other wood to make the wedge for some contrast.

    I just need to find a way to make some even thickness pieces so I can then make the scales... I could sand them back to an even thickness but that would be a lot of work.

    I'll keep you posted.

    And please let me know if you'd like some wood, there is plenty and I can post for you
    Last edited by andrewmurray86; 06-03-2014 at 07:37 AM. Reason: More info

  2. #2
    Senior Member UKRob's Avatar
    Join Date
    Feb 2012
    Location
    West Midlands, UK
    Posts
    1,263
    Thanked: 360

    Default

    I f you have or can borrow a japanese pull saw you should be able to rip some scales. I've done this successfully managing to maintain about 4mm thickness. After reading a tip I used the method of penciling a line at the thickness you need then sawing at an angle about an inch or so - turn the wod round and start at the opposite angle i.e. the same end, and repeat. You will soon see the two join and by rotating the side you are sawing you will maintain a decent thickness down the length of your stock. Another tip is to keep the stock length longer than you need so that you can griip it in a vice - rip down as far as need and then cut from the stock.

    If possible I prefer using stock that is wide enoght to get both scales from - it's much easier to get consistent scale thickness doing this.
    andrewmurray86 likes this.

  3. #3
    Senior Member blabbermouth RezDog's Avatar
    Join Date
    Feb 2013
    Location
    Haida Gwaii, British Columbia, Canada
    Posts
    14,395
    Thanked: 4821

    Default

    http://straightrazorpalace.com/works...too-thick.html
    this thread addressed some of the solution that guys with small or no workshops have used to thin scale stock.
    andrewmurray86 likes this.
    It's not what you know, it's who you take fishing!

  4. The Following User Says Thank You to RezDog For This Useful Post:

    carrolljc (06-04-2014)

  5. #4
    Senior Member RickyBeeroun222's Avatar
    Join Date
    May 2011
    Location
    Ipswich, Australia
    Posts
    481
    Thanked: 64

    Default

    Hi Andrew and welcome to the group. Nice work on restoring the Bengall so far. I think it likes you cause it gave you a little love bite.
    You have to take care sanding around the edge, and as you found out each change in grit adds a little something to the edge.
    Have a look on the restoring threads for a sanding jig. They are simple enough to make and can save some nasty cuts.
    I look forward to seeing the finished product.
    RickyB

Posting Permissions

  • You may not post new threads
  • You may not post replies
  • You may not post attachments
  • You may not edit your posts
  •