
Results 1 to 10 of 28
 108Likes
Thread: Pinning MOP with liners
 LinkBack URL
 About LinkBacks
Threaded View
-
01-14-2015, 11:49 PM #1Razor Vulture


- Join Date
- Oct 2010
- Location
- Lone Star State
- Posts
- 25,897
Thanked: 8591 Pinning MOP with liners
Getting along with my last razor of a 7-day set and thought I would show how I am doing the pinning on them. I have 21 pics to share, so wait for me to go through 3 posts before telling me how crazy I am! Thanks!

I learned this the hard way and have it going pretty well, I think. (I hope! )
)
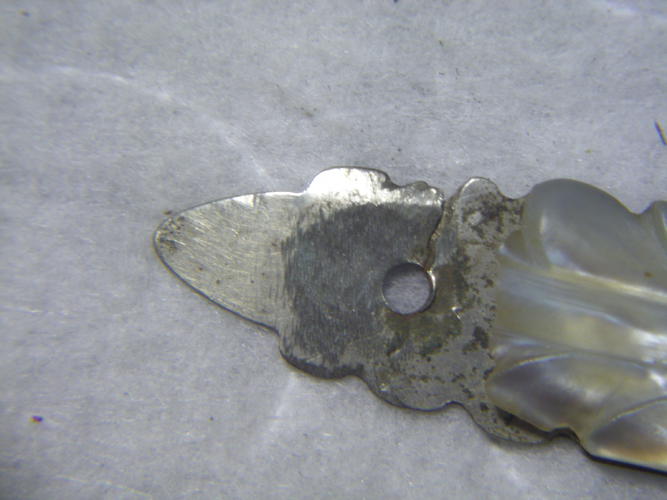
Lots of the old Mother of Pearl scaled razors have nickel silver liners and are pinned collarless. After a century of letter-opener duty, the pearl has crumbled under the peens and the blade is sloppy, the wedge may be spinning around!
To attempt tightening things up is futile. Lots of broken examples attest to that!
I won't go through drilling out the old pins here. Instead, Here is a link to another thread showing how I do it starting with post 27 : http://straightrazorpalace.com/works...le-halves.html
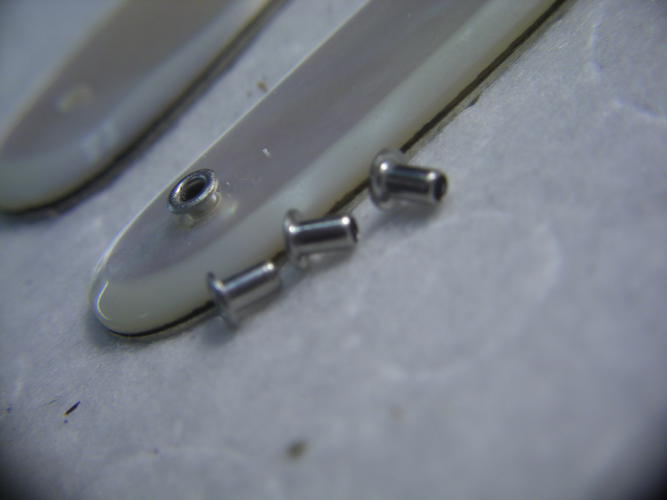
The plan is to use collars which look like little rivet bodies. They are 1/16 thru the middle and are 5/64 in outside diameter where they go through the pearl. The ones I am using are of brass, nickel-plated. Stainless ones don't work well, IMO. The slight swelling of the pin while peening seizes the stainless rivet body to the pin and tight peening is not gonna happen, FME. Oversizing the pearl to fit the collars loosely while stopping at the metal liners and sizing the individual collars, leaving a bit of gap between the collar tops and the pearl to account for crush while peening means a tight metal-to-metal peen without jeopardizing the pearl in side-to side, swelling, or crushing by the collar.
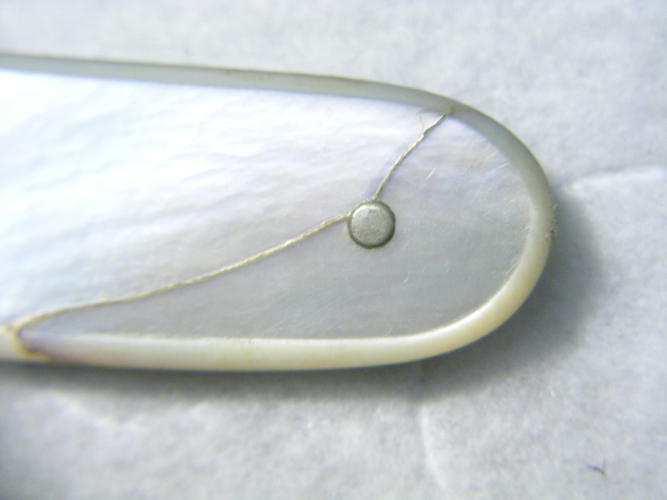
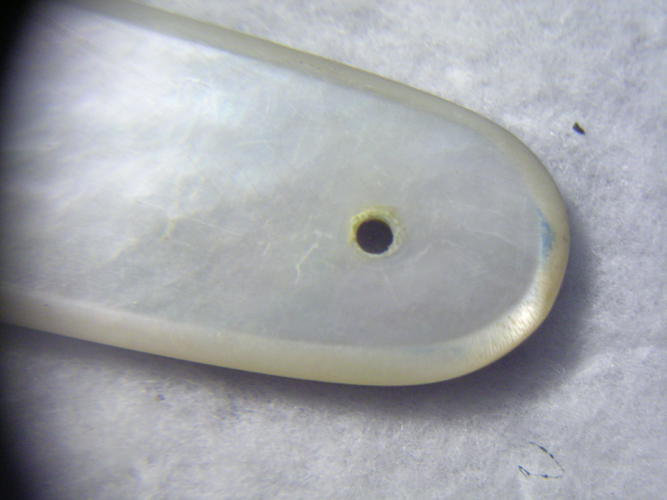
First, right to left, I lightly chamfer the pearl with a pin-vise and a 5/64 bit. Next, I use a 5/64 4-flute end mill by hand to go down through the pearl, stopping at the liners. Light, back and forth twisting, gentle as at the end till at the bottom.
Next, a slightly larger 3/32 end mill by hand, same technique. As- done, looks so:
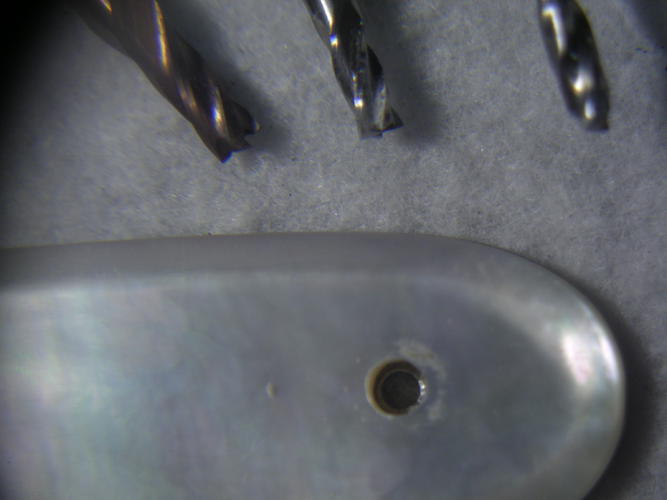
Now I must size the collars individually to the 4 corners to bottom on the liners and have a tiny air gap at the top
Last edited by sharptonn; 01-15-2015 at 02:59 AM.
"Don't be stubborn. You are missing out."
I rest my case.
-


 Reply With Quote