Results 1 to 10 of 28
Thread: Pinning MOP with liners
Hybrid View
-
01-15-2015, 12:49 AM #1
 Pinning MOP with liners
Getting along with my last razor of a 7-day set and thought I would show how I am doing the pinning on them. I have 21 pics to share, so wait for me to go through 3 posts before telling me how crazy I am! Thanks!

I learned this the hard way and have it going pretty well, I think. (I hope! )
)
Lots of the old Mother of Pearl scaled razors have nickel silver liners and are pinned collarless. After a century of letter-opener duty, the pearl has crumbled under the peens and the blade is sloppy, the wedge may be spinning around!
To attempt tightening things up is futile. Lots of broken examples attest to that!
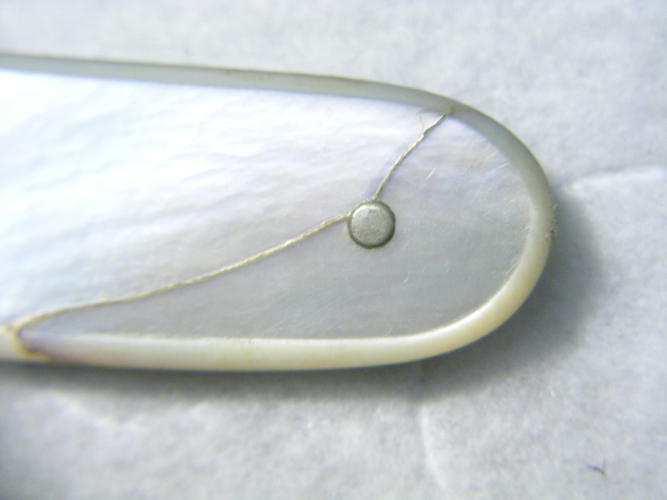
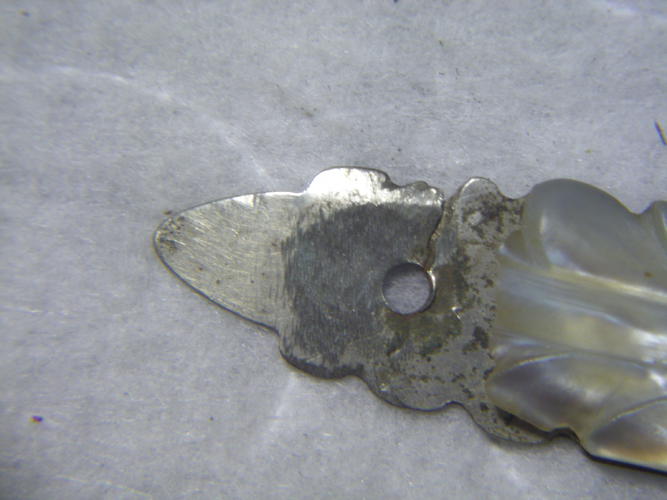
I won't go through drilling out the old pins here. Instead, Here is a link to another thread showing how I do it starting with post 27 : http://straightrazorpalace.com/works...le-halves.html
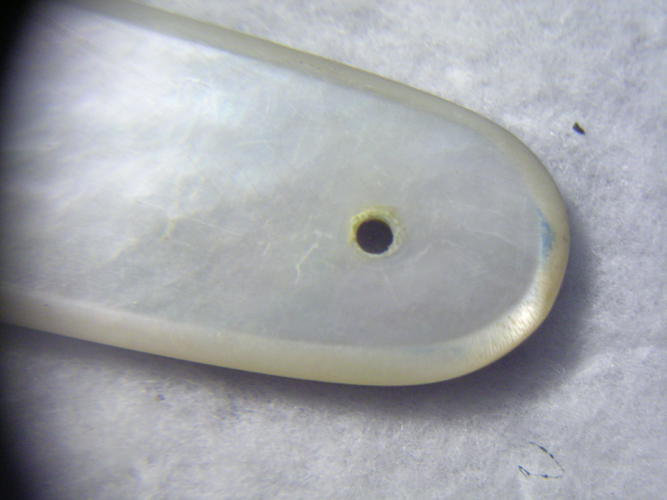
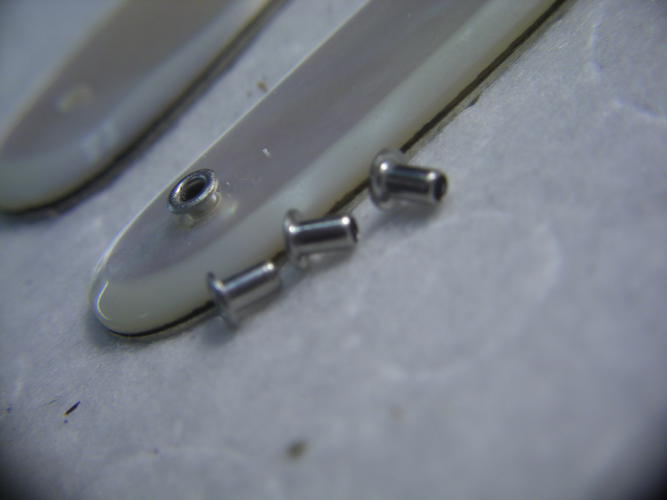
The plan is to use collars which look like little rivet bodies. They are 1/16 thru the middle and are 5/64 in outside diameter where they go through the pearl. The ones I am using are of brass, nickel-plated. Stainless ones don't work well, IMO. The slight swelling of the pin while peening seizes the stainless rivet body to the pin and tight peening is not gonna happen, FME. Oversizing the pearl to fit the collars loosely while stopping at the metal liners and sizing the individual collars, leaving a bit of gap between the collar tops and the pearl to account for crush while peening means a tight metal-to-metal peen without jeopardizing the pearl in side-to side, swelling, or crushing by the collar.
First, right to left, I lightly chamfer the pearl with a pin-vise and a 5/64 bit. Next, I use a 5/64 4-flute end mill by hand to go down through the pearl, stopping at the liners. Light, back and forth twisting, gentle as at the end till at the bottom.
Next, a slightly larger 3/32 end mill by hand, same technique. As- done, looks so:
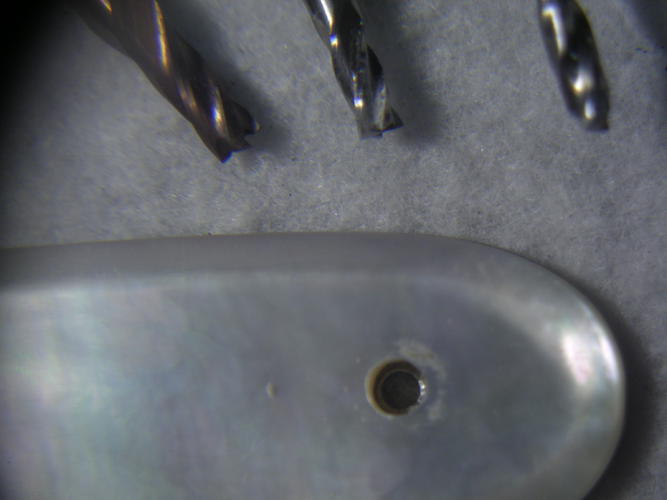
Now I must size the collars individually to the 4 corners to bottom on the liners and have a tiny air gap at the top
Last edited by sharptonn; 01-15-2015 at 03:59 AM.
"Don't be stubborn. You are missing out."
I rest my case.
-
-
01-15-2015, 01:03 AM #2

I use an old razor blade for a jig, which is close to the thickness of this type of pearl scales. Thickness varies, however, so I start out with a thin spacer and a thicker one under the collar. Using a dremel drum, grind off the bottom and test fit. If it does fit a hole nicely, or not. I try it in the other 3. Sometimes you get lucky and 2 or 3 are the same! I find that this type of scale will have thicker pearl at the bottom than the top. If it is too long, removing a spacer and grinding again gets it there. Easy to take off metal. Hard to put it back!

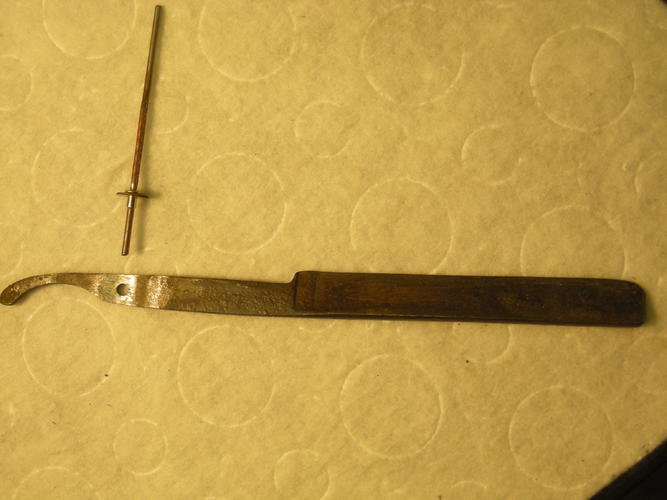
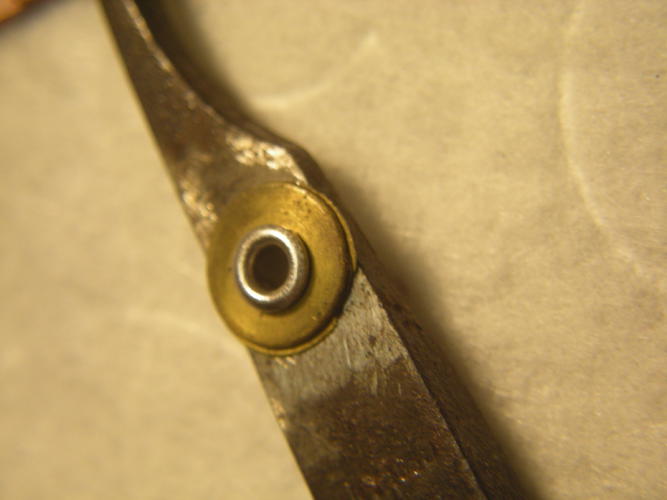
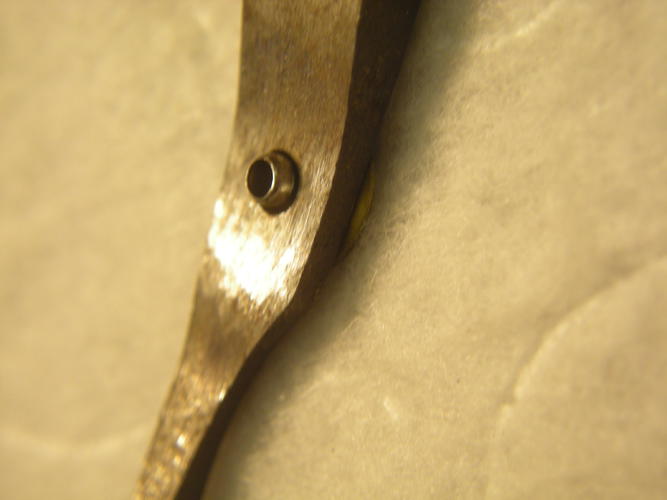
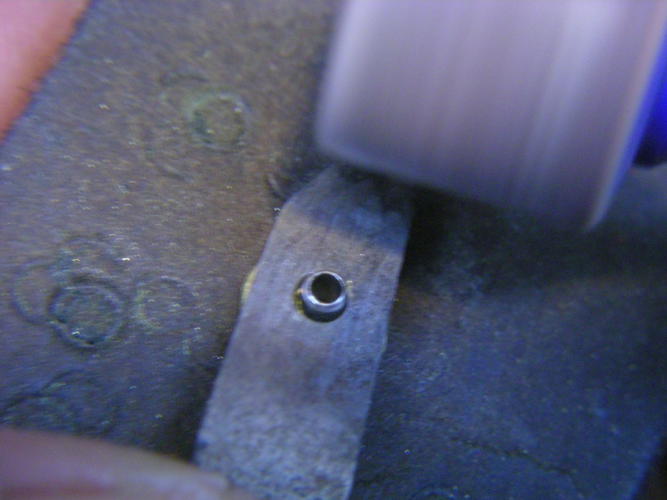
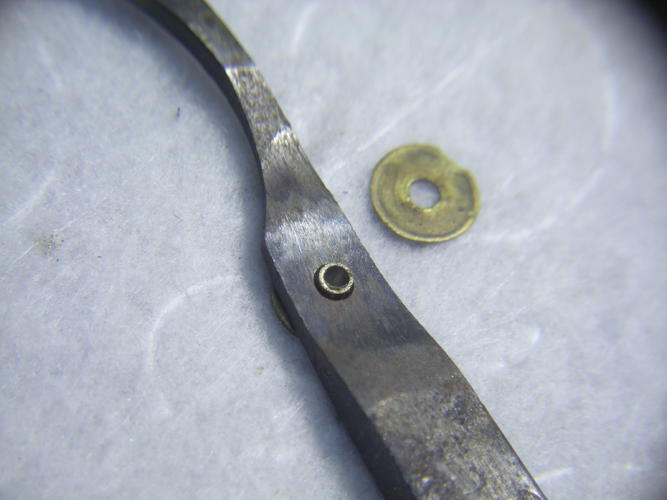
The desired outcome is to have sized a collar for each corner. A bit of air-gap ( the one shown is way excessive!) at the top to allow for crush so that as-pinning, things tighten up just as the collar rests upon the pearl!
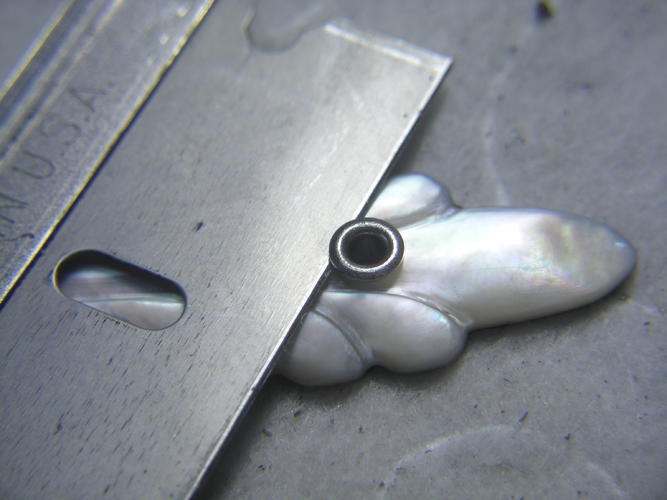
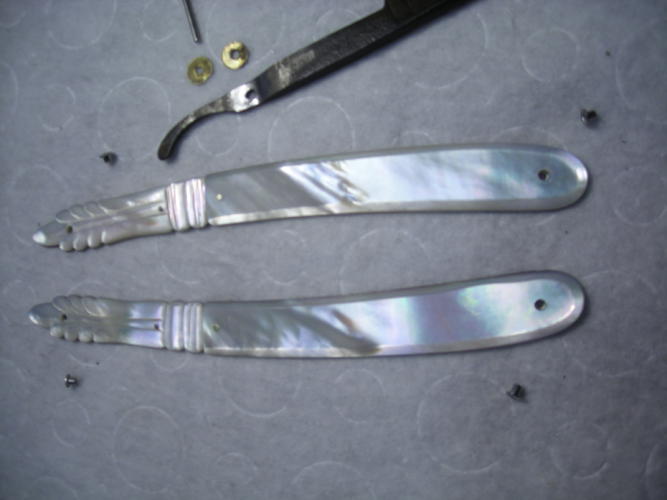
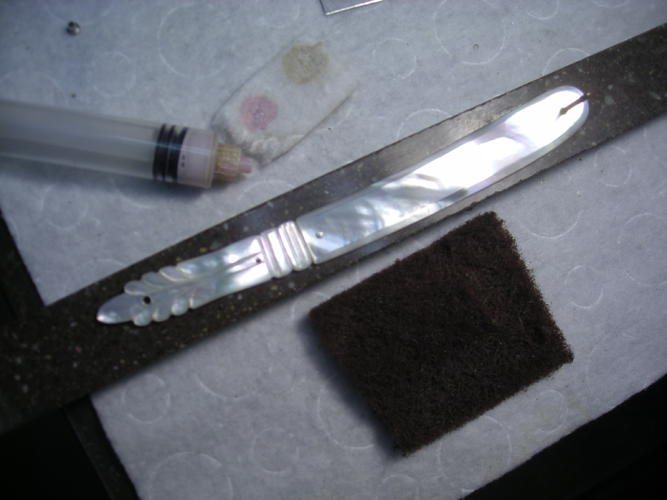
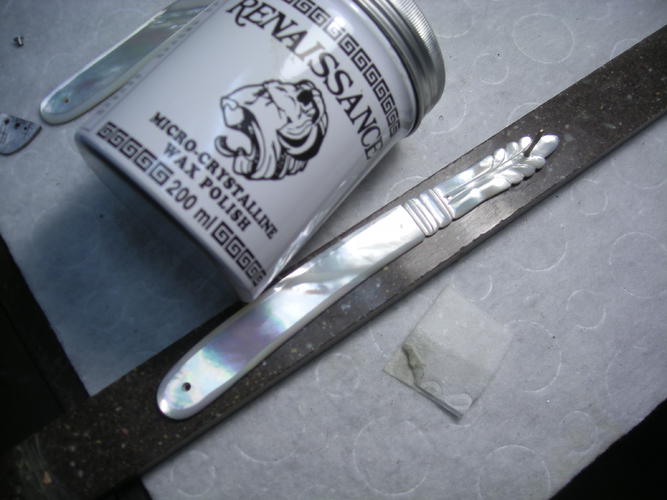
Now, time to sand (If needed!), Maas the pearl. Some scotchbrite around the perimeter of the liners first, though!
Some nice Renwax!
Last edited by sharptonn; 01-15-2015 at 02:11 AM.
"Don't be stubborn. You are missing out."
I rest my case.
-
-
01-15-2015, 01:18 AM #3

Now to superglue the donor lead wedge to one scale so it stays put.
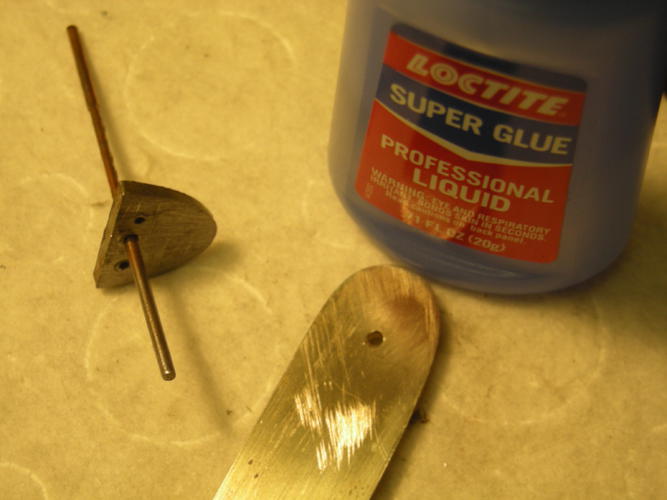
Bolt up the bottom with the collars in place, create spacers for the top and do same. Half a clothespin lightly shoved down and scotch tape makes a tight assembly for pinning!
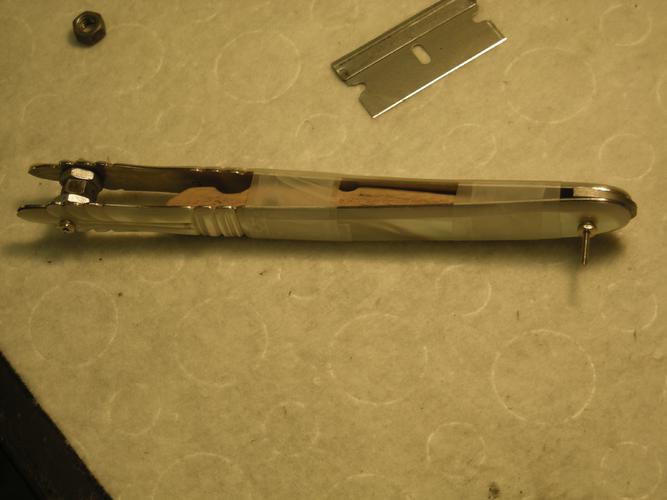
Remove bottom screw, tape collars down, and insert silver rod, cut off and size. Peen a bit and remove tape over collars so the work can be seen as peening further.
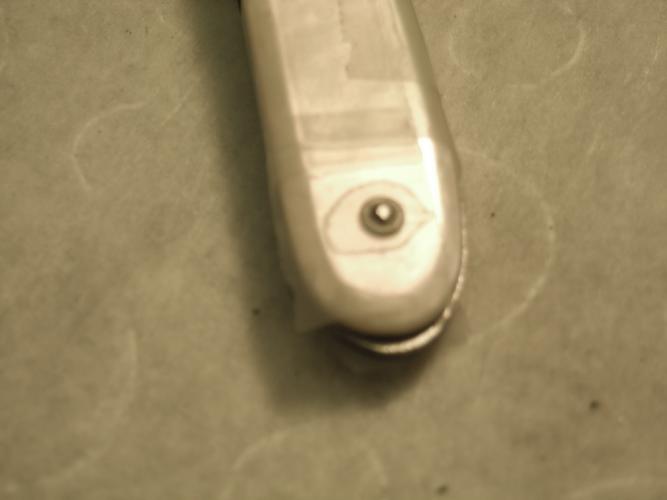
As peened, I tap on the wedge a bit to swell and ensure tight fit. remove tape and clothespin. Bottom done!
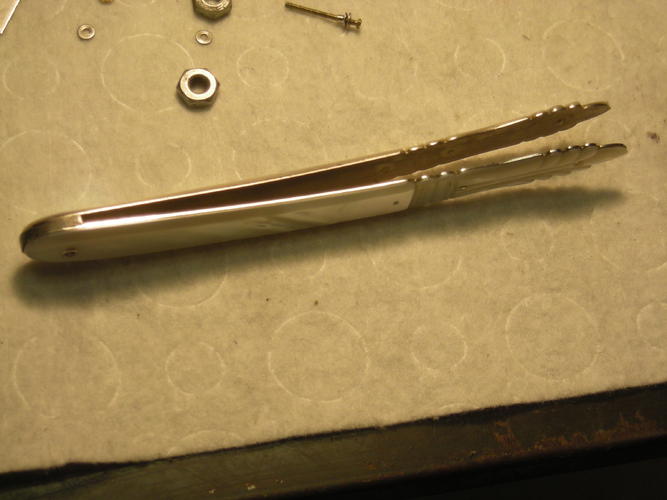
Now, time to install blade and spacers, collars. Nut and bolt in and check alignment/closure. All is good, scotch tape firmly and remove screw, scotch tape collars down, install pin, size and peen. After a bit of peening, remove tape over collars to see what is happening.
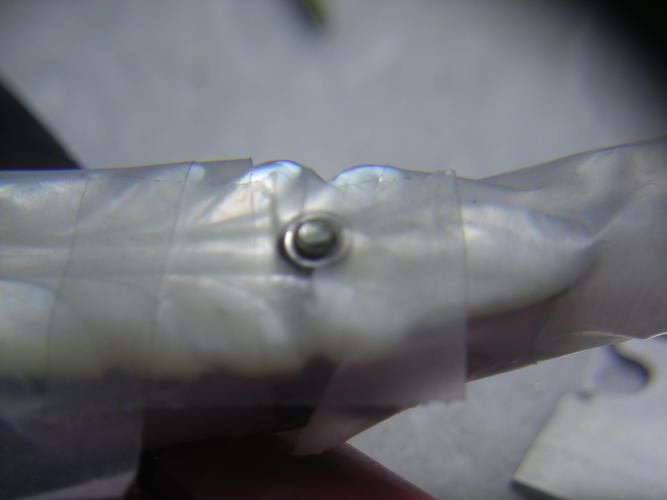
If done right, additional taps to get it nice and tight are possible with the peening load on the liners and the top portion of the collars resting lightly upon the pearl! Filing, sanding, and polishing the lead wedge nice and close is easy with the metal liners. Makes for a real user!
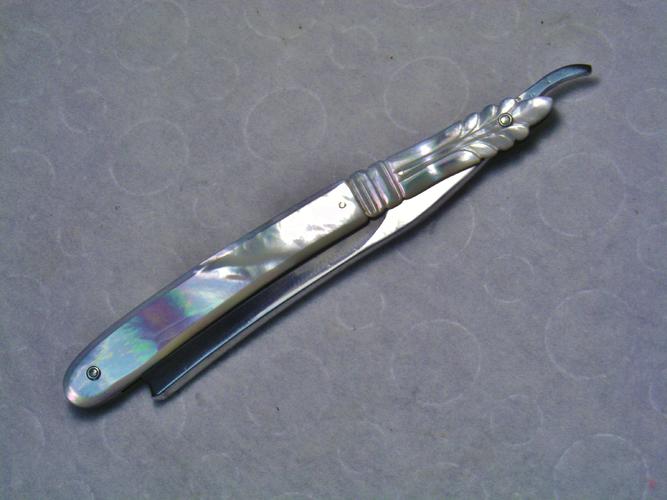
Hope this helps some of you get those pearlies shaving again!
TomLast edited by sharptonn; 01-15-2015 at 03:22 AM.
"Don't be stubborn. You are missing out."
I rest my case.
-
The Following 25 Users Say Thank You to sharptonn For This Useful Post:
32t (01-16-2015), Anthony1954 (01-15-2015), engine46 (06-13-2015), Geezer (01-16-2015), gooser (01-15-2015), HardCase (01-16-2015), Hirlau (01-16-2015), JimmyHAD (04-03-2017), jmercer (01-15-2015), JOB15 (03-28-2017), Martin103 (01-15-2015), MikekiM (02-14-2015), Mrchick (04-11-2017), MW76 (05-27-2016), Panama60 (09-06-2016), Pete123 (04-11-2017), RezDog (01-15-2015), Siguy (01-15-2015), Splashone (01-15-2015), Substance (01-15-2015), Voidmonster (01-15-2015), Willisf (06-13-2015), Wullie (01-15-2015), WW243 (01-16-2015), xiaotuzi (04-04-2017)
-
01-15-2015, 01:22 AM #4

FANTASTIC job and AWESOME write up on how to!

Ed
-
The Following User Says Thank You to Chevhead For This Useful Post:
sharptonn (01-15-2015)
-
01-15-2015, 01:26 AM #5Senior Member


- Join Date
- Feb 2013
- Location
- Haida Gwaii, British Columbia, Canada
- Posts
- 14,457
Thanked: 4830
I love your tutorials. Thank you. I have a couple of questions. Did you make the collars or repurpose them? They are very nice looking in the finished product. When sizing your pins did you do anything different than setting a standard pin length?
It's not what you know, it's who you take fishing!
-
The Following User Says Thank You to RezDog For This Useful Post:
sharptonn (01-15-2015)
-
01-15-2015, 01:43 AM #6

Thanks
 , Shaun! I get the collars from Babur in Germany. Not the same as a rivet body. Nice chamfer on the inside, rolled outside, and look better, to me.
These collars need very little pin protruding to get tight really nice. I tend to have to drill them out and redo them as I have too long a pin too often. Always at the top!
Last edited by sharptonn; 01-15-2015 at 03:02 AM.
"Don't be stubborn. You are missing out."
I rest my case.
-
The Following User Says Thank You to sharptonn For This Useful Post:
Panama60 (09-06-2016)
-
01-15-2015, 02:00 AM #7Historically Inquisitive


- Join Date
- Aug 2011
- Location
- Upstate New York
- Posts
- 5,782
- Blog Entries
- 1
Thanked: 4249
Sweet pictures and tutorial Tom Well Done!
-
The Following User Says Thank You to Martin103 For This Useful Post:
sharptonn (01-15-2015)
-
01-15-2015, 01:23 AM #8

Great progress write up
Saved,
to shave another day.
-
The Following User Says Thank You to Substance For This Useful Post:
sharptonn (01-15-2015)


 108Likes
 LinkBack URL
 About LinkBacks


 Reply With Quote


