
Results 11 to 20 of 39
 60Likes
 LinkBack URL
 About LinkBacks
-
05-24-2015, 08:31 AM #11

 Originally Posted by mainaman
 Originally Posted by Hart
I agree with Stefan & Hart. I would just leave it be & keep the history on it!
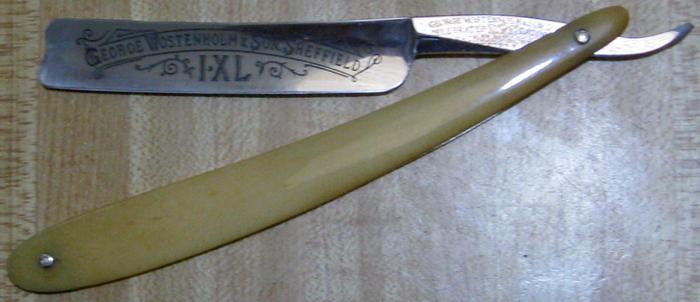
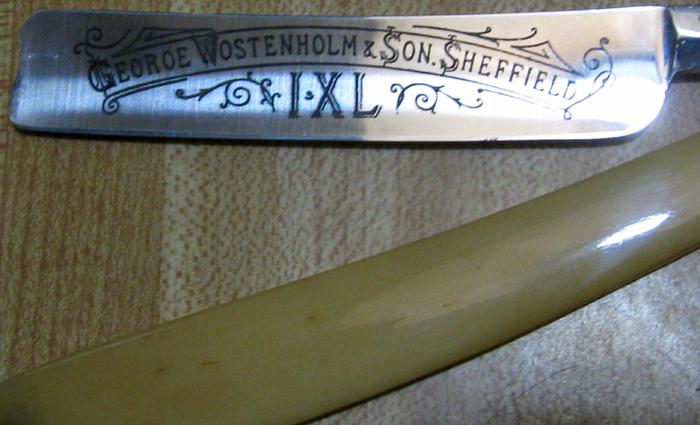
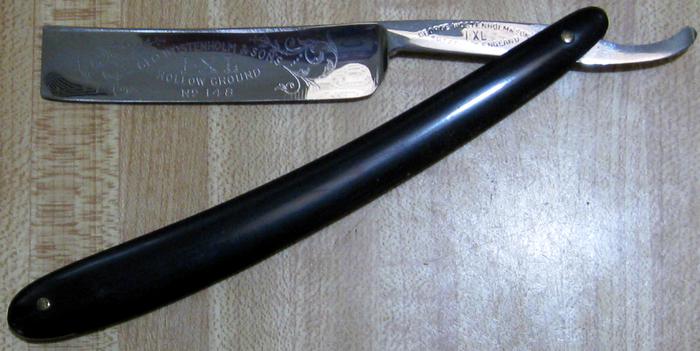
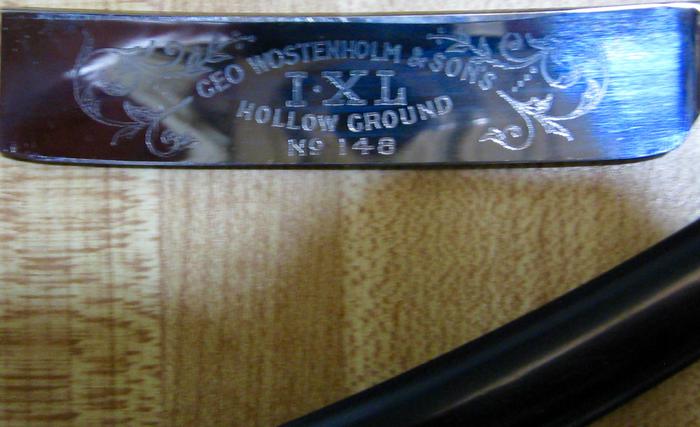
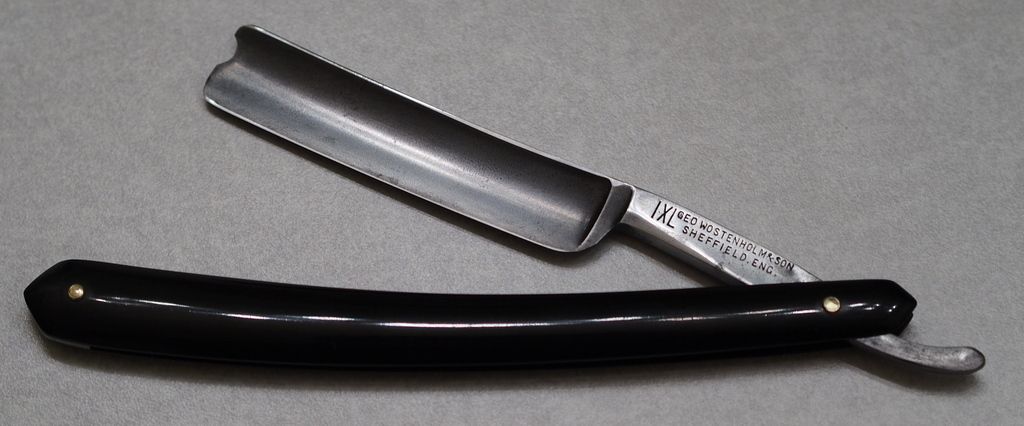
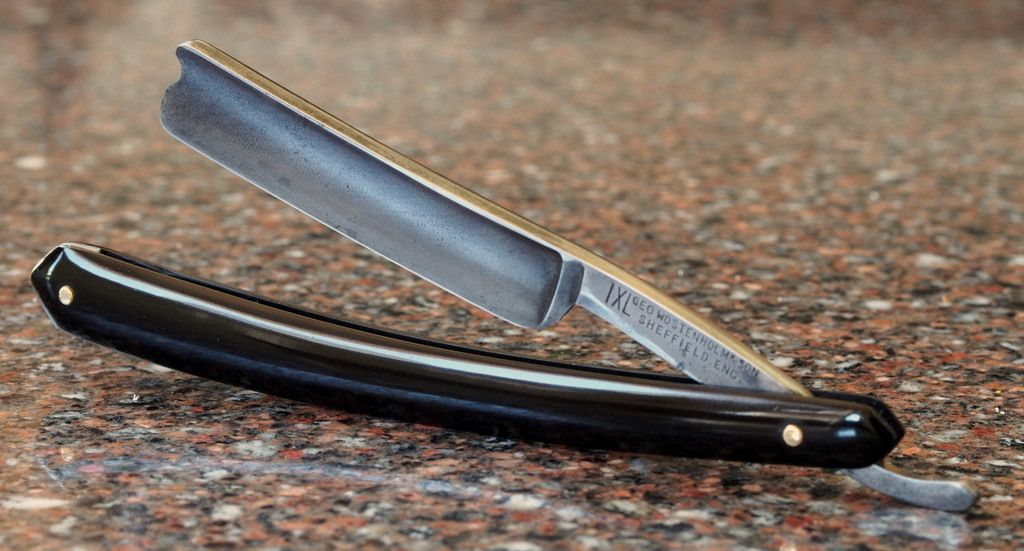
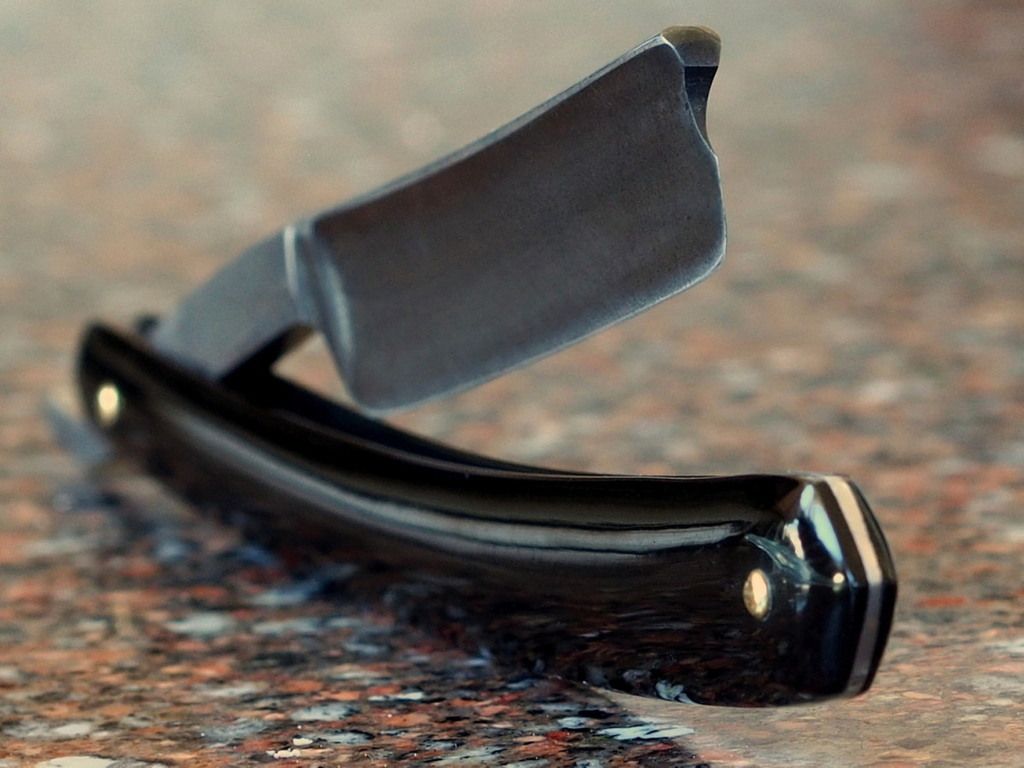
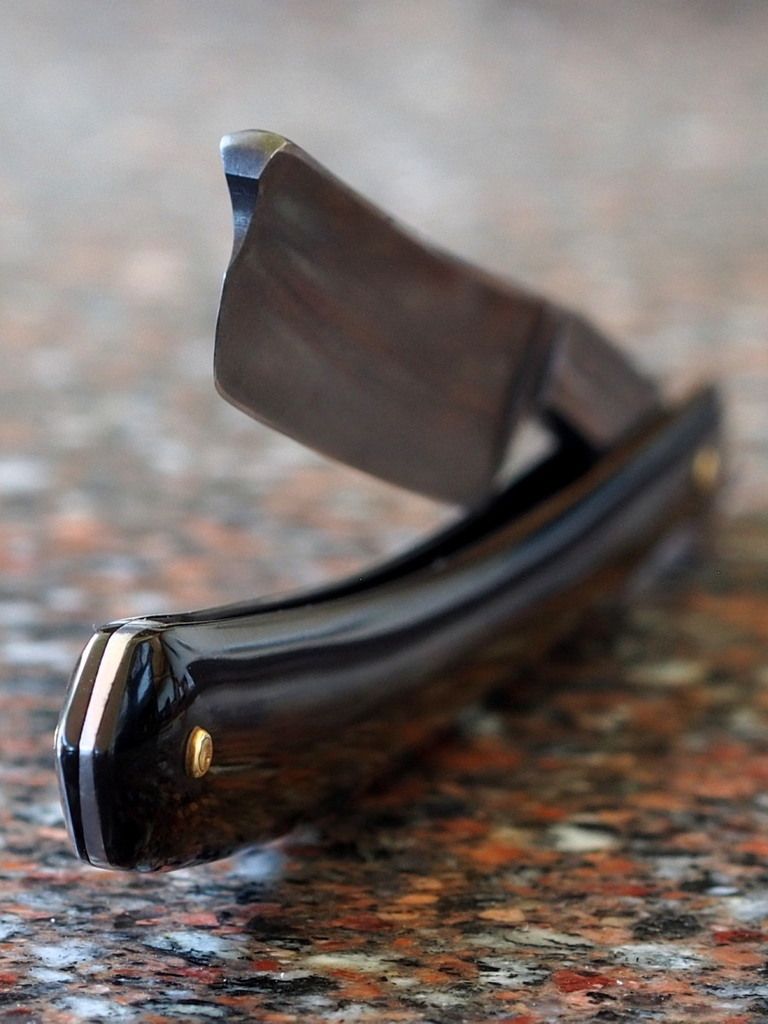
Some Mothers or some Maas would probably clean it up some since I don't see any pitting but you do what you want. It's your razor. If you want a pretty one, keep your eyes open for one like these:
-
05-24-2015, 11:12 AM #12Shave This


- Join Date
- Jan 2014
- Location
- Pickering, Ontario
- Posts
- 1,036
Thanked: 183
I think your choice is to do nothing and just oil it or remove the patina. Any polishing compound such as Maas or Mother's is going to remove the patina. You have to decide, once you get the razor, if you can live with a few spots.
The polishing compound can be used to clean up the pins and washers. A good approach is to lay your cloth on a table and rub the razor pins on it. That lets you get a lot of polishing action in just a few seconds. If you need to get in tighter around the rim of the washers, try a toothbrush with the polish. You can use the polish on the whole of the scales, being careful not to rub the steel.Than ≠ Then
Shave like a BOSS
-
The Following User Says Thank You to Hart For This Useful Post:
murf (05-24-2015)
-
05-24-2015, 09:07 PM #13
That's exactly why I did mention that I would just leave it be! Originally Posted by Hart
murf likes this.
-
The Following User Says Thank You to engine46 For This Useful Post:
murf (05-24-2015)
-
05-24-2015, 09:42 PM #14Senior Member
- Join Date
- May 2015
- Location
- Castle Rock Colorado
- Posts
- 121
Thanked: 26
And I think that's how I'm going to approach it...unless there is red rust, then I'll need to make a decision about how far I want to go. Originally Posted by engine46
Thanks guys!
-
05-24-2015, 09:57 PM #15
Yeah...............just leave the historical patina on 'er! Once you remove that old patina, the history is gone forever. That's why I didn't do anything else to this Greaves blade. I did sand it but it had some rust on it but other than that, i made some new scales for it & left the rest of it alone. Originally Posted by murf
http://straightrazorpalace.com/razor...blade-now.html
-
05-25-2015, 08:48 AM #16
I disagree. Patina is just aging. It doesn't add anything imo. This razor has no visible pitting damage, and should restore nicely.
With handsanding and polishing, you can get this blade to look mint again. And that is wonderful to look at.
Also, and I really mean this: if you want to learn to restore, this means you must learn to restore
In other words, don't do the minimum you can get away with, as some people suggest. Go the whole 9 yards. That is the way to learn stuff. Dive in and swim. Sure. You will make mistakes, and learn from them. That is how we all learn and make progress. If you don't make mistakes while learning, you're not trying hard enough.
So, my 2cts: take it apart and make it shine!Til shade is gone, til water is gone, Into the shadow with teeth bared, screaming defiance with the last breath.
To spit in Sightblinders eye on the Last Day
-
The Following User Says Thank You to Bruno For This Useful Post:
murf (06-04-2015)
-
05-25-2015, 11:48 AM #17
As I previously mentioned, it's your call. If you go ahead & take Bruno's advice, get some Mothers or some Maas & polish it up. It WILL look really nice cleaned up! You can take it apart & clean each part individually. If you know how to use a Dremel correctly, you can really make it shine like I did here:
http://straightrazorpalace.com/membe...me-polish.html
That's only if you know how to use a Dremel on a straight razor or you can ruin the blade forever. If you don't know how to use a Dremel, get Lynn's dvd. He shows how to use one in there. That's how I learned. I haven't ruined a blade yet (knock on wood)! If you are not experienced with a Dremel, don't attempt it! Once you clean 'er up, it'll be a beauty!!!! In the link, I didn't disassemble the razor but some you can get away with. If you take it apart, it will be better & you stand less chance of screwing up the scales. Usually if i leave one together, I put something on the scales like masking tape just in case ya accidentally touch the buffing wheel on the scales.
Bruno knows his razor's so if you go that route, just take your time & be careful & it will turn out to be a gorgeous straight razor!
I just looked at it again & it's a candidate to be a mirror shine when done!Last edited by engine46; 05-25-2015 at 12:12 PM.
murf likes this.
-
05-25-2015, 12:58 PM #18
I'd advise against using a dremel. Check out my handsanding guide in the wiki or here in the restoration forum. That is the best approach to first restorations, because the chances of failure are drastically reduced, and you get a good feeling for the steel and the abrasives you use. If you hand sand before polishing, the results will be significantly better than if you just polish.
Til shade is gone, til water is gone, Into the shadow with teeth bared, screaming defiance with the last breath.
To spit in Sightblinders eye on the Last Day
-
The Following User Says Thank You to Bruno For This Useful Post:
engine46 (05-25-2015)
-
05-25-2015, 01:15 PM #19
That is why I caution people about using a Dremel if they don't have experience with one. I agree with you there. I also do hand sanding. I have packets of 220, 240, 260, 320, 400, 500, 600, 800, 1000, 1200, 1500, 2000, 2500 & 3000 grit wet or dry sandpaper I use in progressions. Originally Posted by Bruno
I am just lucky with my Dremel & it is variable speed so I don't make burn marks or overheat a blade. Like in my blog, I always do it near my sink so if it does start to get hot, I can cool it right away. I agree with you! The razor will turn out beautiful if plenty of time is taken. It will probably polish out by hand. I always try out by hand first & if that doesn't get it, I get my Dremel out but that's just me. Other's have their own ways & have success that way. I only suggest a Dremel if one has done it that way before or has experience with one, otherwise do not attempt it. Thank you for your input here. I think he can clean it up w/o a Dremel. I suppose I should have never brought that one up!
-
06-04-2015, 06:30 PM #20Senior Member
- Join Date
- May 2015
- Location
- Castle Rock Colorado
- Posts
- 121
Thanked: 26
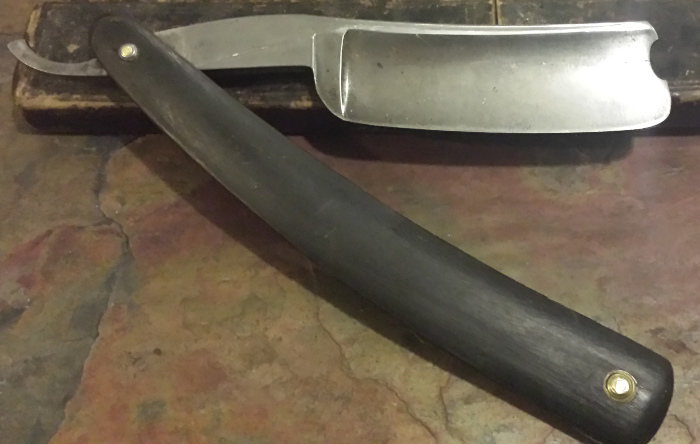
So, in the end, I decided to keep the patina on the blade and just clean it up, sanitize it, give it an oil bath for a few hours, and put as good an edge on it as I could with my limited experience. The edge came out very shaveable.
I did pretty much refinish the scales without taking it apart though. They weren't flat, meaning the razor wouldn't stand up on it's own like it is in most of these pictures because the back scale (non-stamped side of the blade) protruded further than the front scale making it tip over forward. I sanded the back scale even with the front and reshaped it to match the profile of the front scale, then sanded both with a progression of wet sanding starting at 1000 and ending at 3000, then polished them with Flitz. Oh, and tightened the pivot pin. I'm very happy with the results.
Much thanks to all for the advice and guidance!
MurfLast edited by murf; 06-04-2015 at 08:42 PM. Reason: typo


 Reply With Quote

