Results 1 to 10 of 13
Thread: Cleaned up my first Heljestrand
-
11-24-2015, 01:18 AM #1
Cleaned up my first Heljestrand
Hello all!
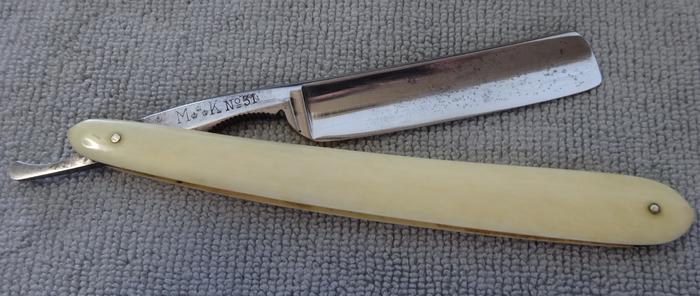
It's been a while since I've frequented this forum. As a medical resident, training and long hours have slowed my hobby playing with razors to a crawl. I had been patiently looking for a decent Heljestrand with ivory scales, and finally scored one recently for a good price. I figured that you all may like to see the befores and afters.
BEFORES:
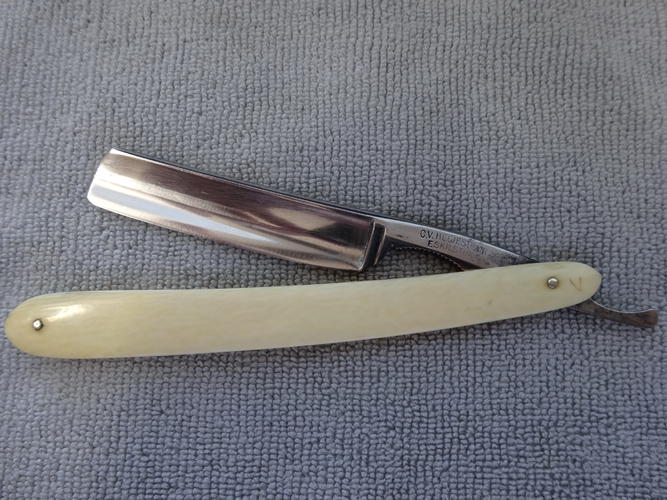
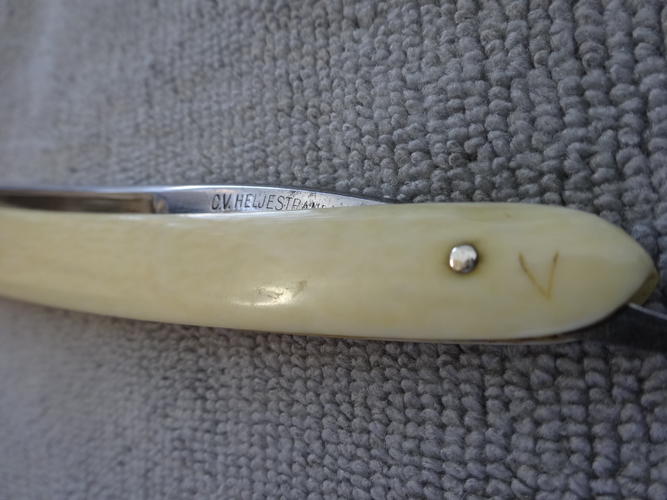
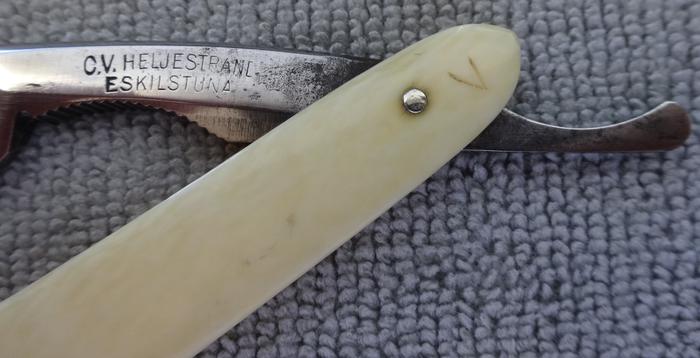
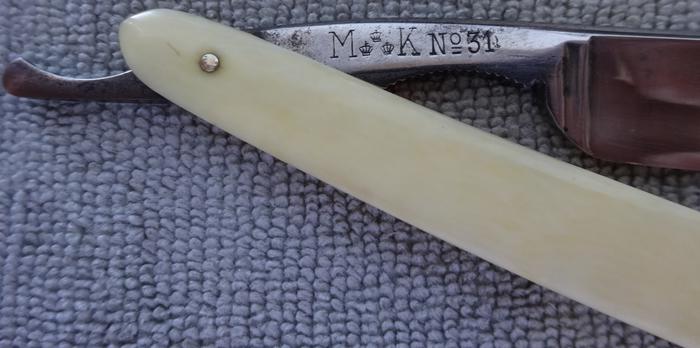
As you can see, the blade had a bit of devil's spit, and the scales had some identifier carved into them. I disassembled the razor gingerly, and took my time polishing the bulk of the pitting out of the blade with polishing wheels and compound on my Dremel. I ultimately finished with a microfiber and Metal Glo. She's not perfect, nor do I want her to be. I love a little character.
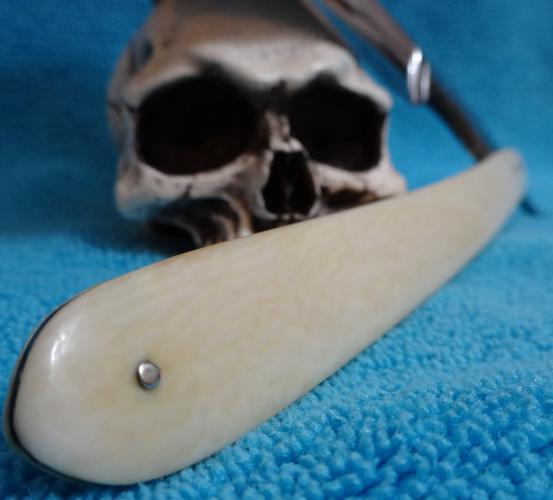
The scales were wetsanded clean with micromesh pads, then polished with a cloth wheel and white diamond compound.
This was my first foray into pinning ivory (and collarless pinning for that matter). I annealed the ends of the pin per Sharptonn's old thread, and proceeded very slowly and gently (sphincter puckered the entire time).
She was then honed on my Nakayama Maruichi from bevel set on through. This steel is the hardest I have encountered so far, and starting on my Chosera for the bevel would have saved me a good bit of time (but what's the fun in that?). She's an amazing shaver, and I can see why they are so coveted. I will certainly keep this one around for a while (maybe decades). Hope you enjoy!
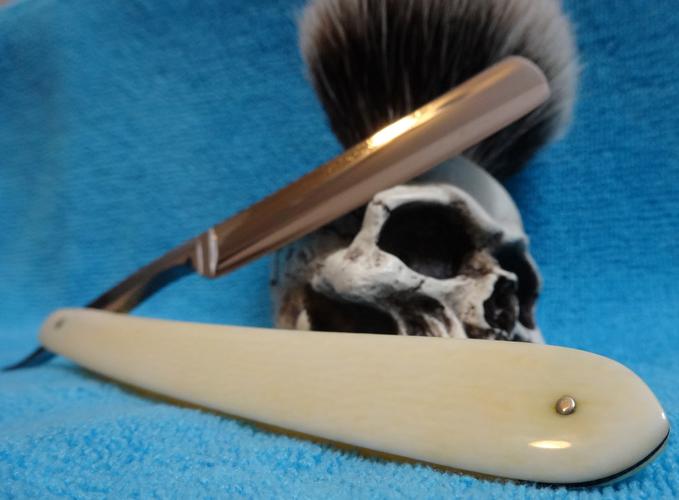
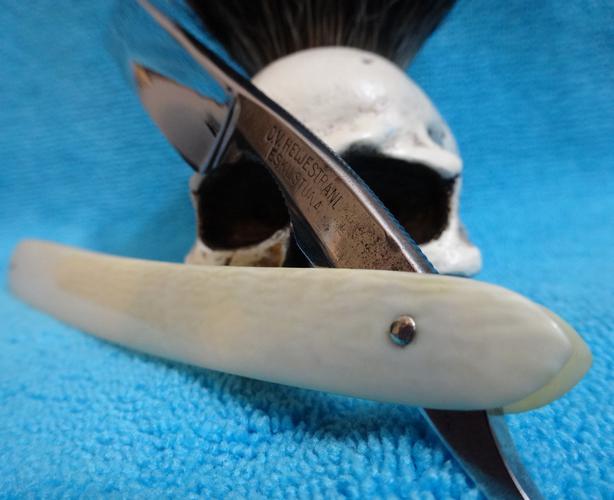
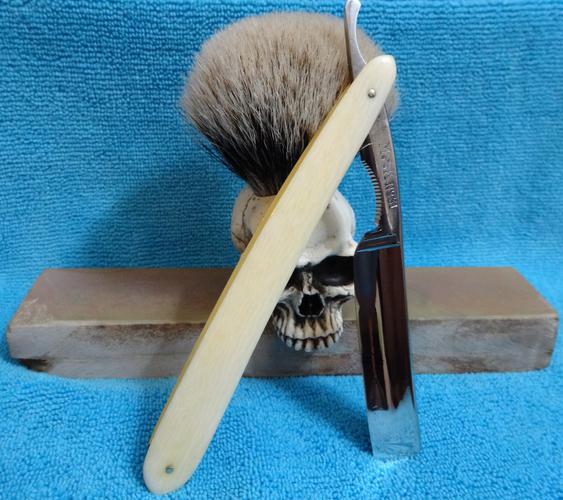
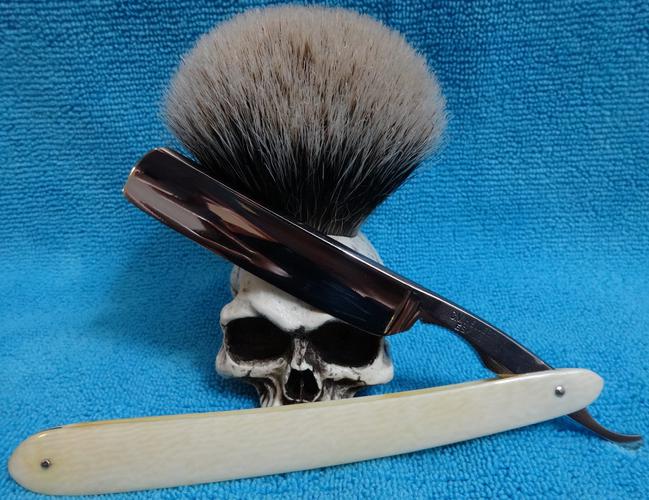
AFTERS:
-
The Following User Says Thank You to DocMartin0321 For This Useful Post:
Euclid440 (11-24-2015)
-
11-24-2015, 02:17 AM #2
- Join Date
- May 2014
- Location
- Bryan, TX
- Posts
- 1,251
Thanked: 228Nice job!
Mike
-
11-24-2015, 03:14 AM #3
- Join Date
- Jan 2008
- Location
- Rochester, MN
- Posts
- 11,544
- Blog Entries
- 1
Thanked: 3795Nice photography!
The Before photos clearly showed the flaws. The After photos did not. It's hard to tell if any restoration was done.
This is NOT a criticism of your restoration. It's just my preference that before and after shots be done at the same angle and same lighting so that the restoration, rather than the photography, can be assessed.
-
11-24-2015, 12:36 PM #4
Um...thanks?
What can I say? The razor stirred up some creativity once it was finished.
Just for you Utopian, I took boring pictures trying to capture the worst of the flaws. These pics are the best I can do before I rush off to the hospital.
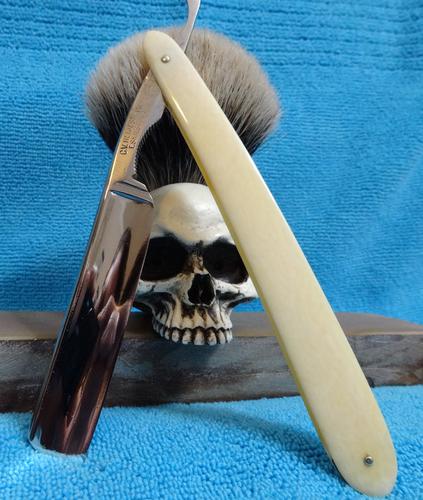
As you can see, there is still a remnant of the pitting on the blade and tang noticeable at certain angles. Like I said before, I like to make my vintage razors pretty, but with hints that they have been around the block once or twice. I personally think this one strikes the balance fairly well. Enjoy!?
-
The Following User Says Thank You to DocMartin0321 For This Useful Post:
Srdjan (12-07-2015)
-
11-24-2015, 02:03 PM #5
Looks like a beautiful razor doc. I love the "grain pattern" in the Ivory. The blade is shiny and new looking but you can see, if you look close, that it is indeed a vintage razor. Kudos for honing the whole thing on a natural stone. A true one stone hone. That takes patience and attention to detail but it seems to have rewarded your efforts with a fantastic shave. Great work.
What a curse be a dull razor; what a prideful comfort a sharp one
-
The Following User Says Thank You to Steel For This Useful Post:
DocMartin0321 (11-24-2015)
-
11-24-2015, 11:12 PM #6
-
11-25-2015, 01:24 AM #7
I think the restoration work is best shown in those scales, very nice!
-
11-25-2015, 02:43 AM #8
-
11-25-2015, 06:22 PM #9
- Join Date
- Nov 2014
- Location
- Sweden
- Posts
- 10
Thanked: 8Thank you for saving one of these fantastic razors.
-
The Following User Says Thank You to Polarbeard For This Useful Post:
DocMartin0321 (11-25-2015)
-
11-25-2015, 08:19 PM #10
-
The Following User Says Thank You to Frameback For This Useful Post:
DocMartin0321 (11-25-2015)