Results 1 to 6 of 6
Thread: Poor man's regrind
-
02-16-2016, 09:54 AM #1< Banned User >

- Join Date
- Dec 2013
- Location
- Perth, Western Australia
- Posts
- 318
Thanked: 44 Poor man's regrind
I haven't seen another thread covering this, so hopefully someone finds it useful. I bought this Joseph Rodgers a while back, gave it a clean and then hit the stones. This was the result.
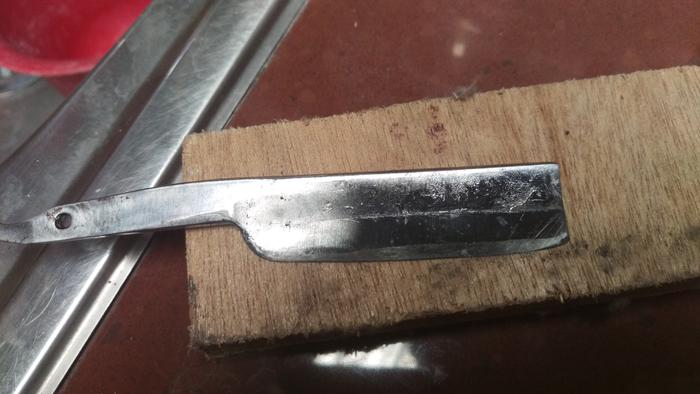
Having only the hand tools I usually use for restores, I put it in the too-hard bin. Then a couple of days ago I was bored, so I dug it out and had a go at it with the only relevant power tool I own, This straight grinder.
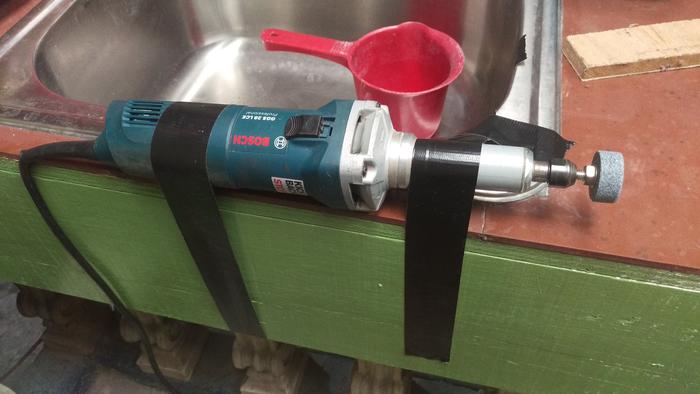
I had a 40mm dia stone that came as part of an accessory package, which I used to tickle it down to this.
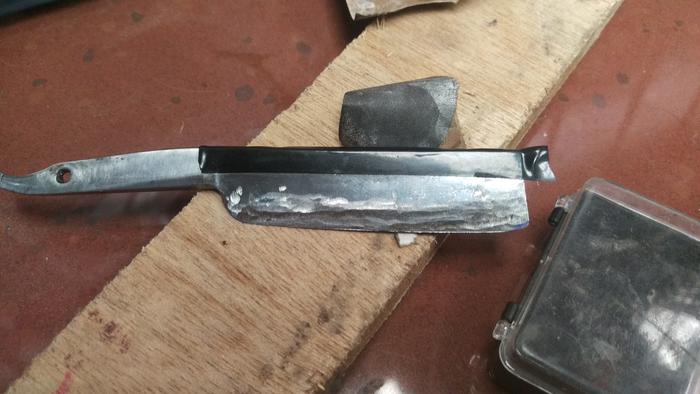
Pretty ugly, but after about half an hour or less with 80# it looked like this.
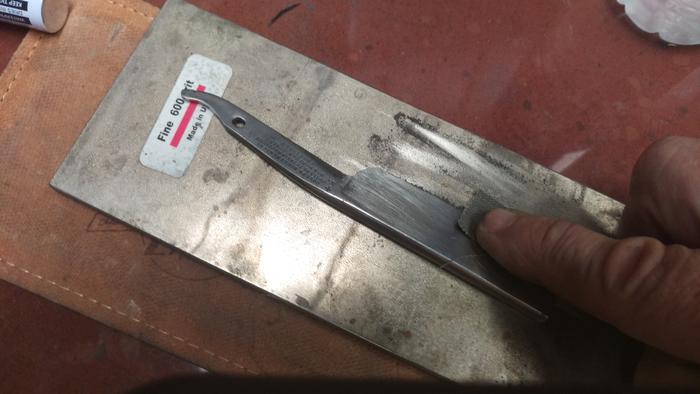
I checked to make sure it was symmetrical by touch and sight and before i started sanding I taped it and gave it a few strokes on the bevel setter to make sure grinding was complete and that the contact was all along the edge. I then sanded it down until I'd removed all the grind marks with 80# before swapping to 400#. Too big a jump, but that's all I had here. After the 400# I put it to the bevel setter again to see what I had.
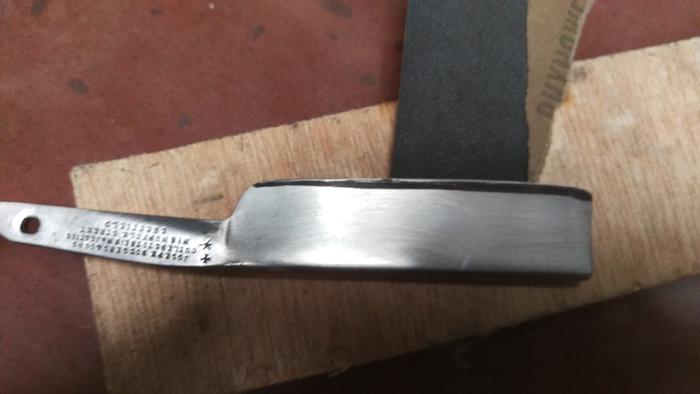
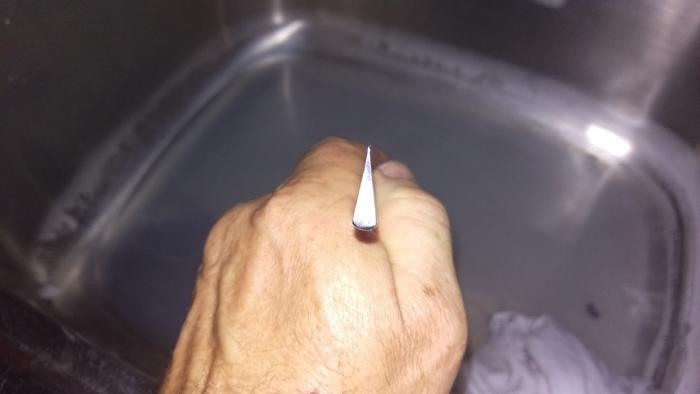
There are still stria from the 80#, so I'm going to get some 240# to help polish it before the final sharpening, but it looks like its going to hone up alright.Last edited by puketui41; 02-16-2016 at 10:03 AM.
-
The Following User Says Thank You to puketui41 For This Useful Post:
Steel (02-16-2016)
-
02-16-2016, 09:58 AM #2

Coming along well mate
Saved,
to shave another day.
-
The Following User Says Thank You to Substance For This Useful Post:
puketui41 (02-16-2016)
-
02-16-2016, 10:10 AM #3< Banned User >

- Join Date
- Dec 2013
- Location
- Perth, Western Australia
- Posts
- 318
Thanked: 44
Cheers mate,
I'll finish it in the next few days and then as and when I make it back to Aussie I've got some blonde horn I ordered waiting for me.
-
02-16-2016, 01:25 PM #4Senior Member


- Join Date
- Feb 2013
- Location
- Haida Gwaii, British Columbia, Canada
- Posts
- 14,457
Thanked: 4830
Good lord man, you should put that thing in a vise. That looks like it is not up to safety standard. Instead of the stone that is in it, you might get ahead faster if you put a small sanding drum in it. I have a high torque low speed drill mounted in a vise that works well for doing a satin finish. I suppose you could go with lower grits and regrind as you have done. You may also be able to put paper over your stone, although the diameter looks kind of small compared to the size of the grind on that blade. A little ingenuity goes a long way sometimes.
It's not what you know, it's who you take fishing!
-
The Following User Says Thank You to RezDog For This Useful Post:
puketui41 (02-16-2016)
-
02-16-2016, 02:07 PM #5< Banned User >

- Join Date
- Dec 2013
- Location
- Perth, Western Australia
- Posts
- 318
Thanked: 44
I'm currently in the Philippines Rezdog, this thing exceeds safety standards, I used TWO pieces of tape! Seriously though, its fibre tape and sticks like s@#t to a blanket. If you tried to pull it off in one go you'd fail. I don't have a vice. Yes the diameter was too small and I don't have any sanding drums, although I will bear in mind the idea about covering with paper. I posted in the hope that others in a similar situation might get some ideas of how to get the job done even though they may not have the ideal tools at hand. I'm glad you mentioned drills. Everyone has a drill. No reason why you couldn't do this with your drill and a ten dollar accessory kit from the hardware store. The one I bought had flap discs, felt polishers, stones and one of those discs used for tearing paint and rust from steel in an aggressive manner.
Last edited by puketui41; 02-16-2016 at 02:20 PM.
-
02-16-2016, 03:36 PM #6
-
The Following User Says Thank You to dinnermint For This Useful Post:
puketui41 (02-16-2016)


 13Likes
 LinkBack URL
 About LinkBacks


 Reply With Quote

